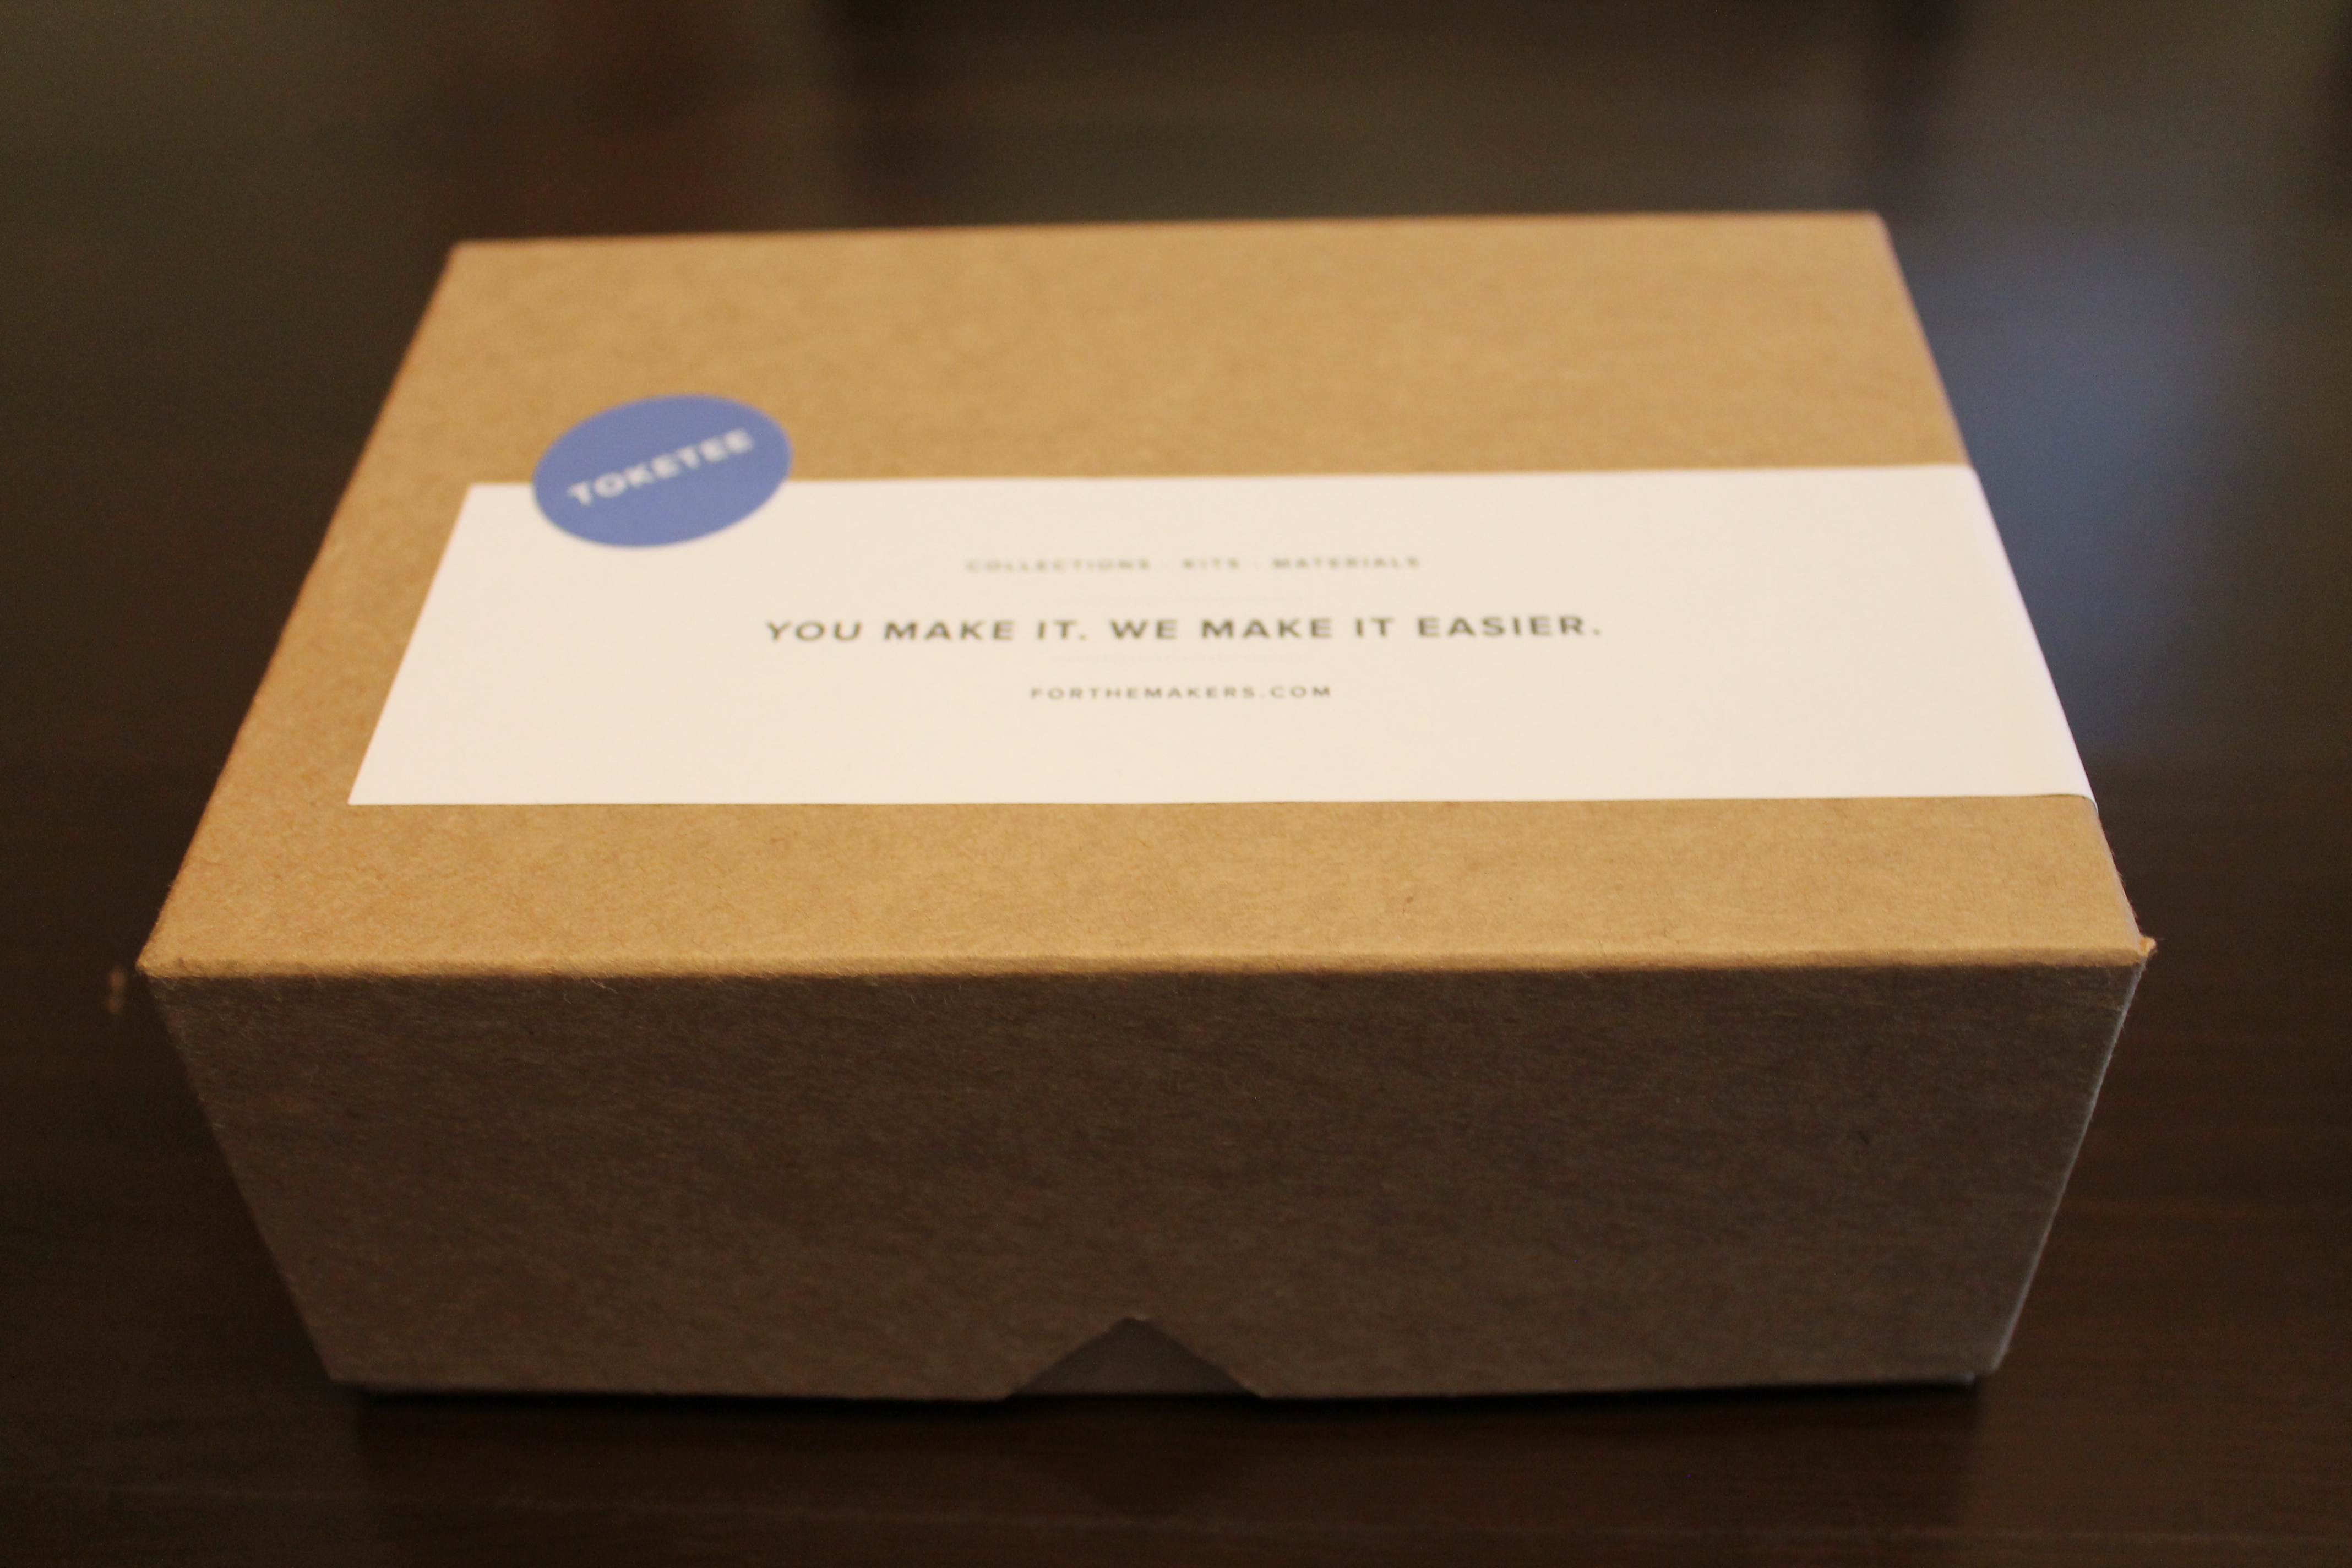
This month’s For the Makers kit was called Toketee.
I looked it up on Wikipedia and found that Toketee is a Chinook Jargon word meaning “pretty” or “graceful”.
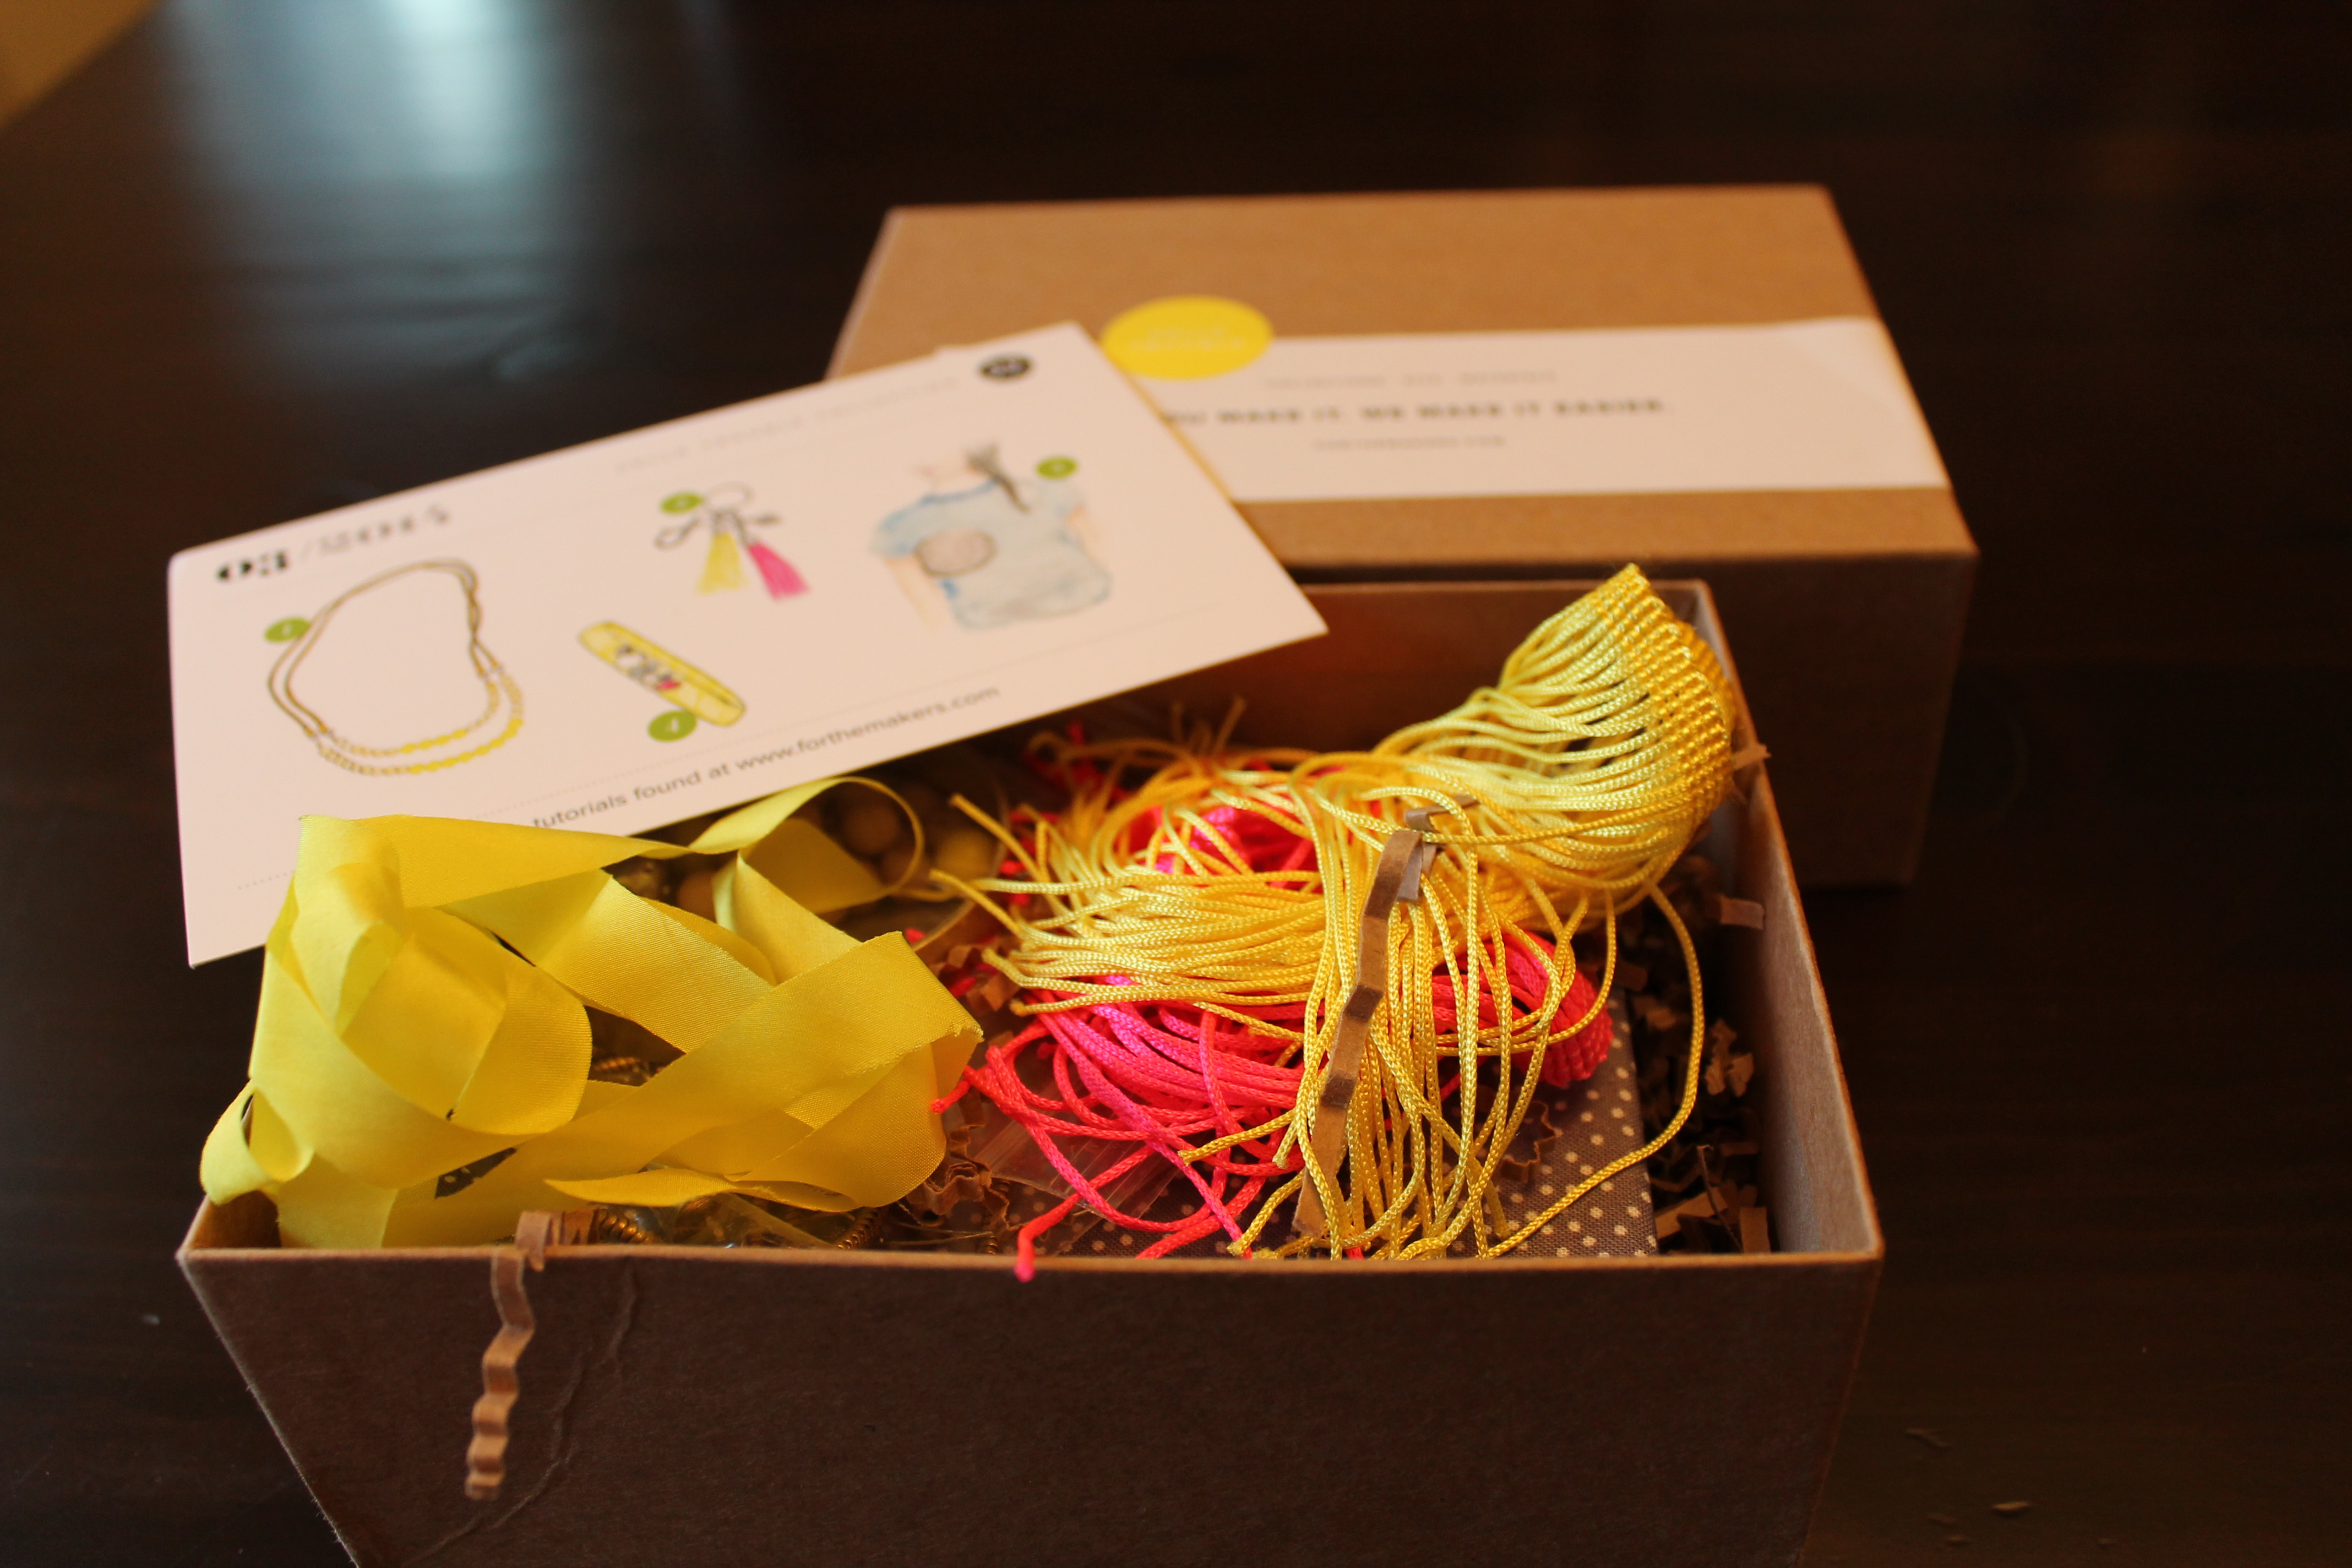
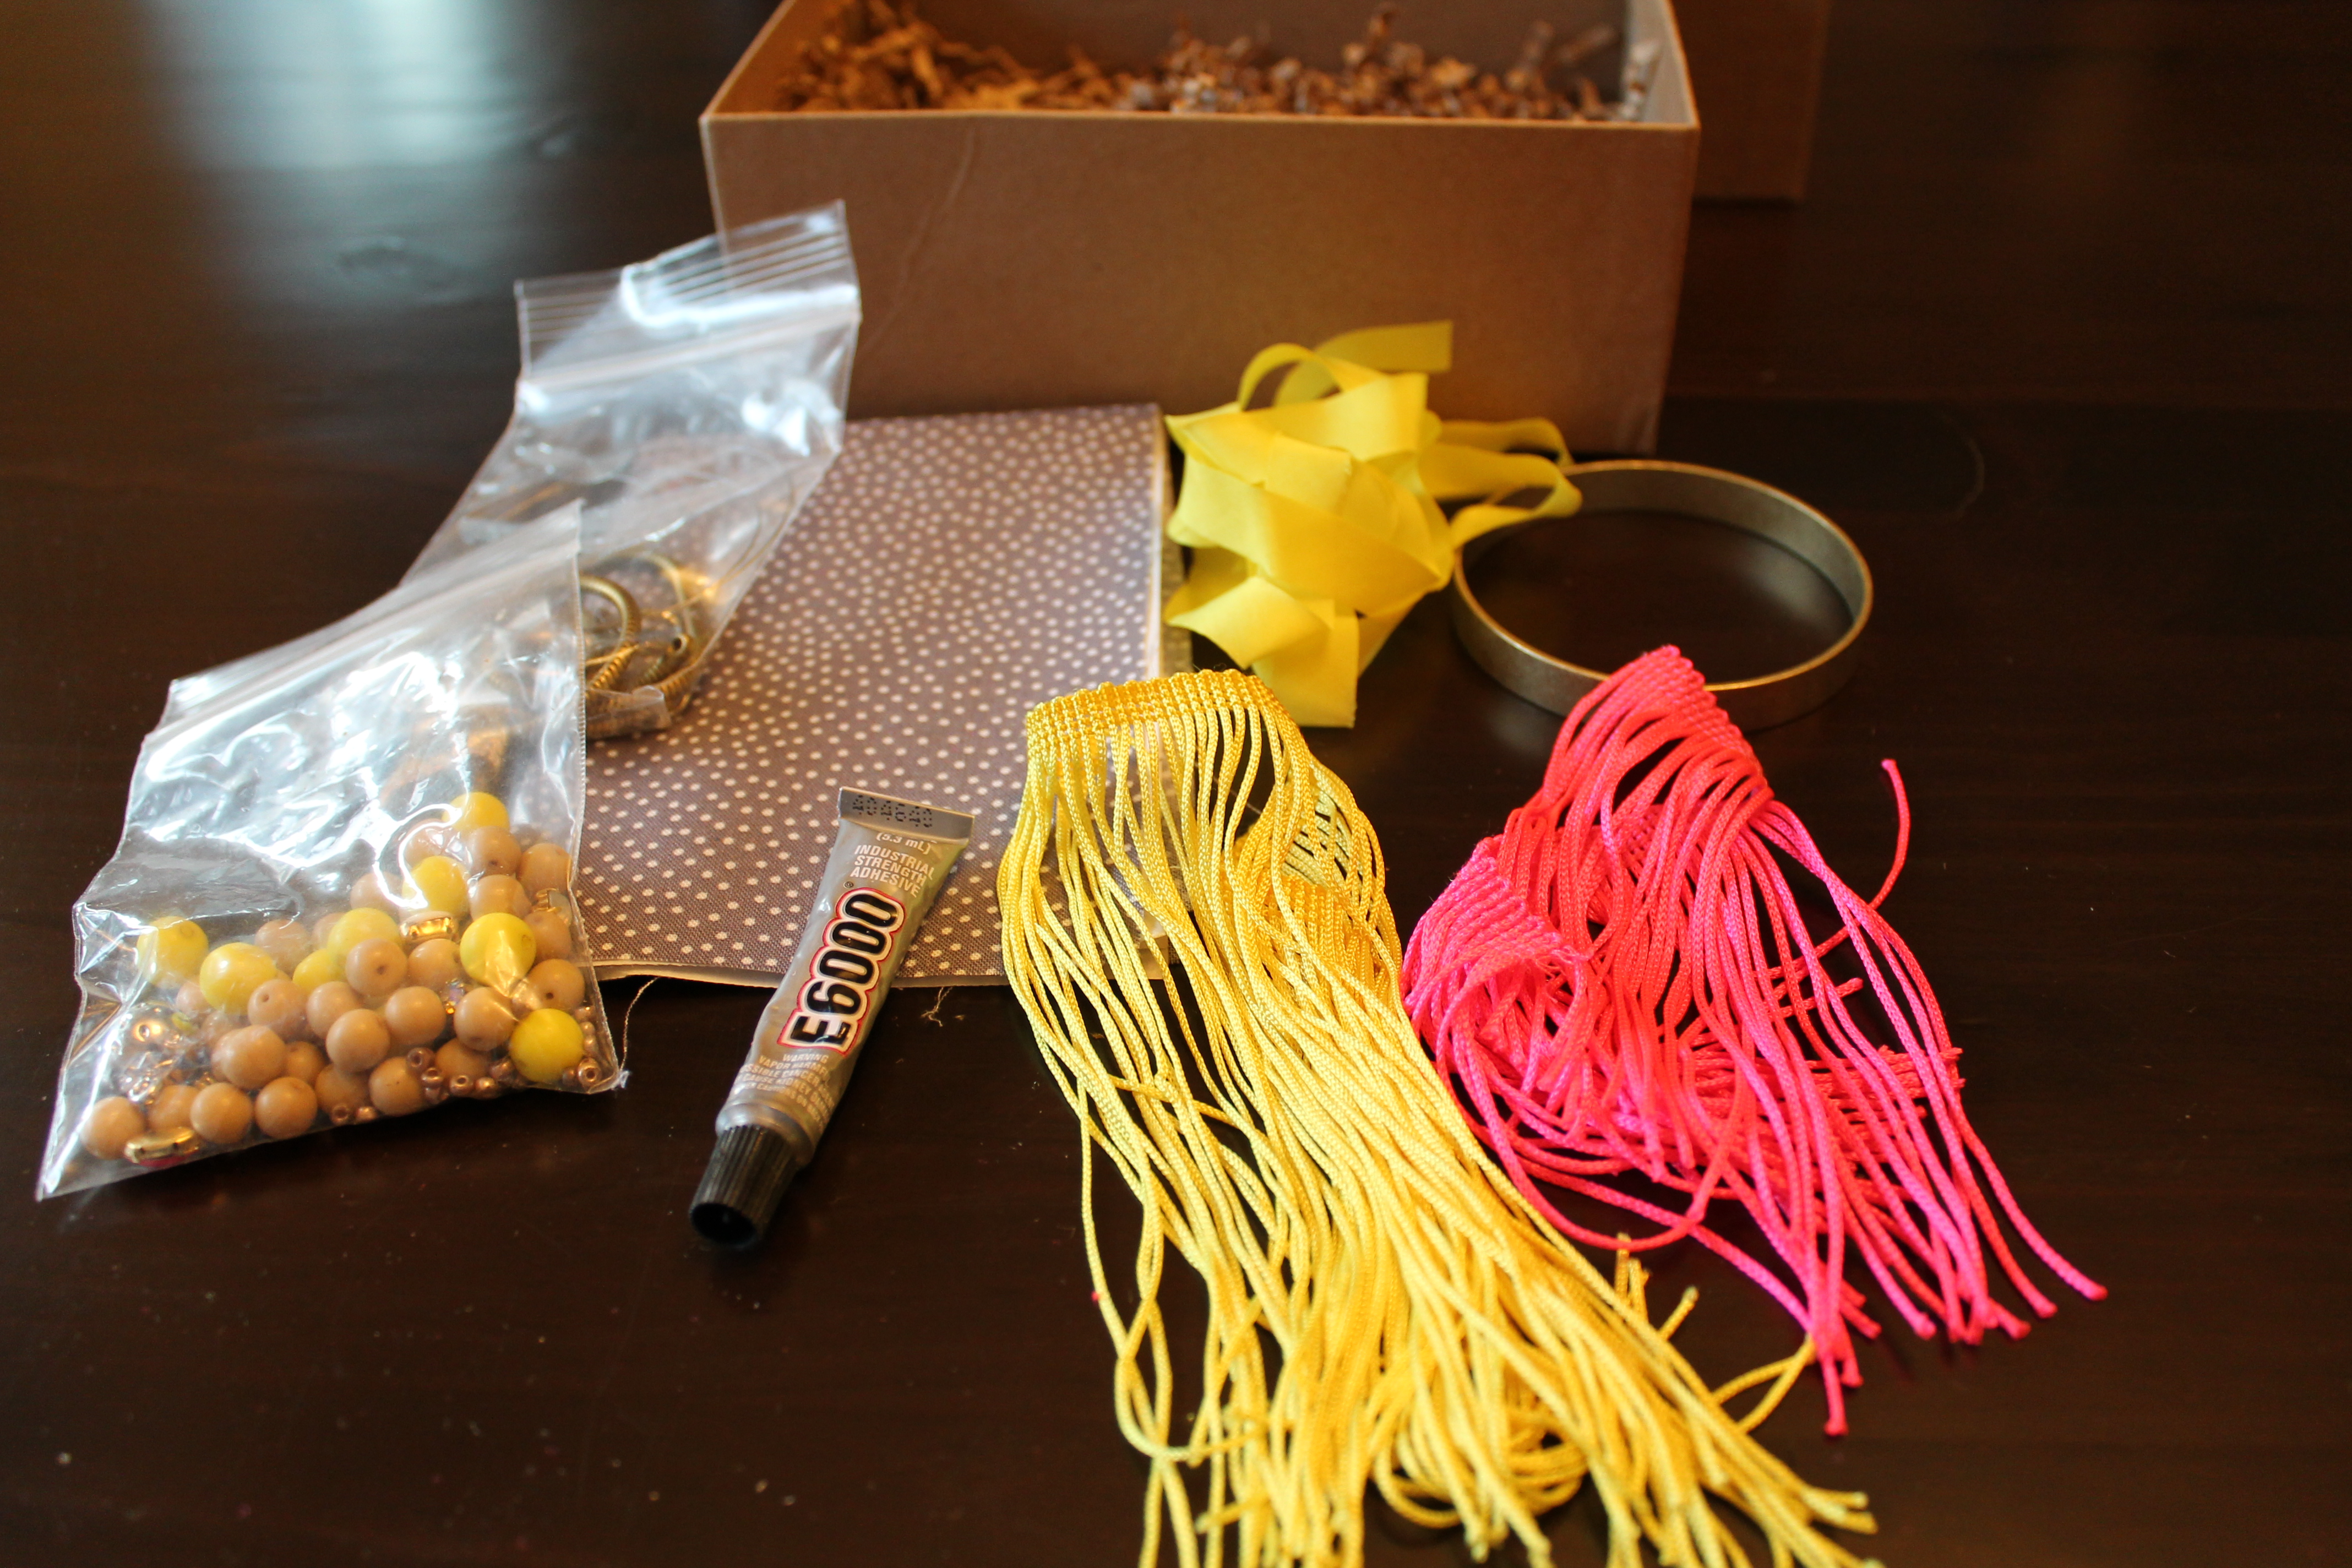
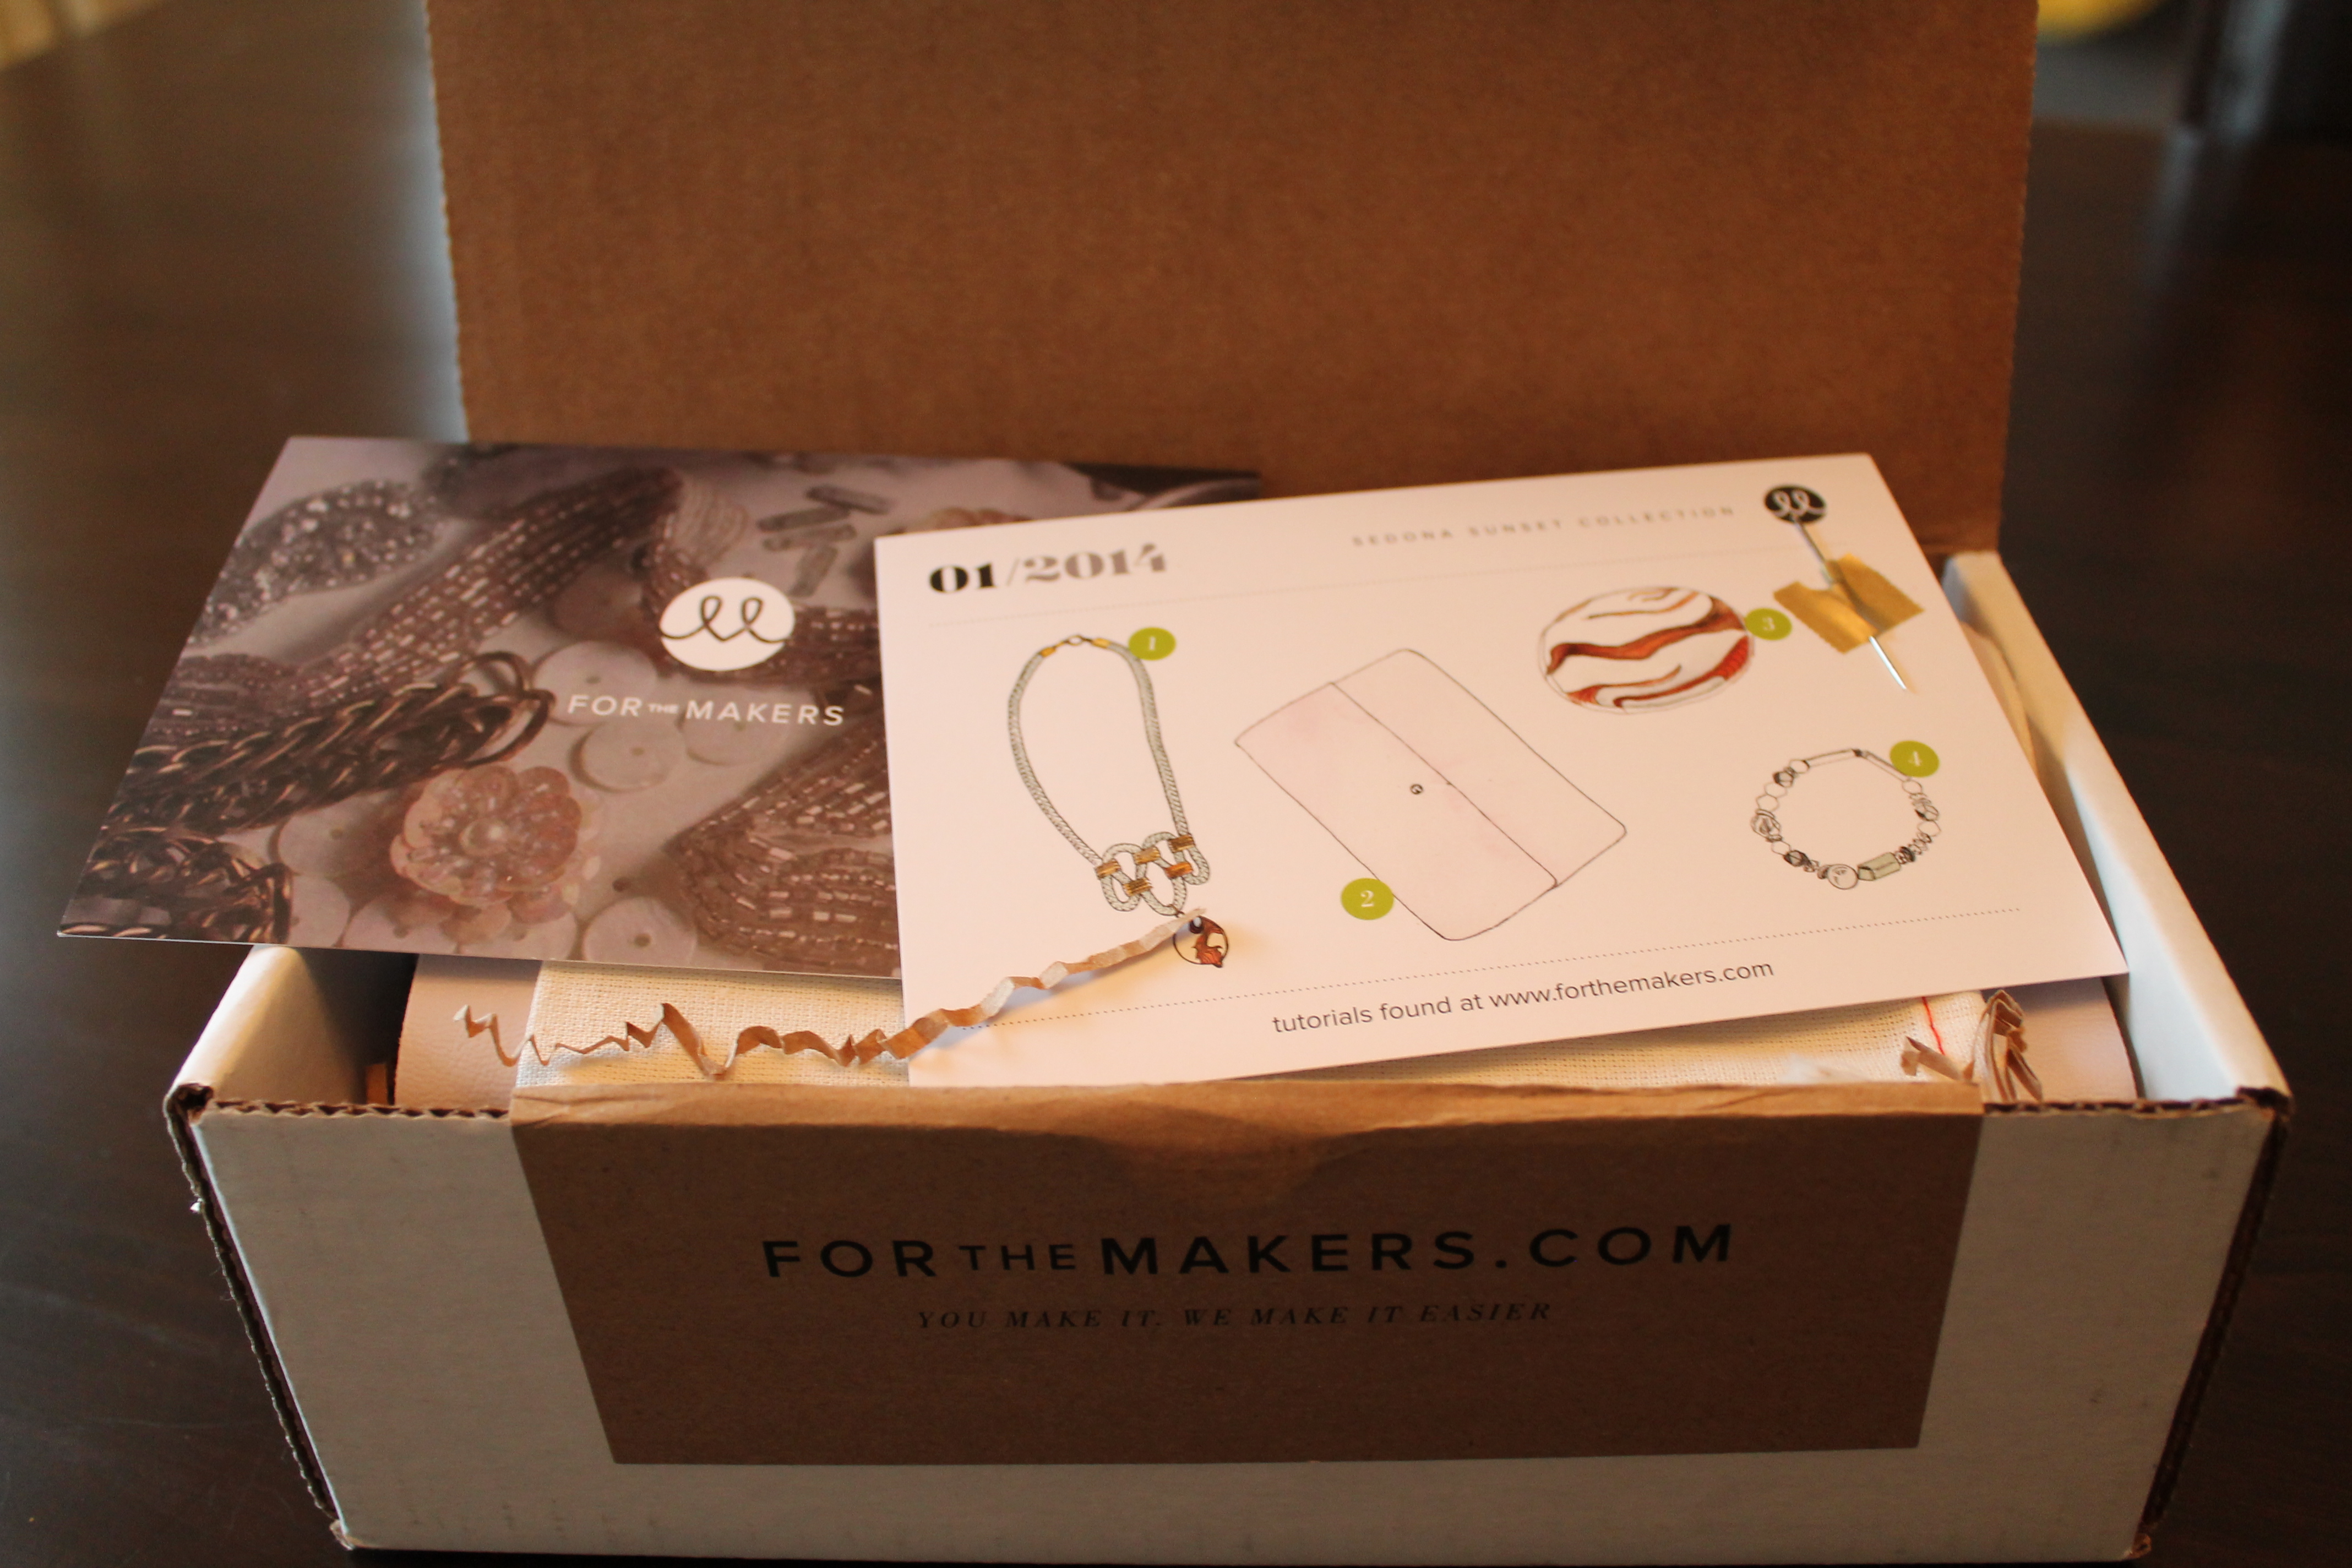
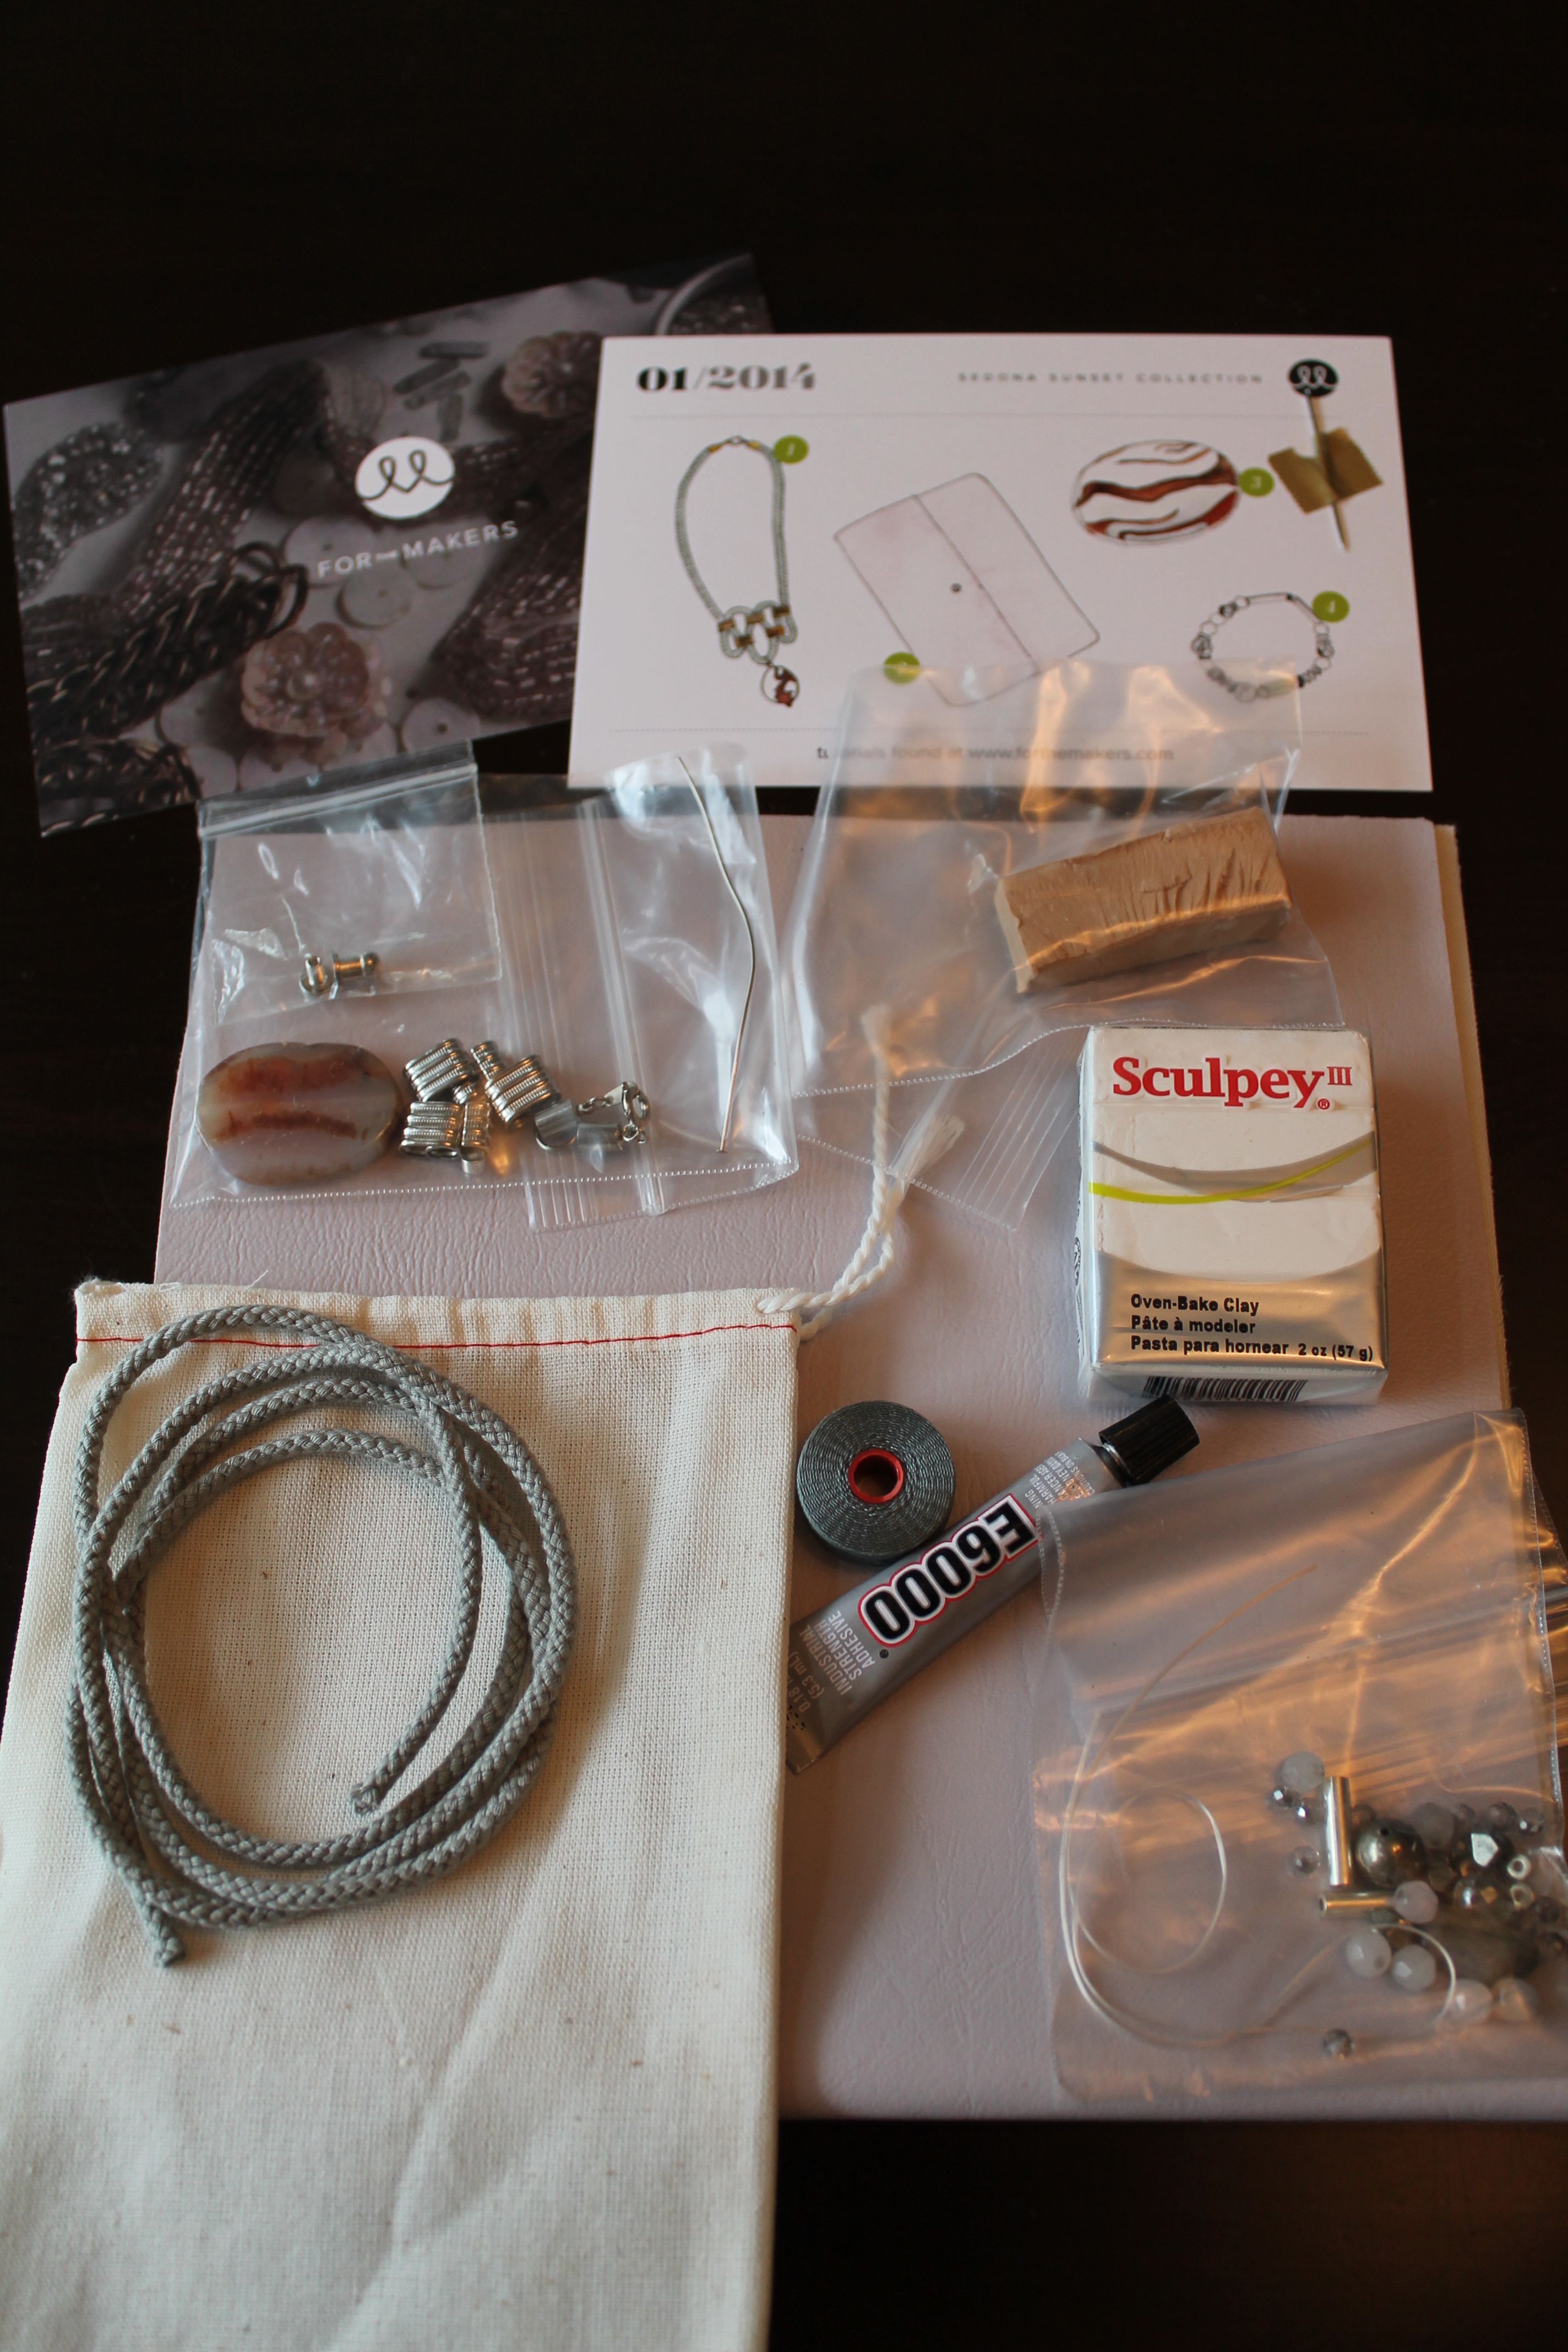
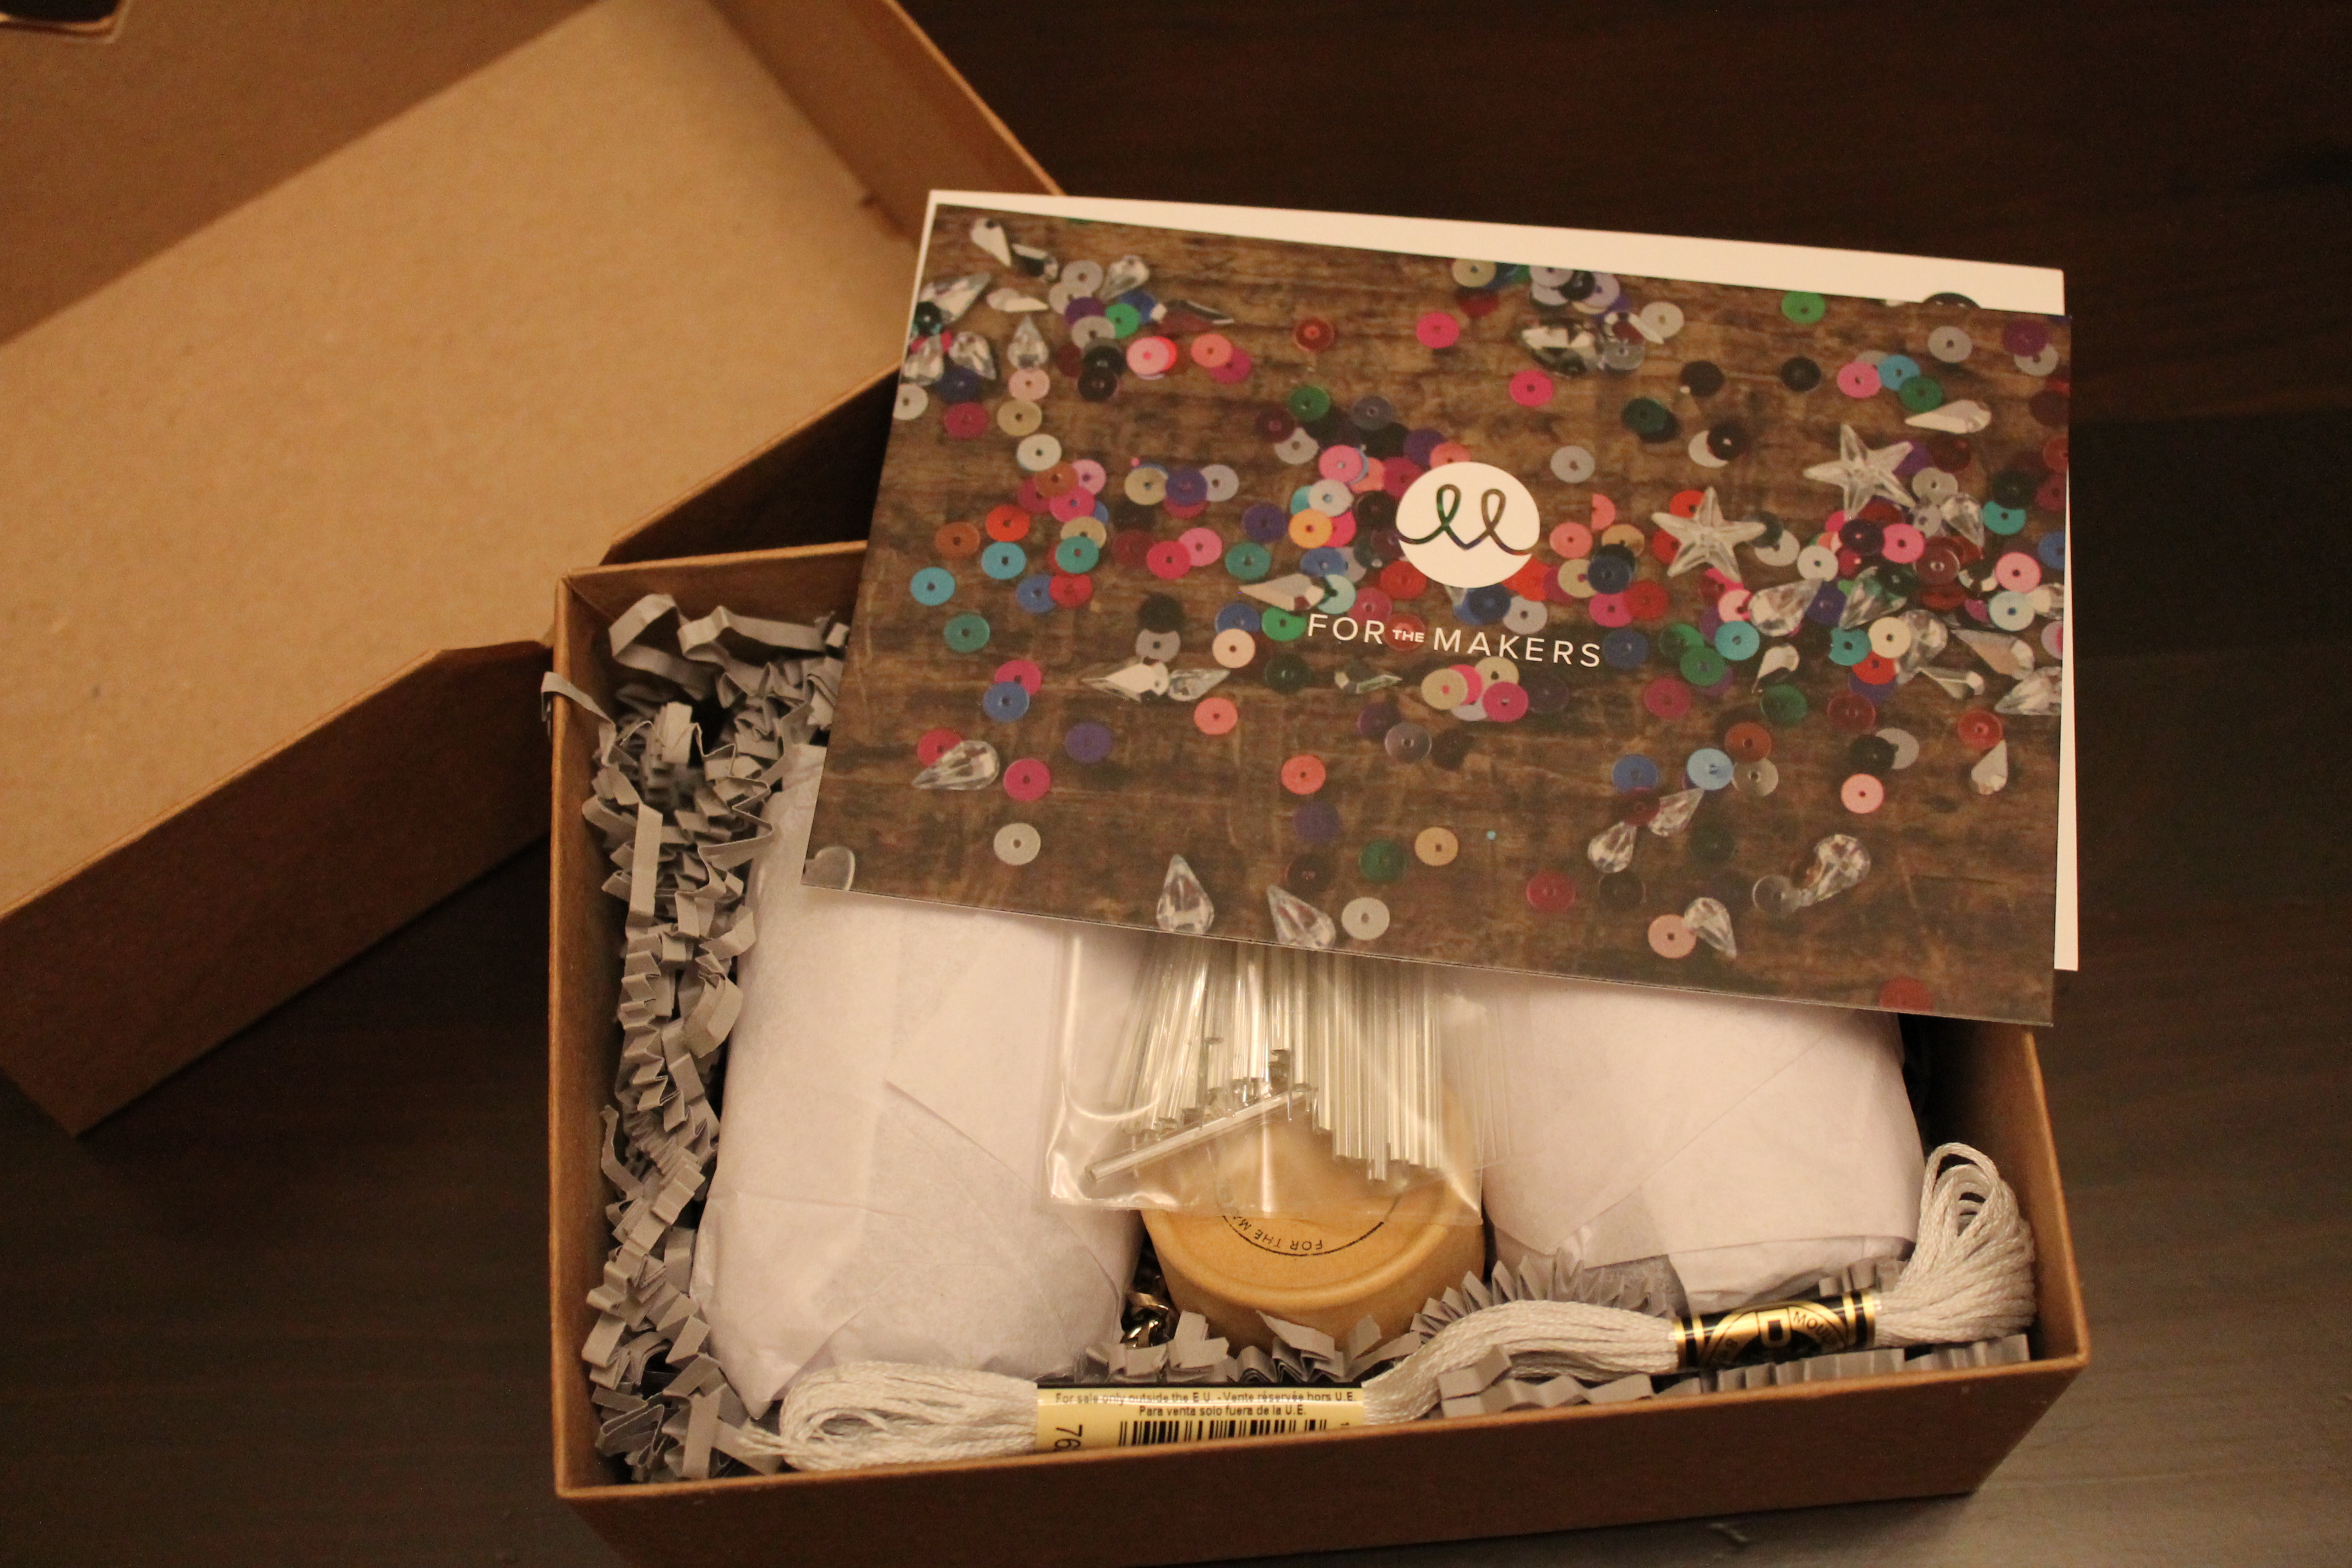
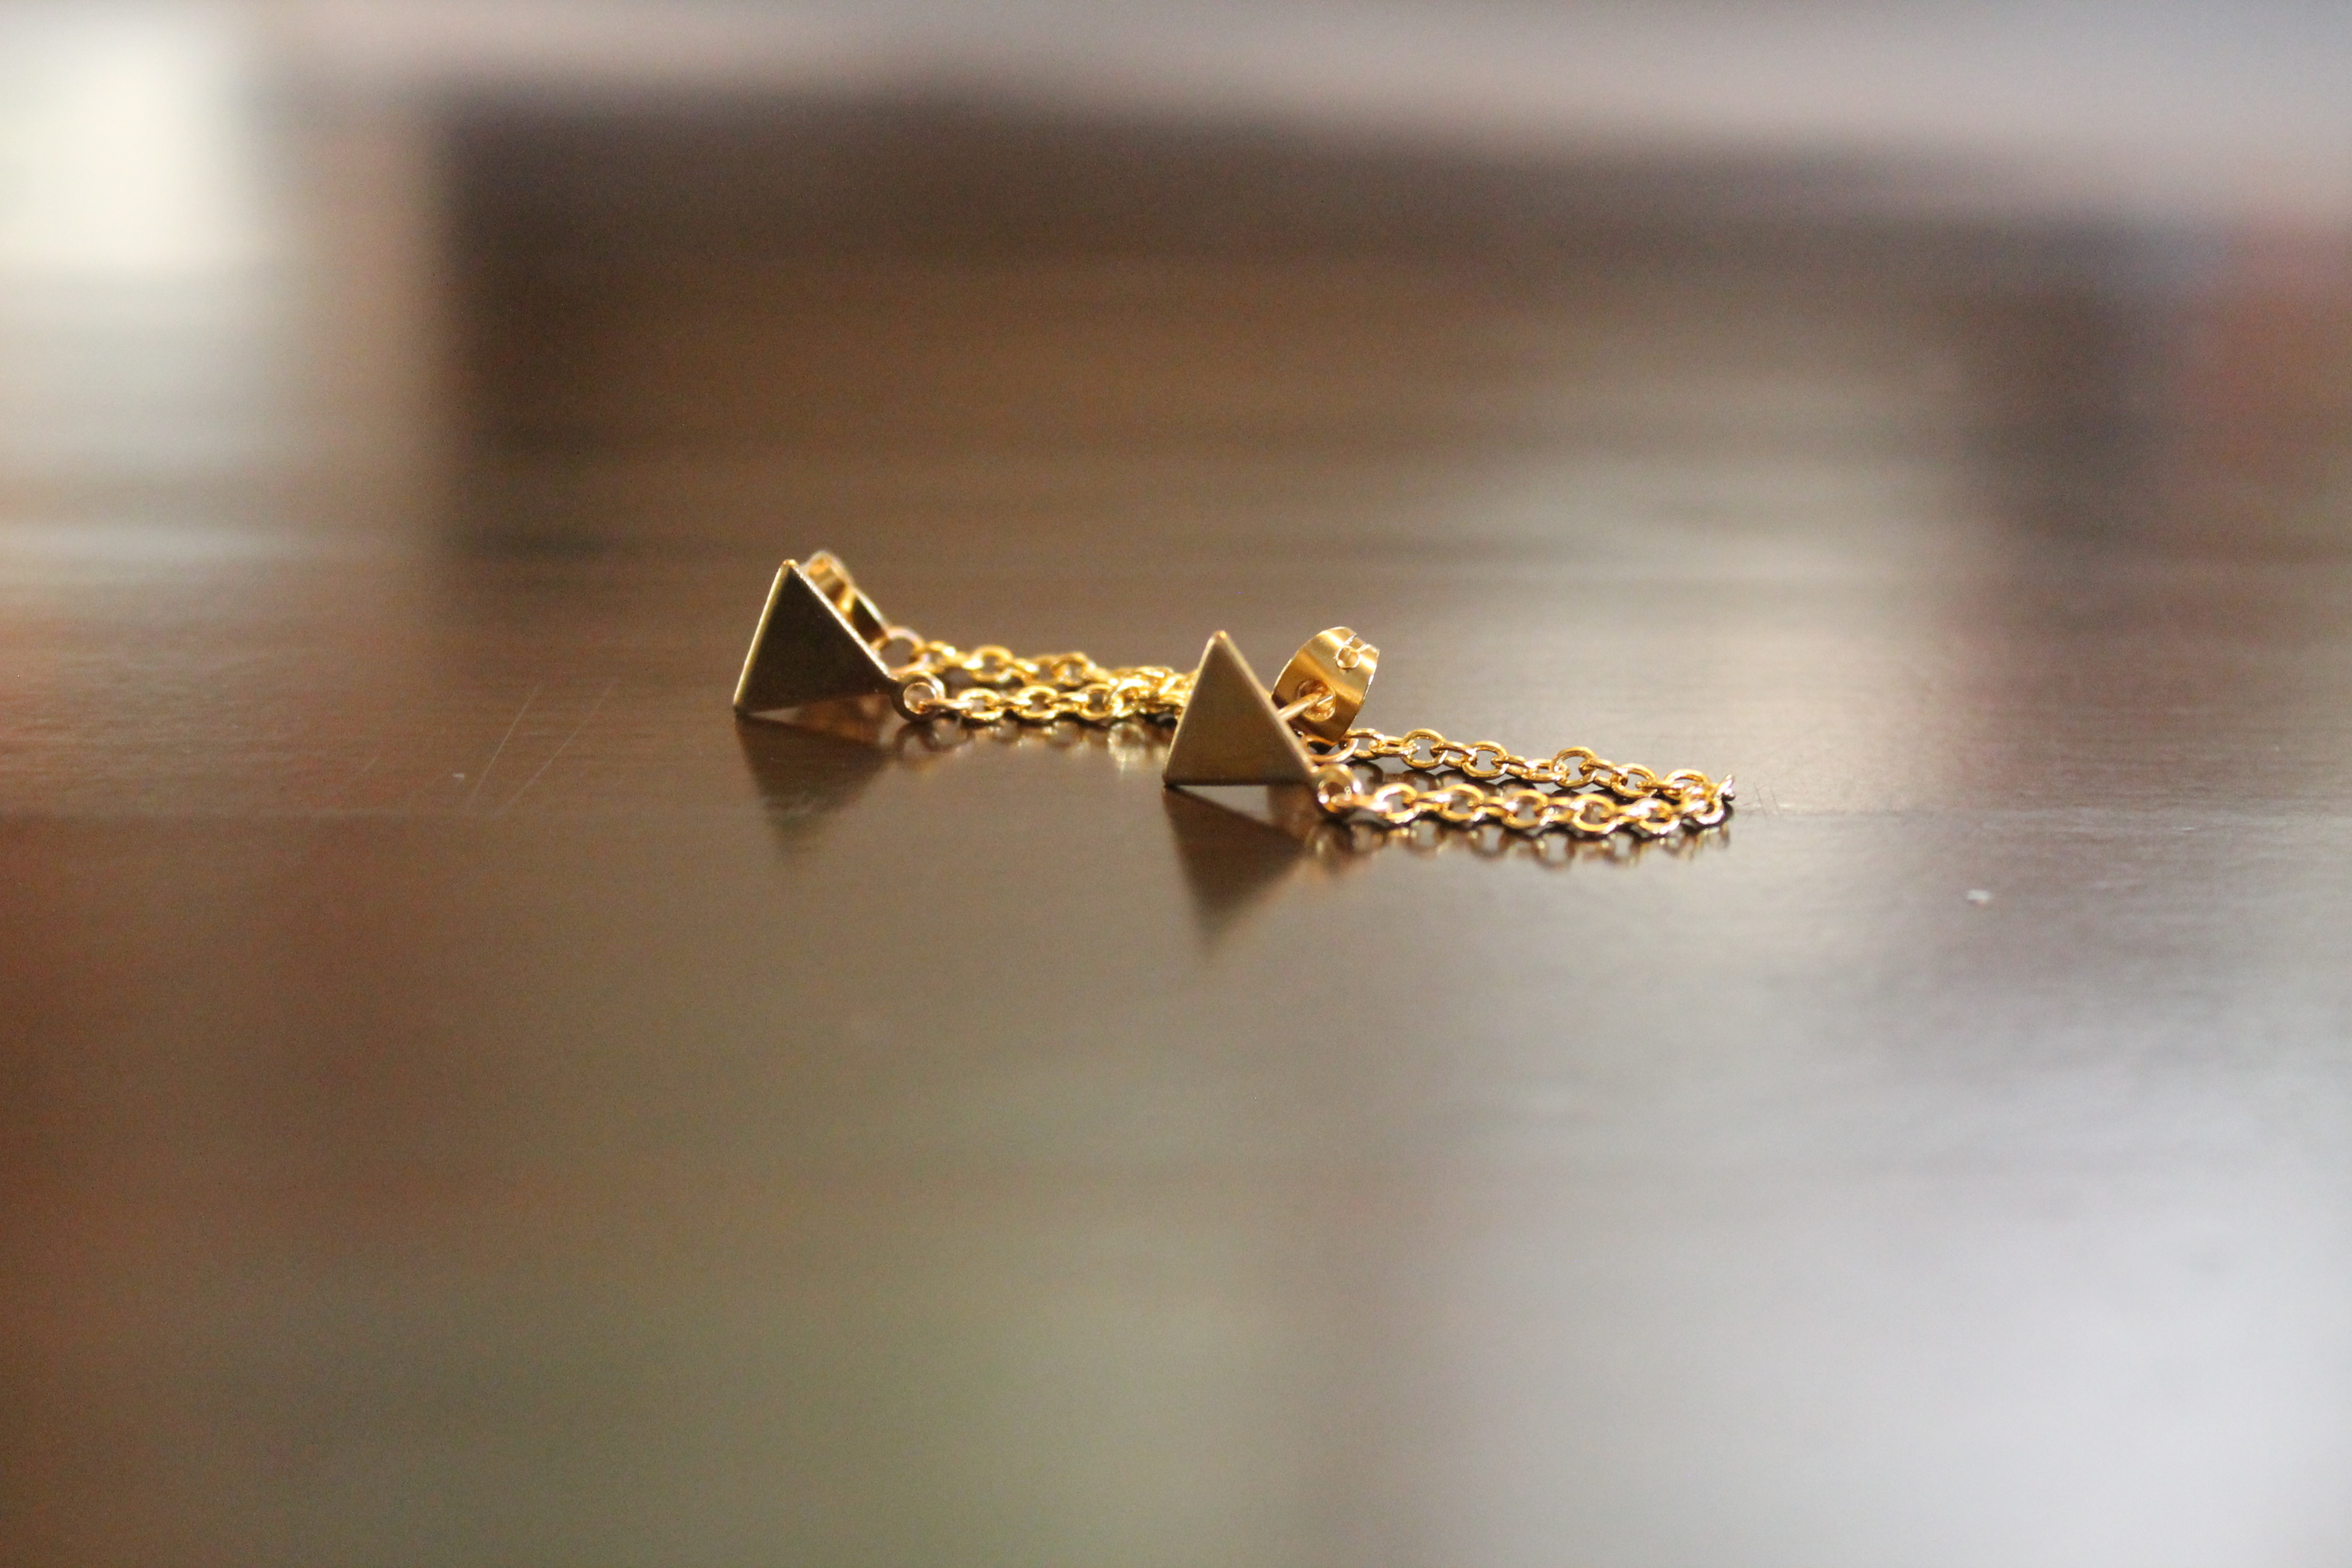
Here’s what was included:
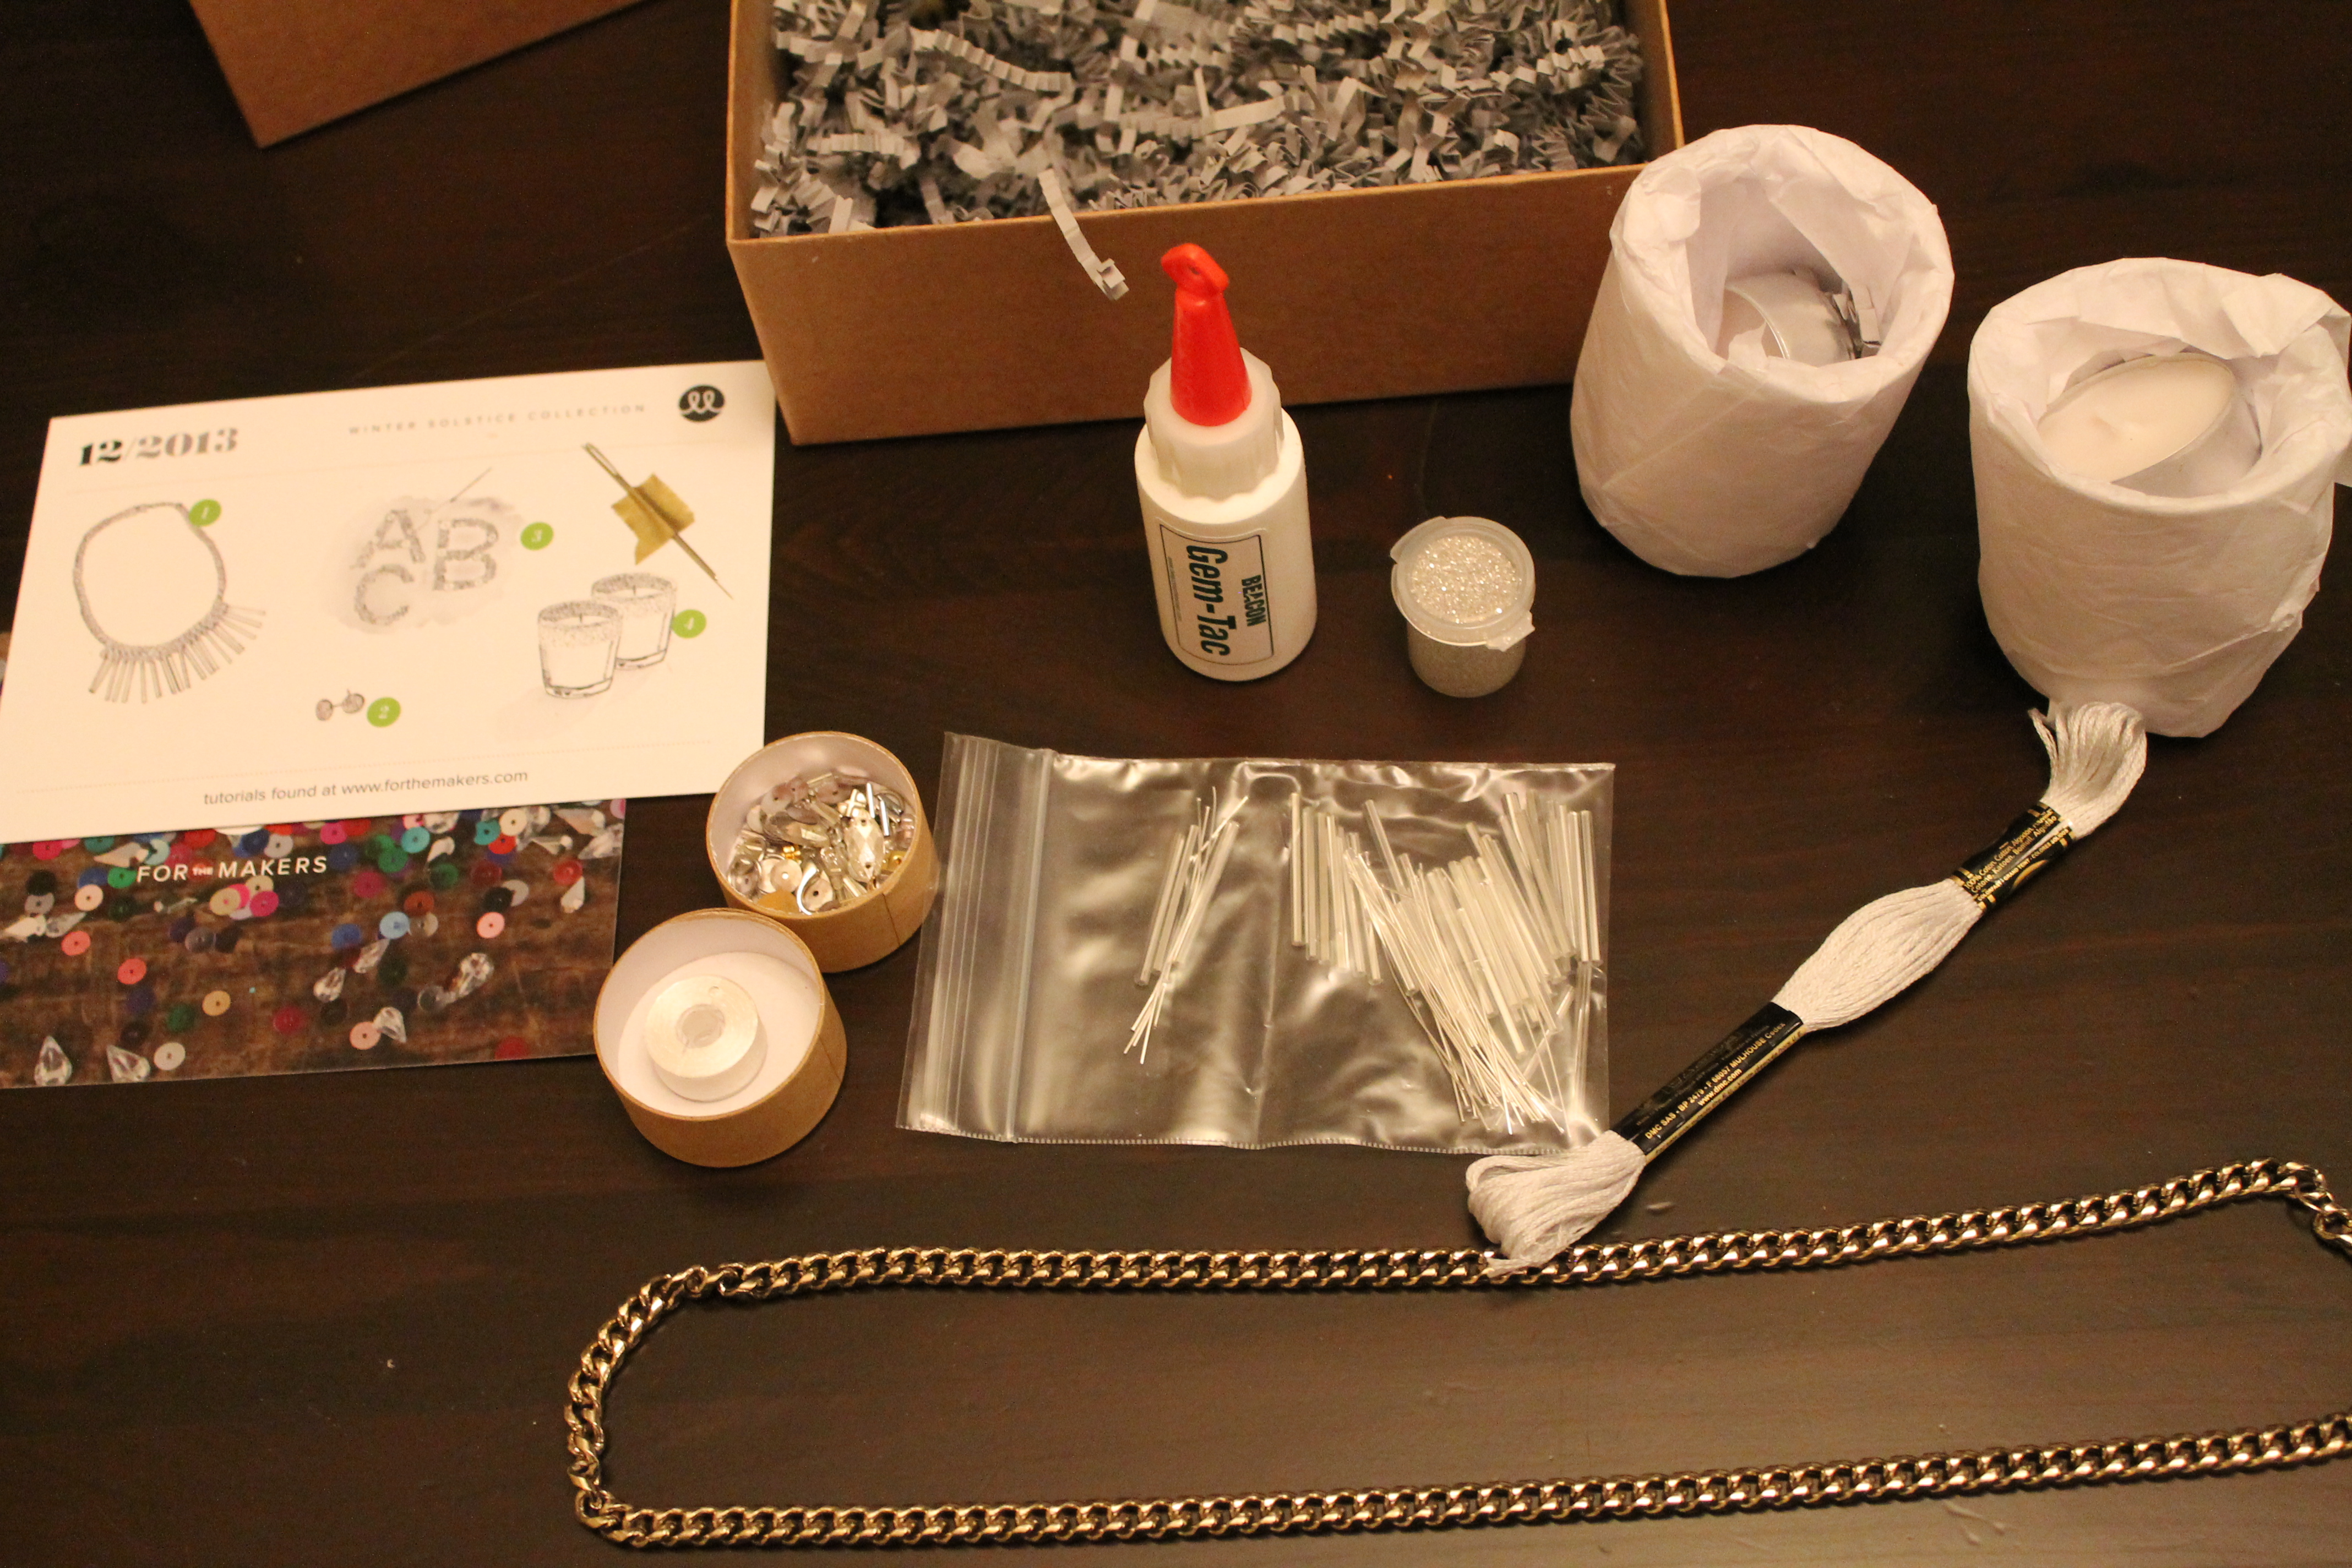
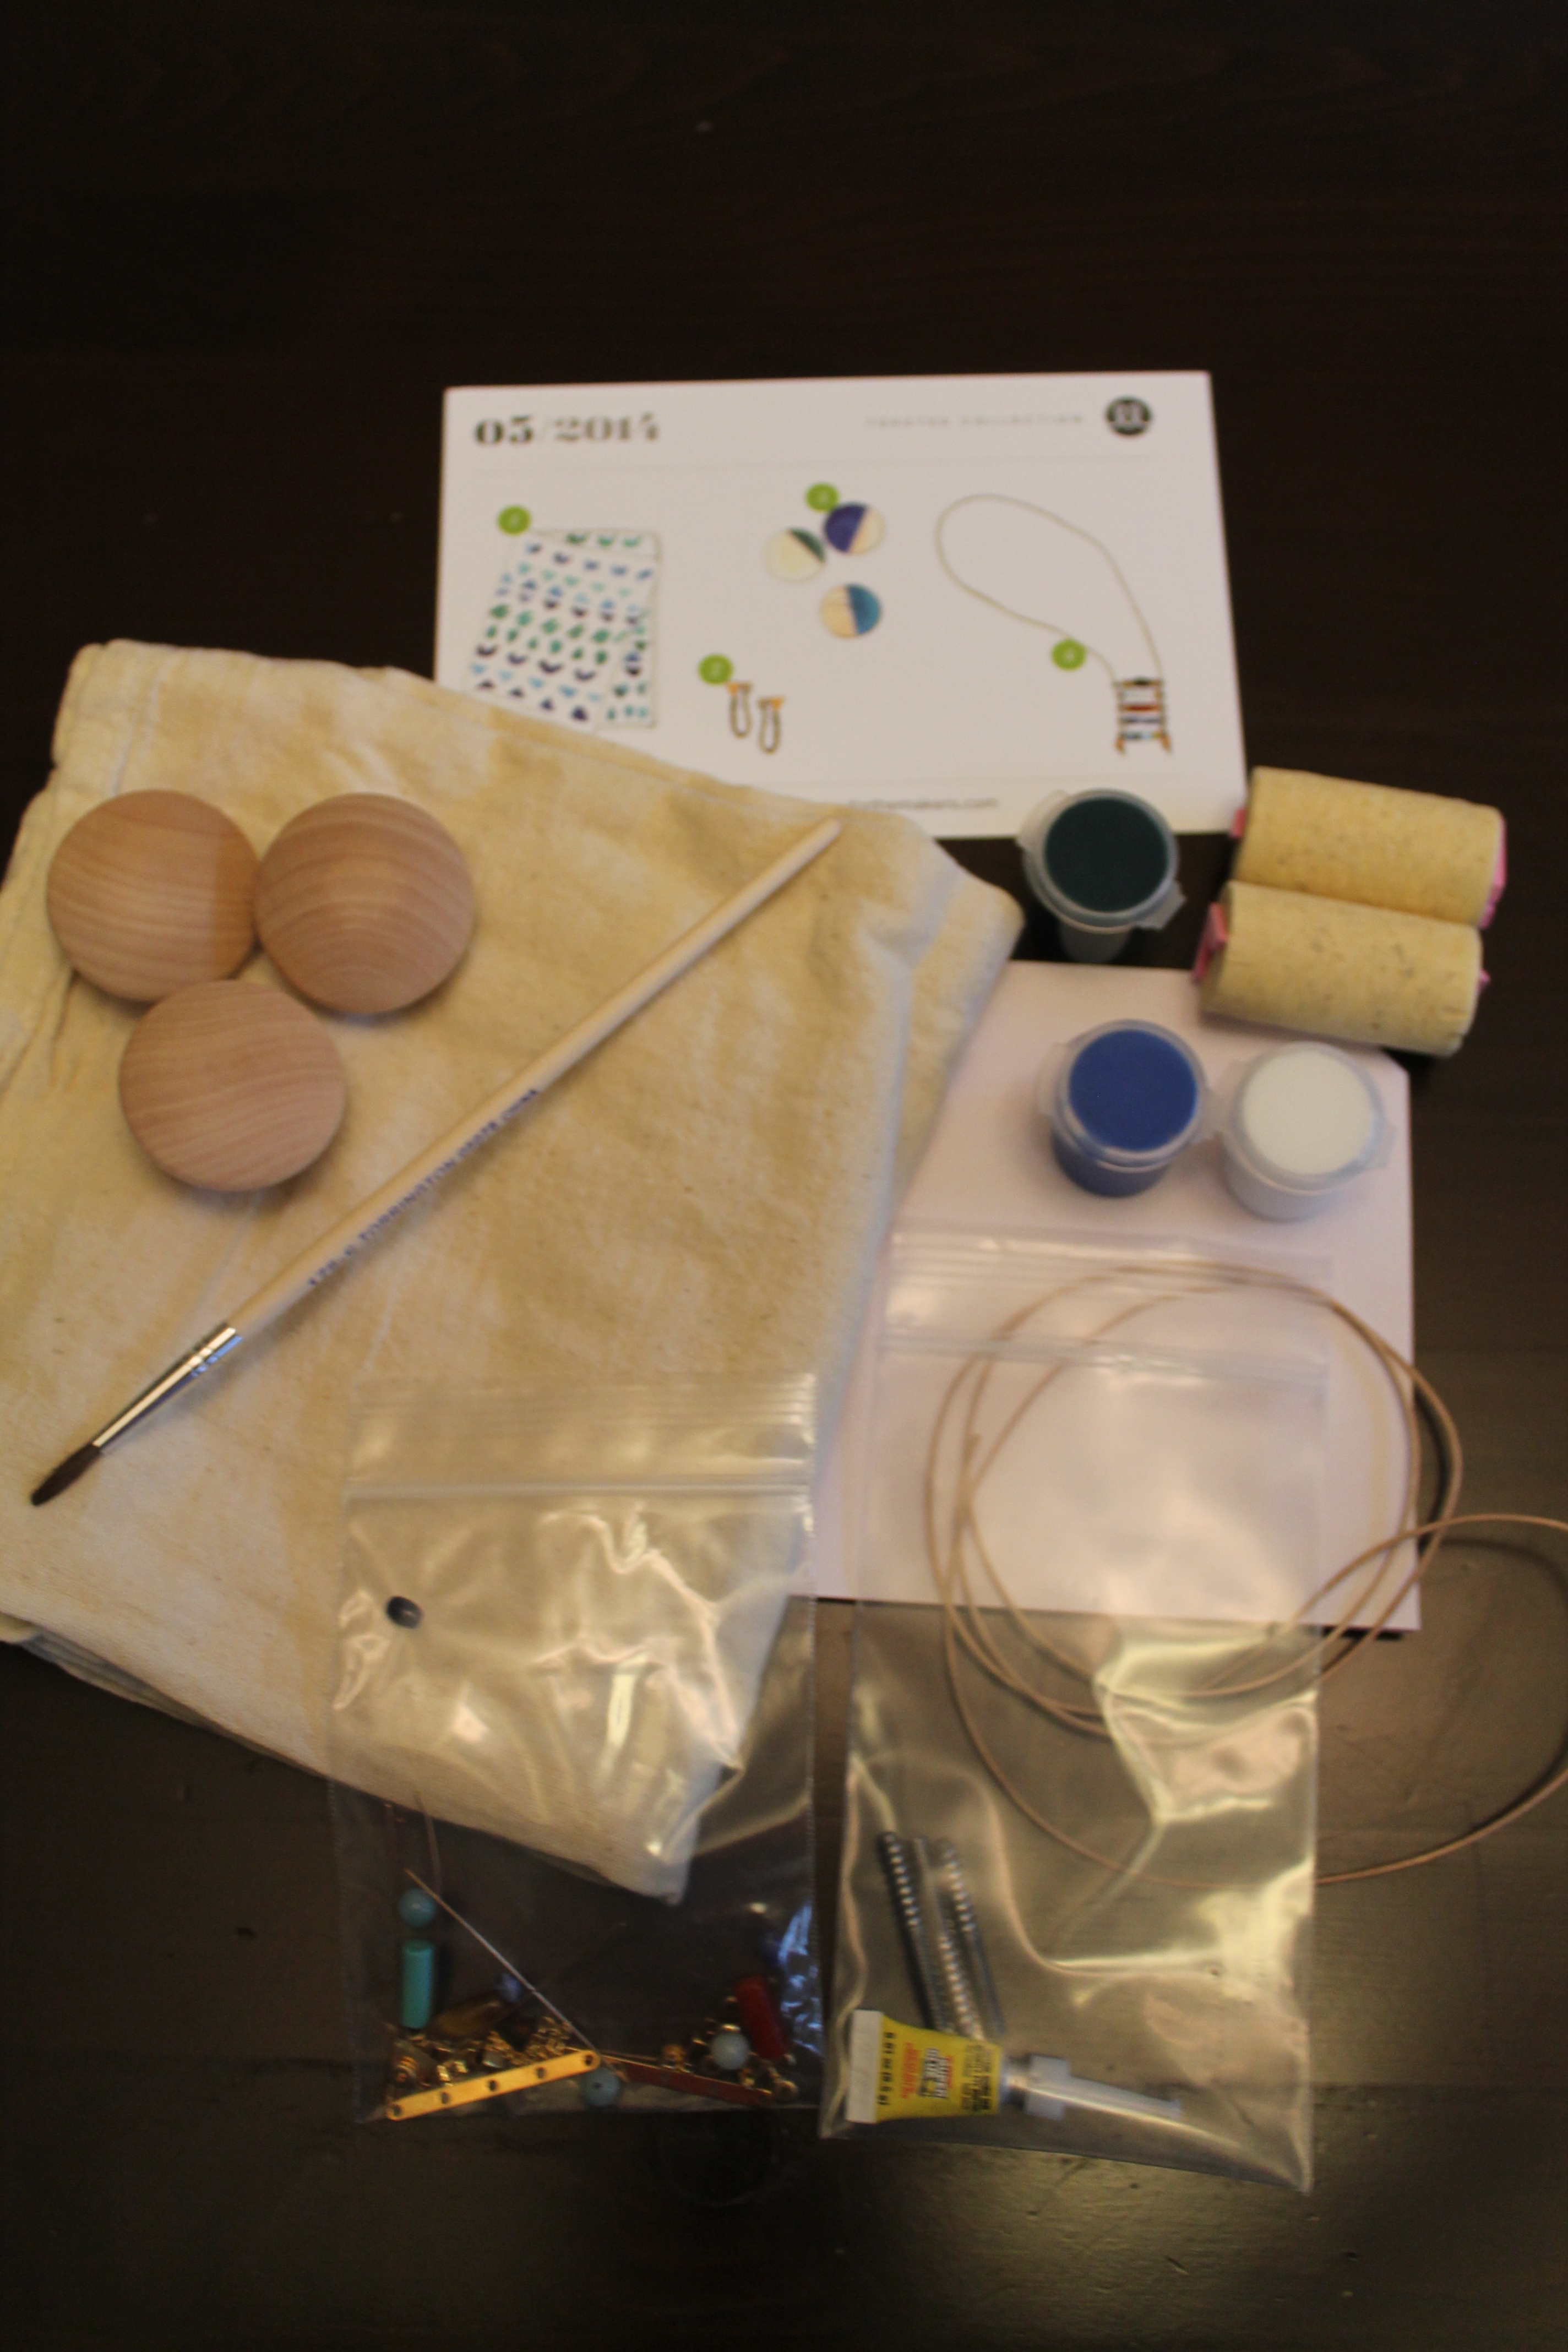 There was a necklace, earrings, tea towel, and wall pegs.
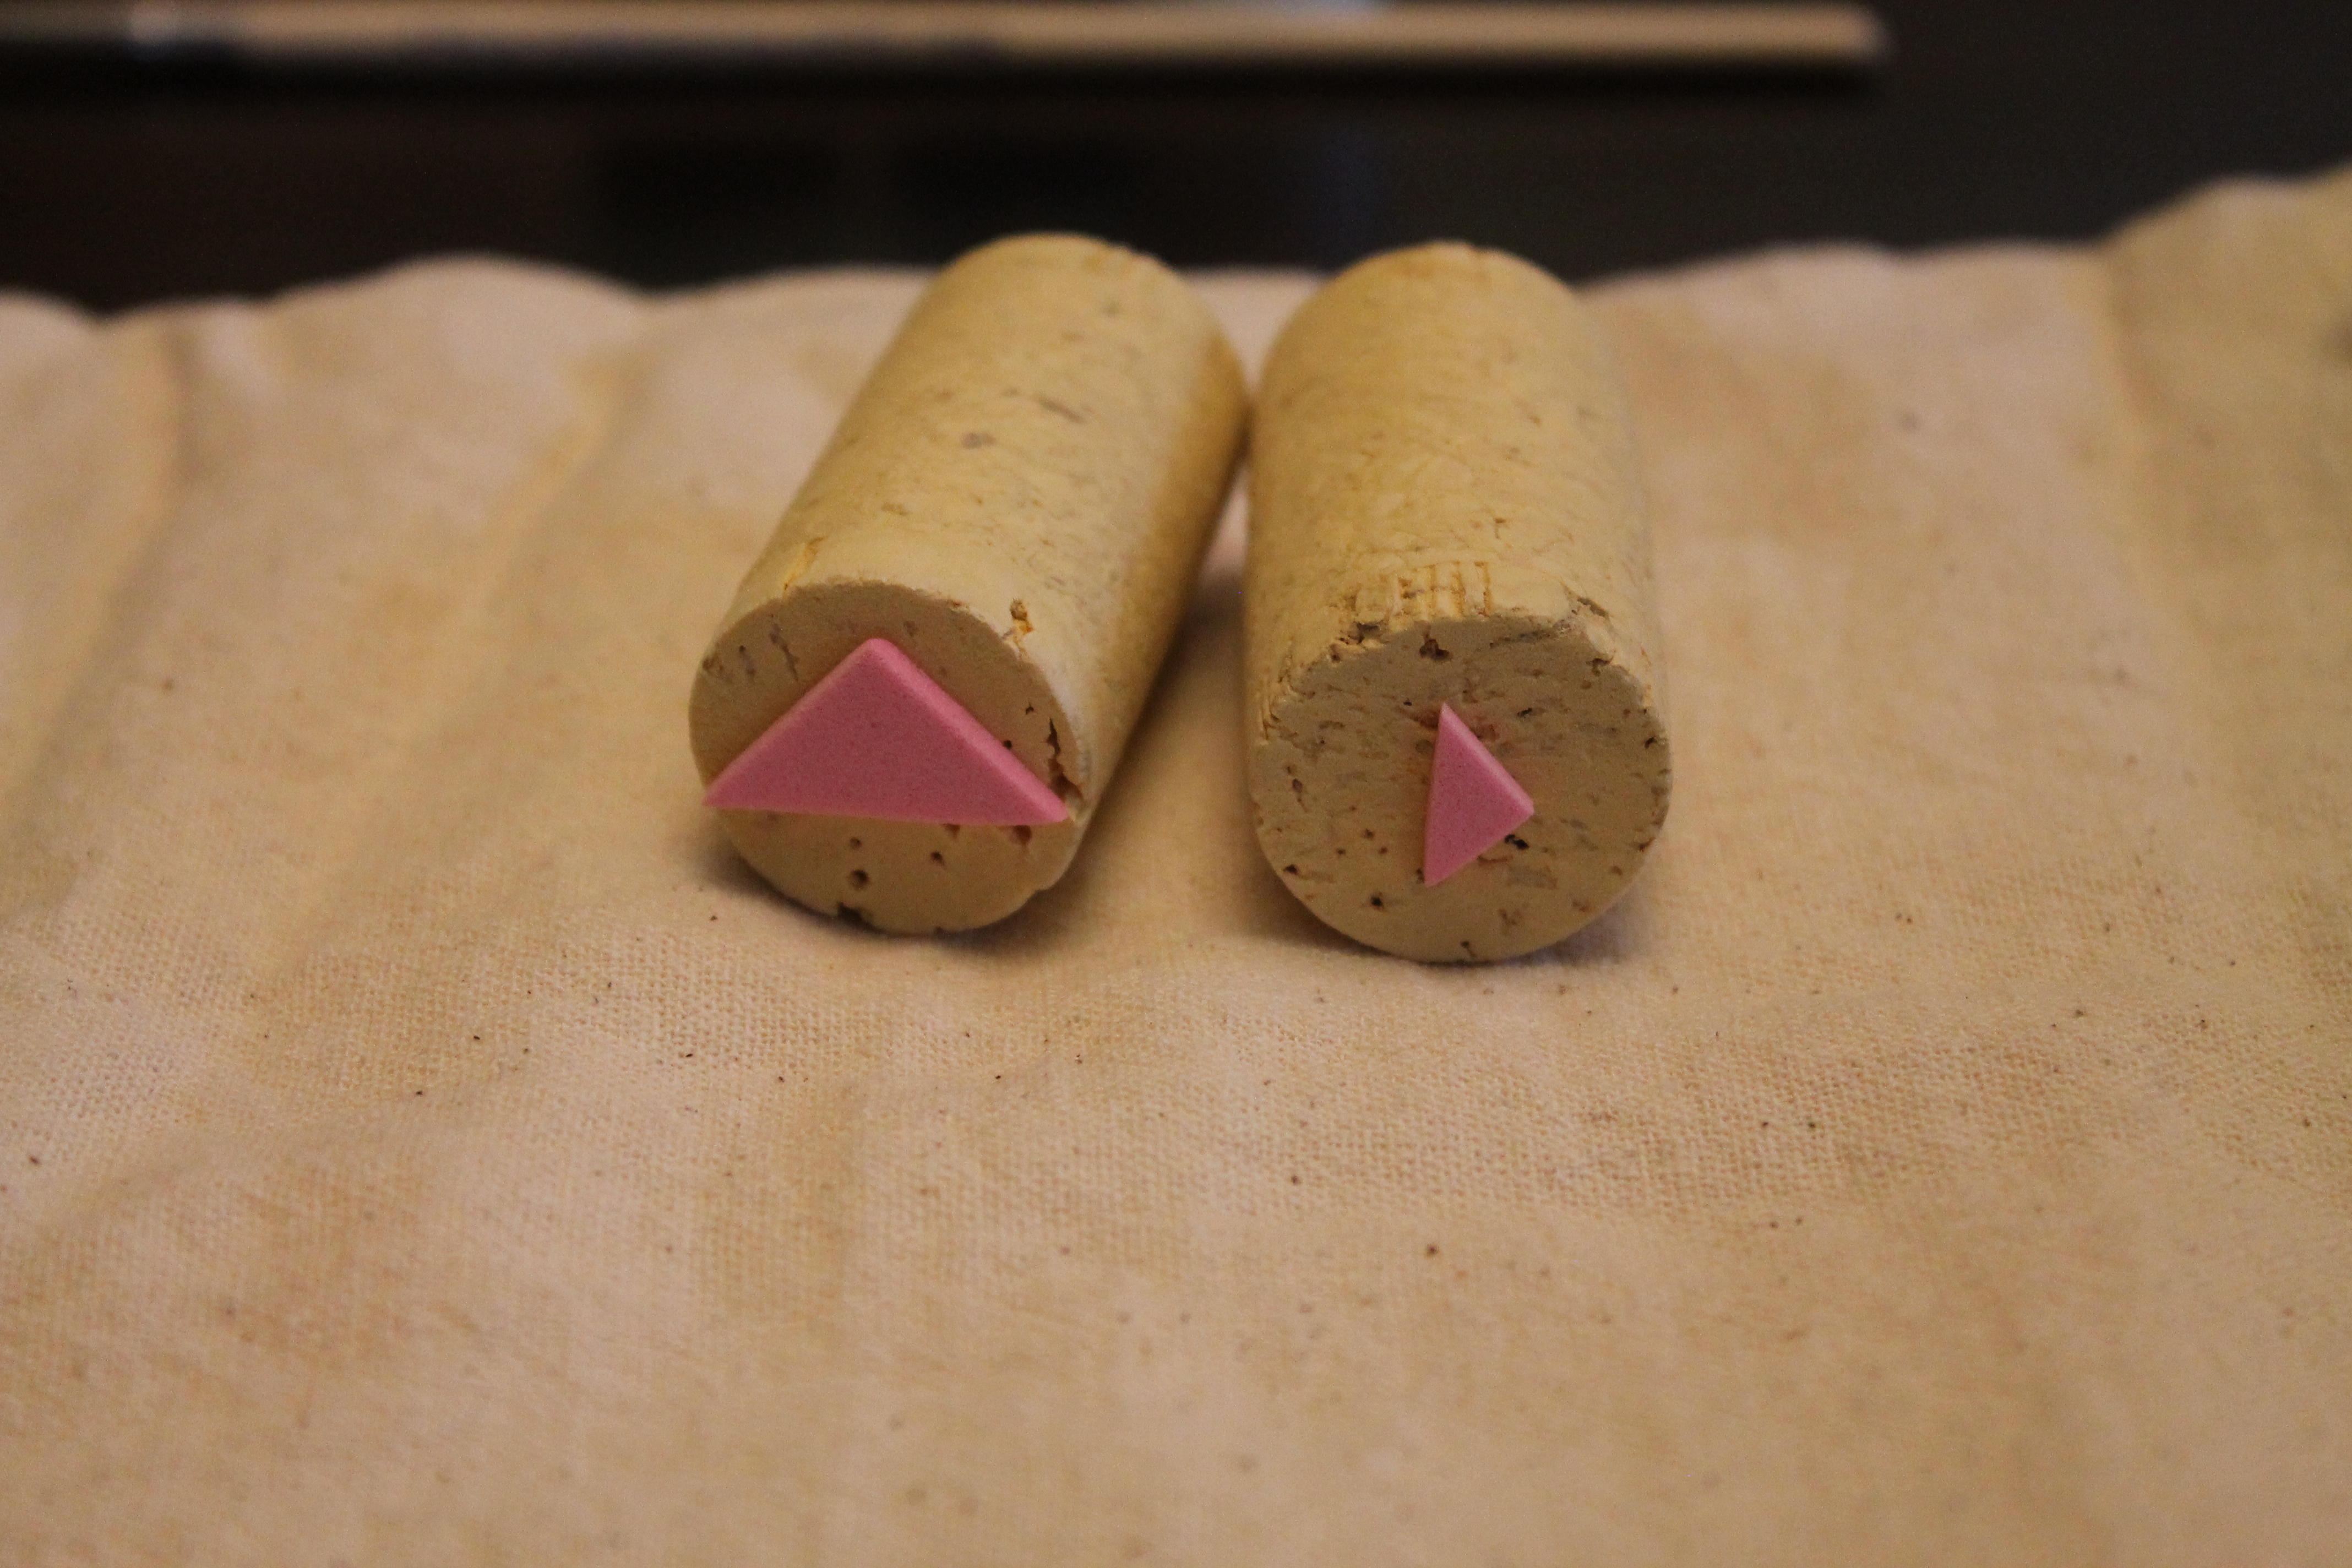
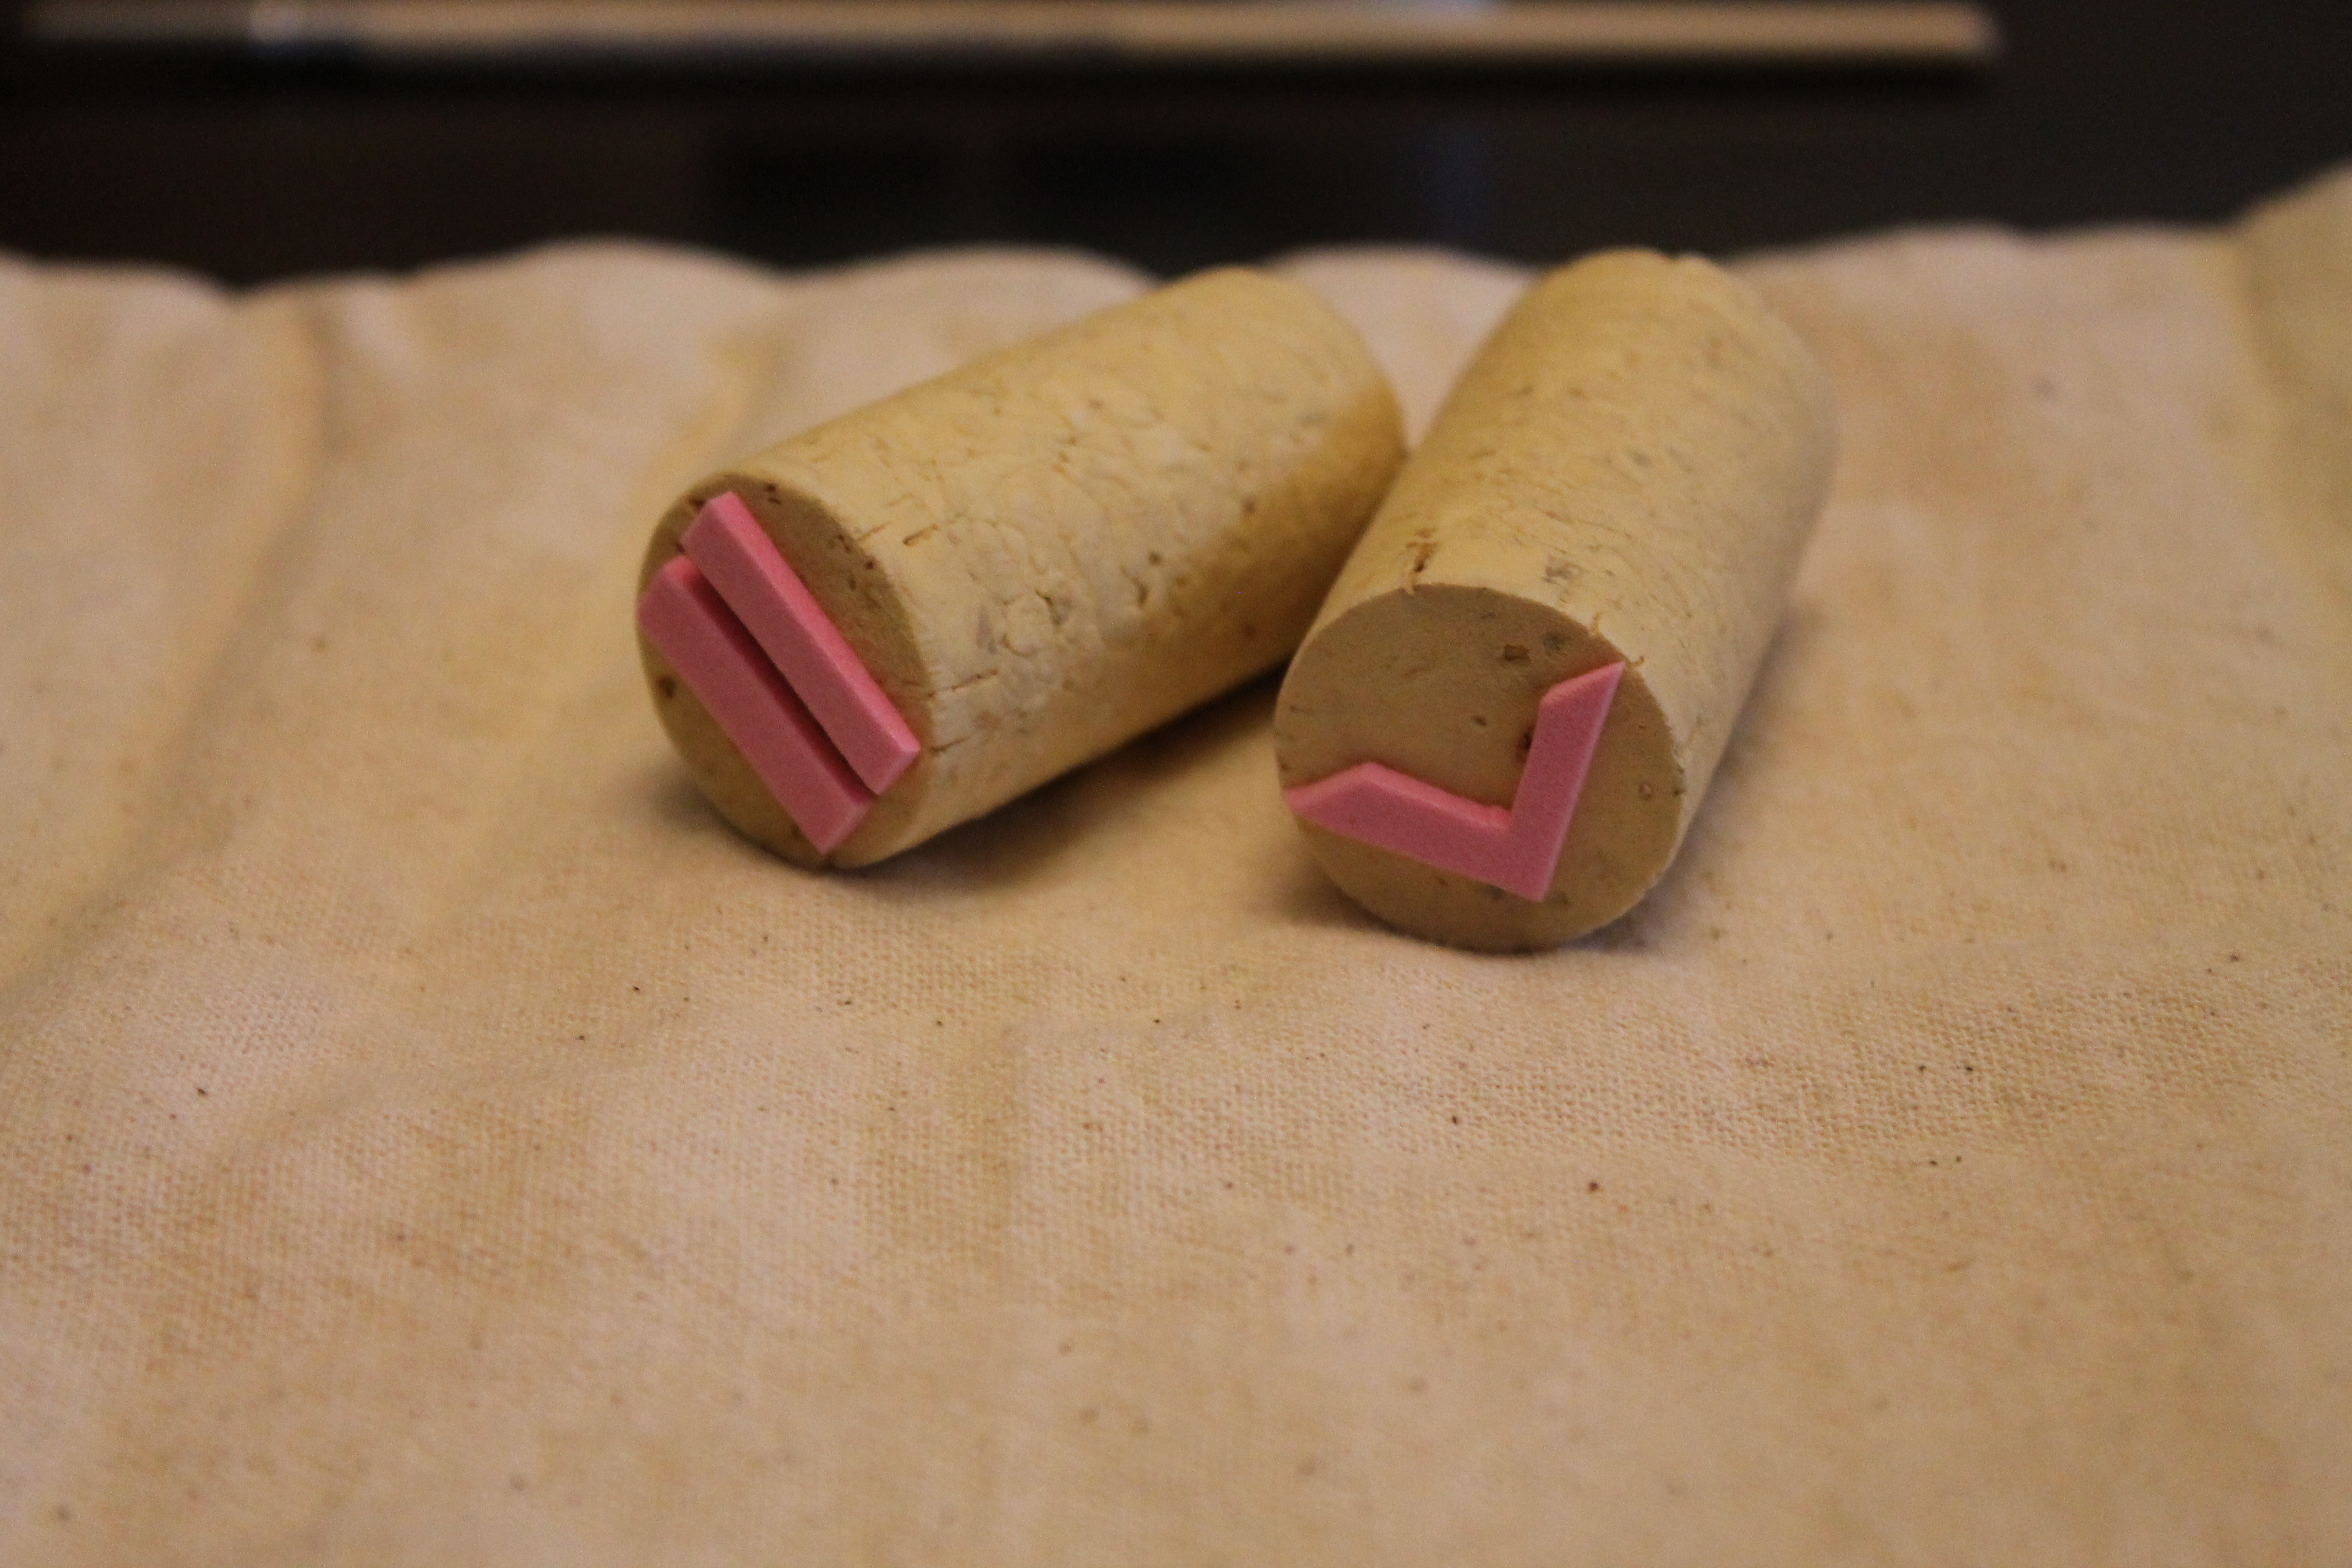
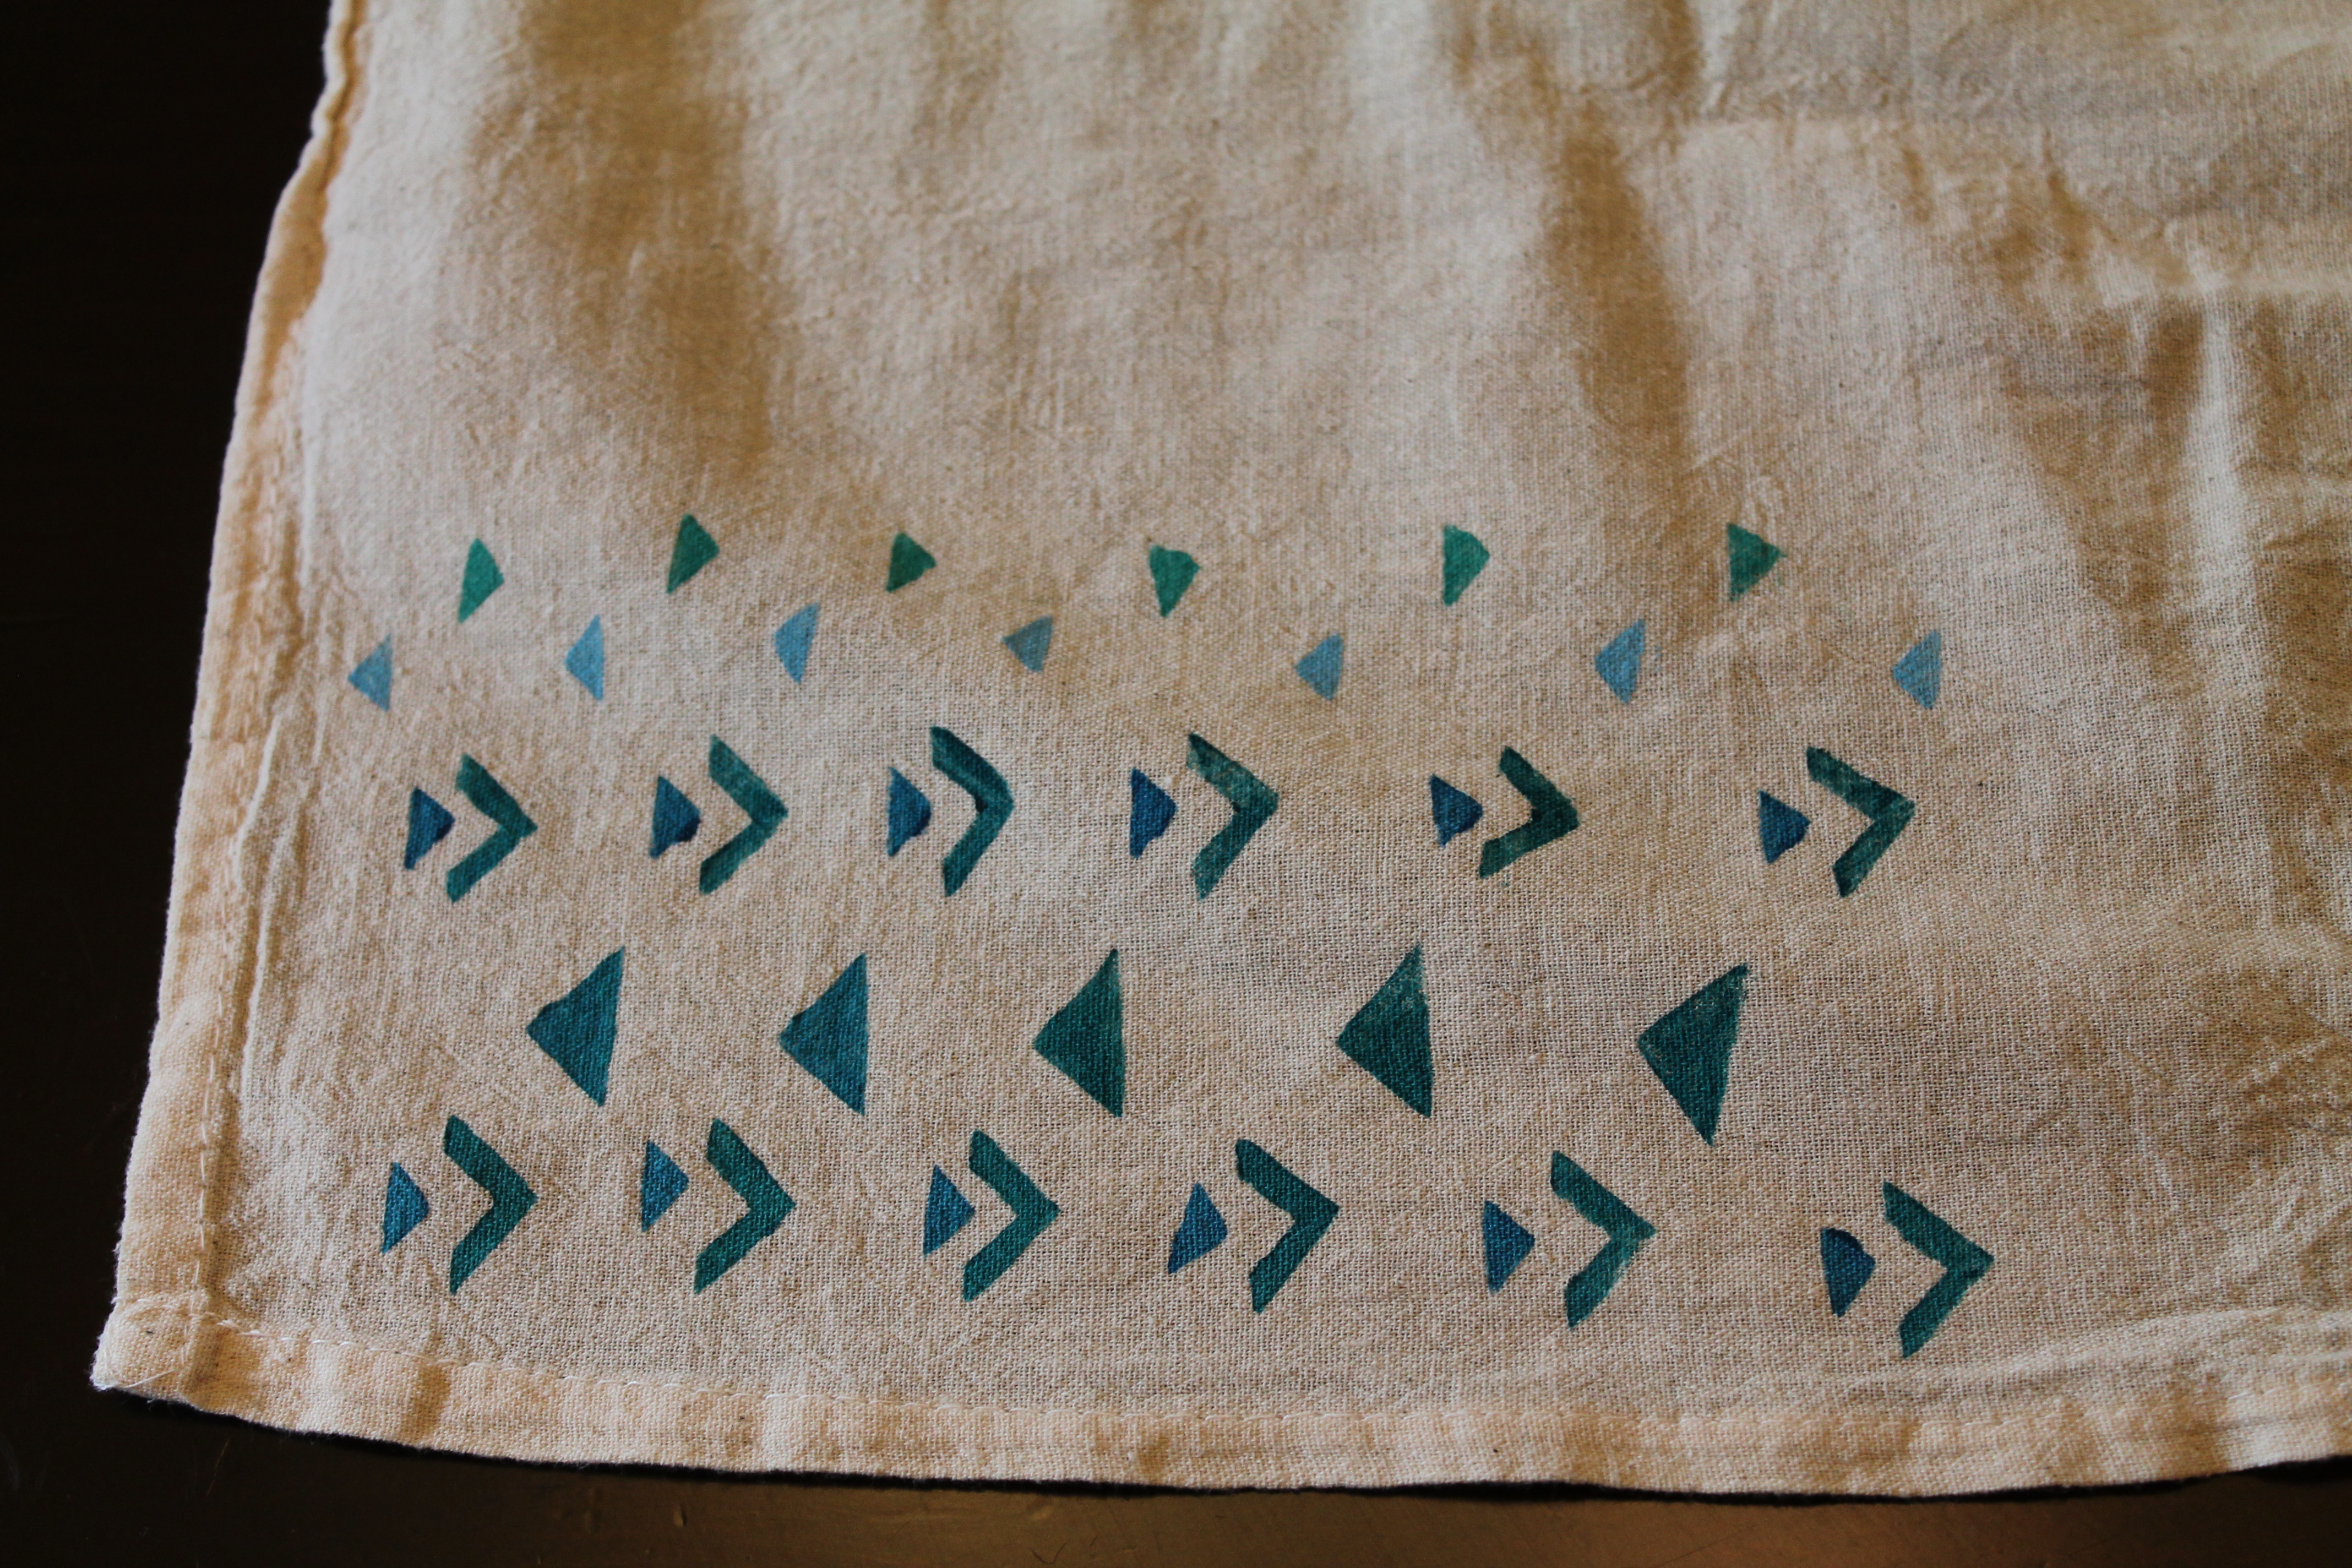
I probably had the most fun with the tea towel. You needed to first cut out foam shapes and attach them to the ends of a cork. I decided on a triangle pattern, a chevron type pattern, and two parallel lines.
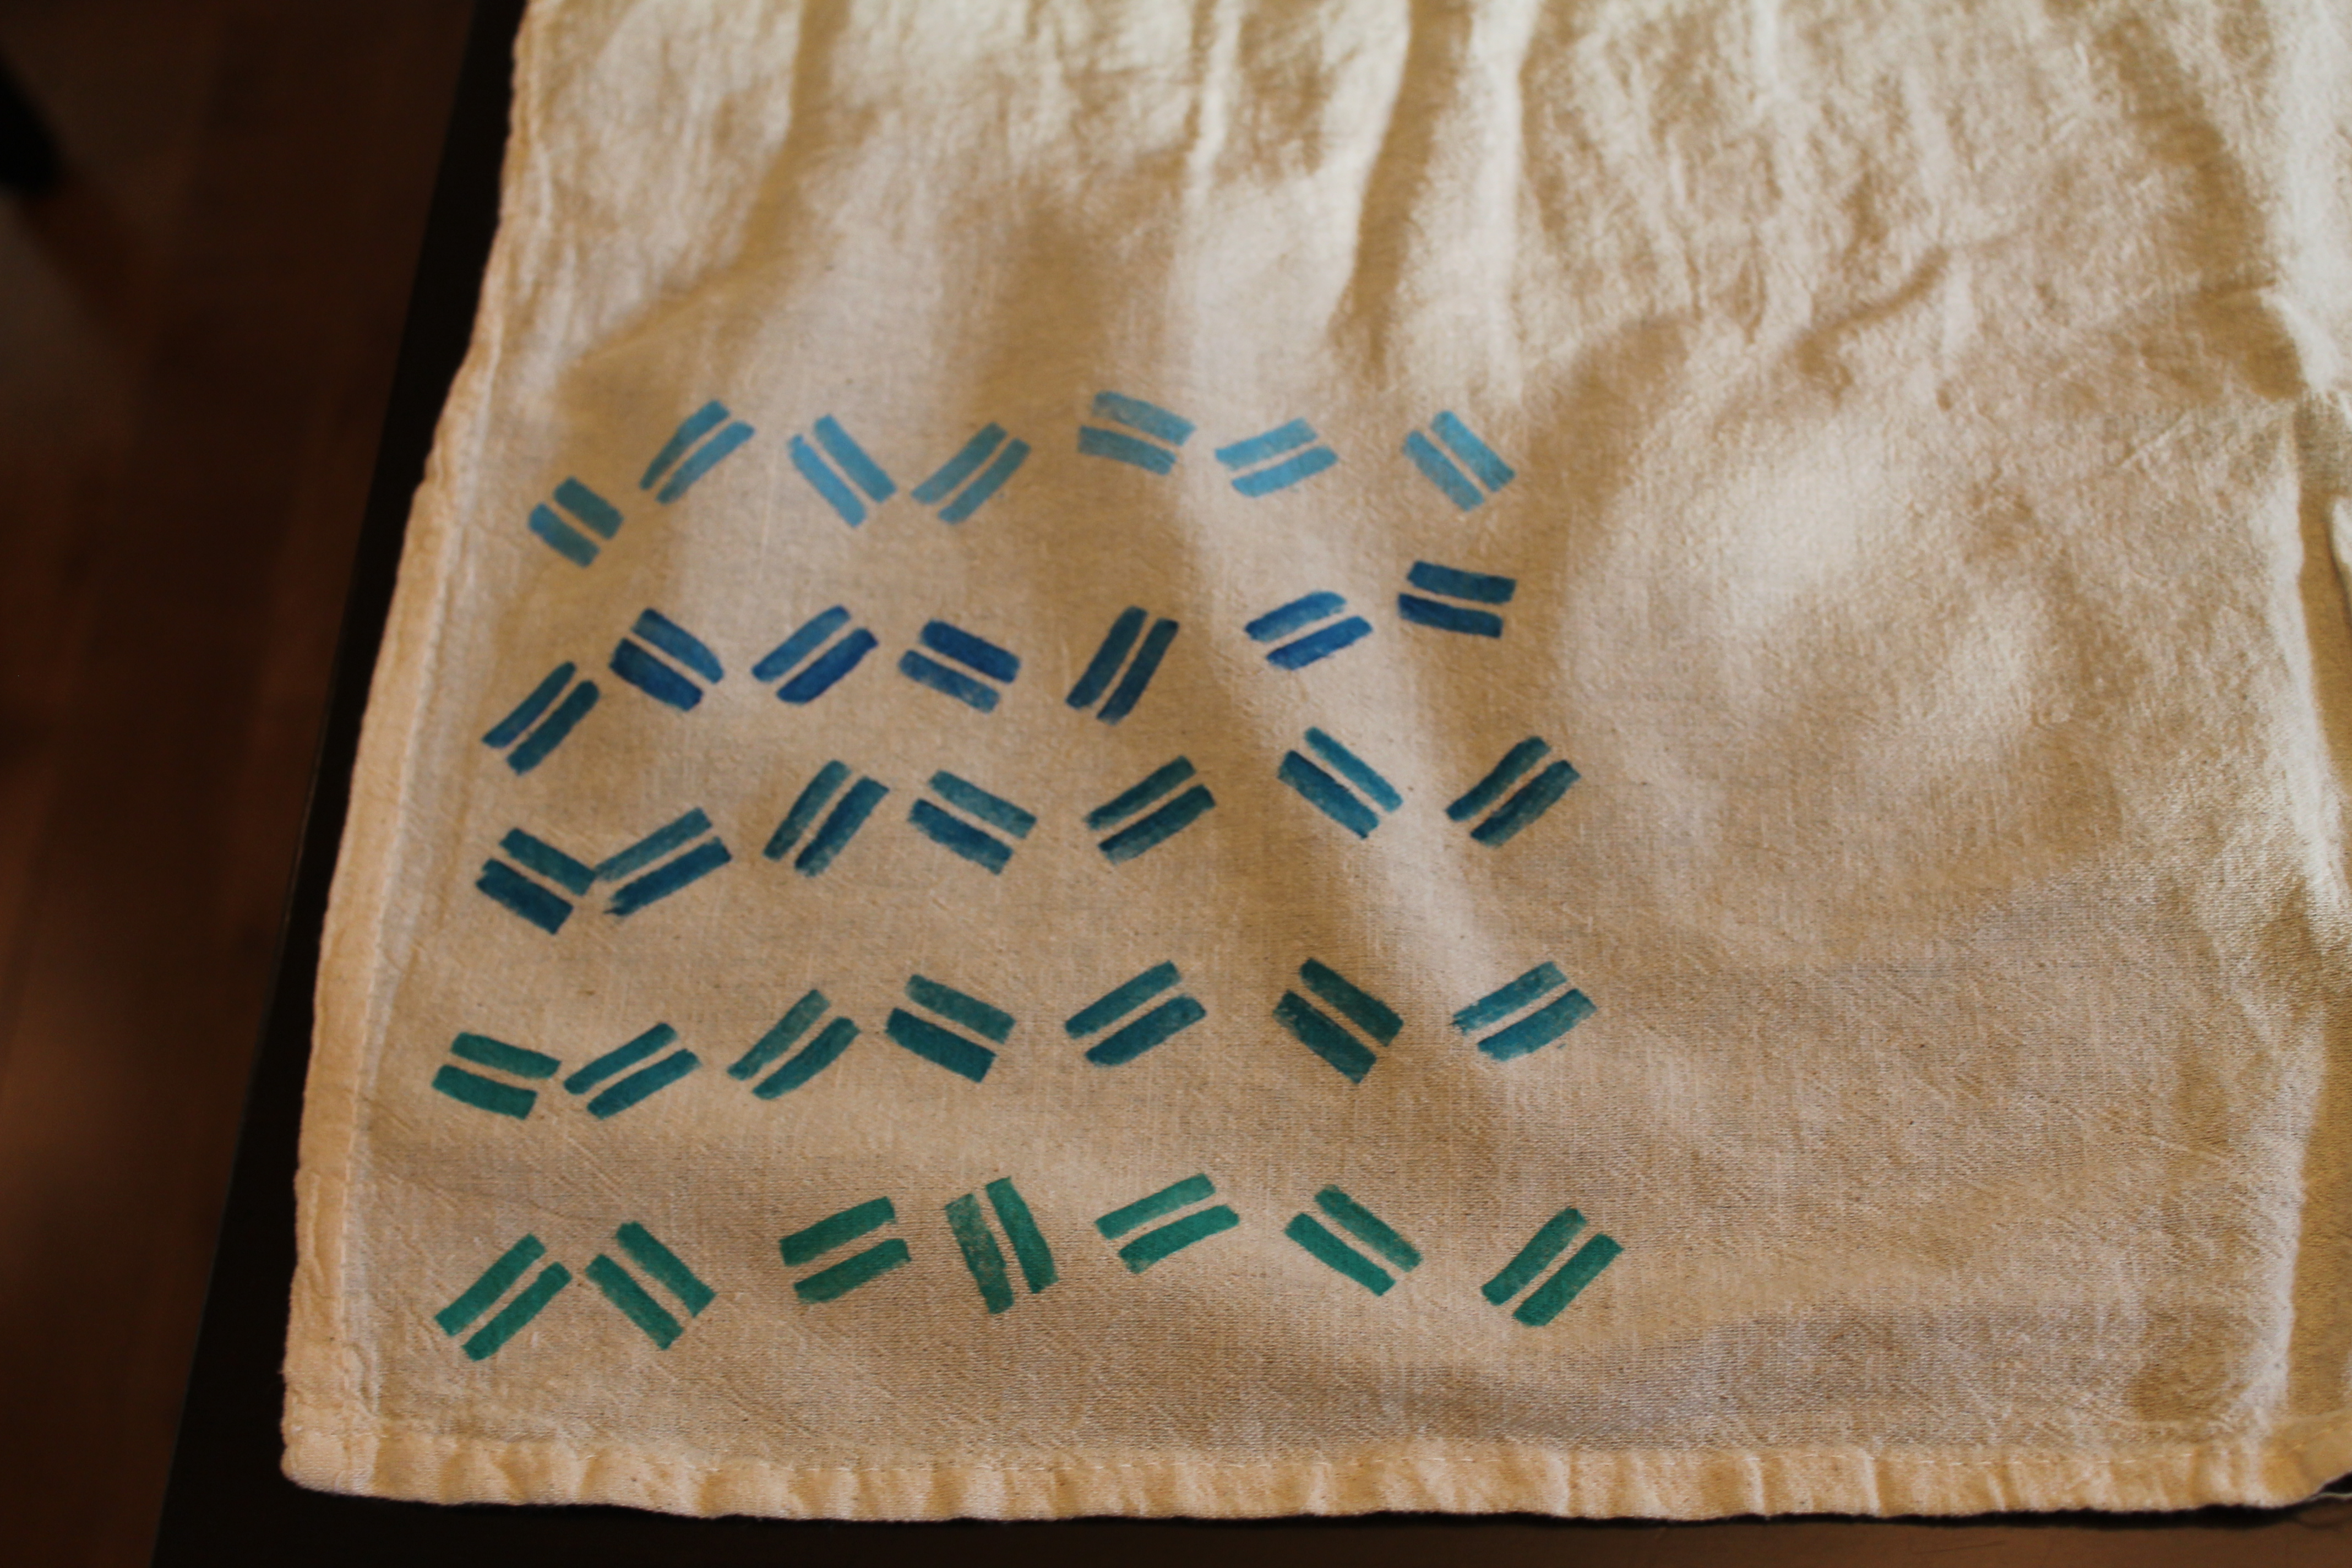
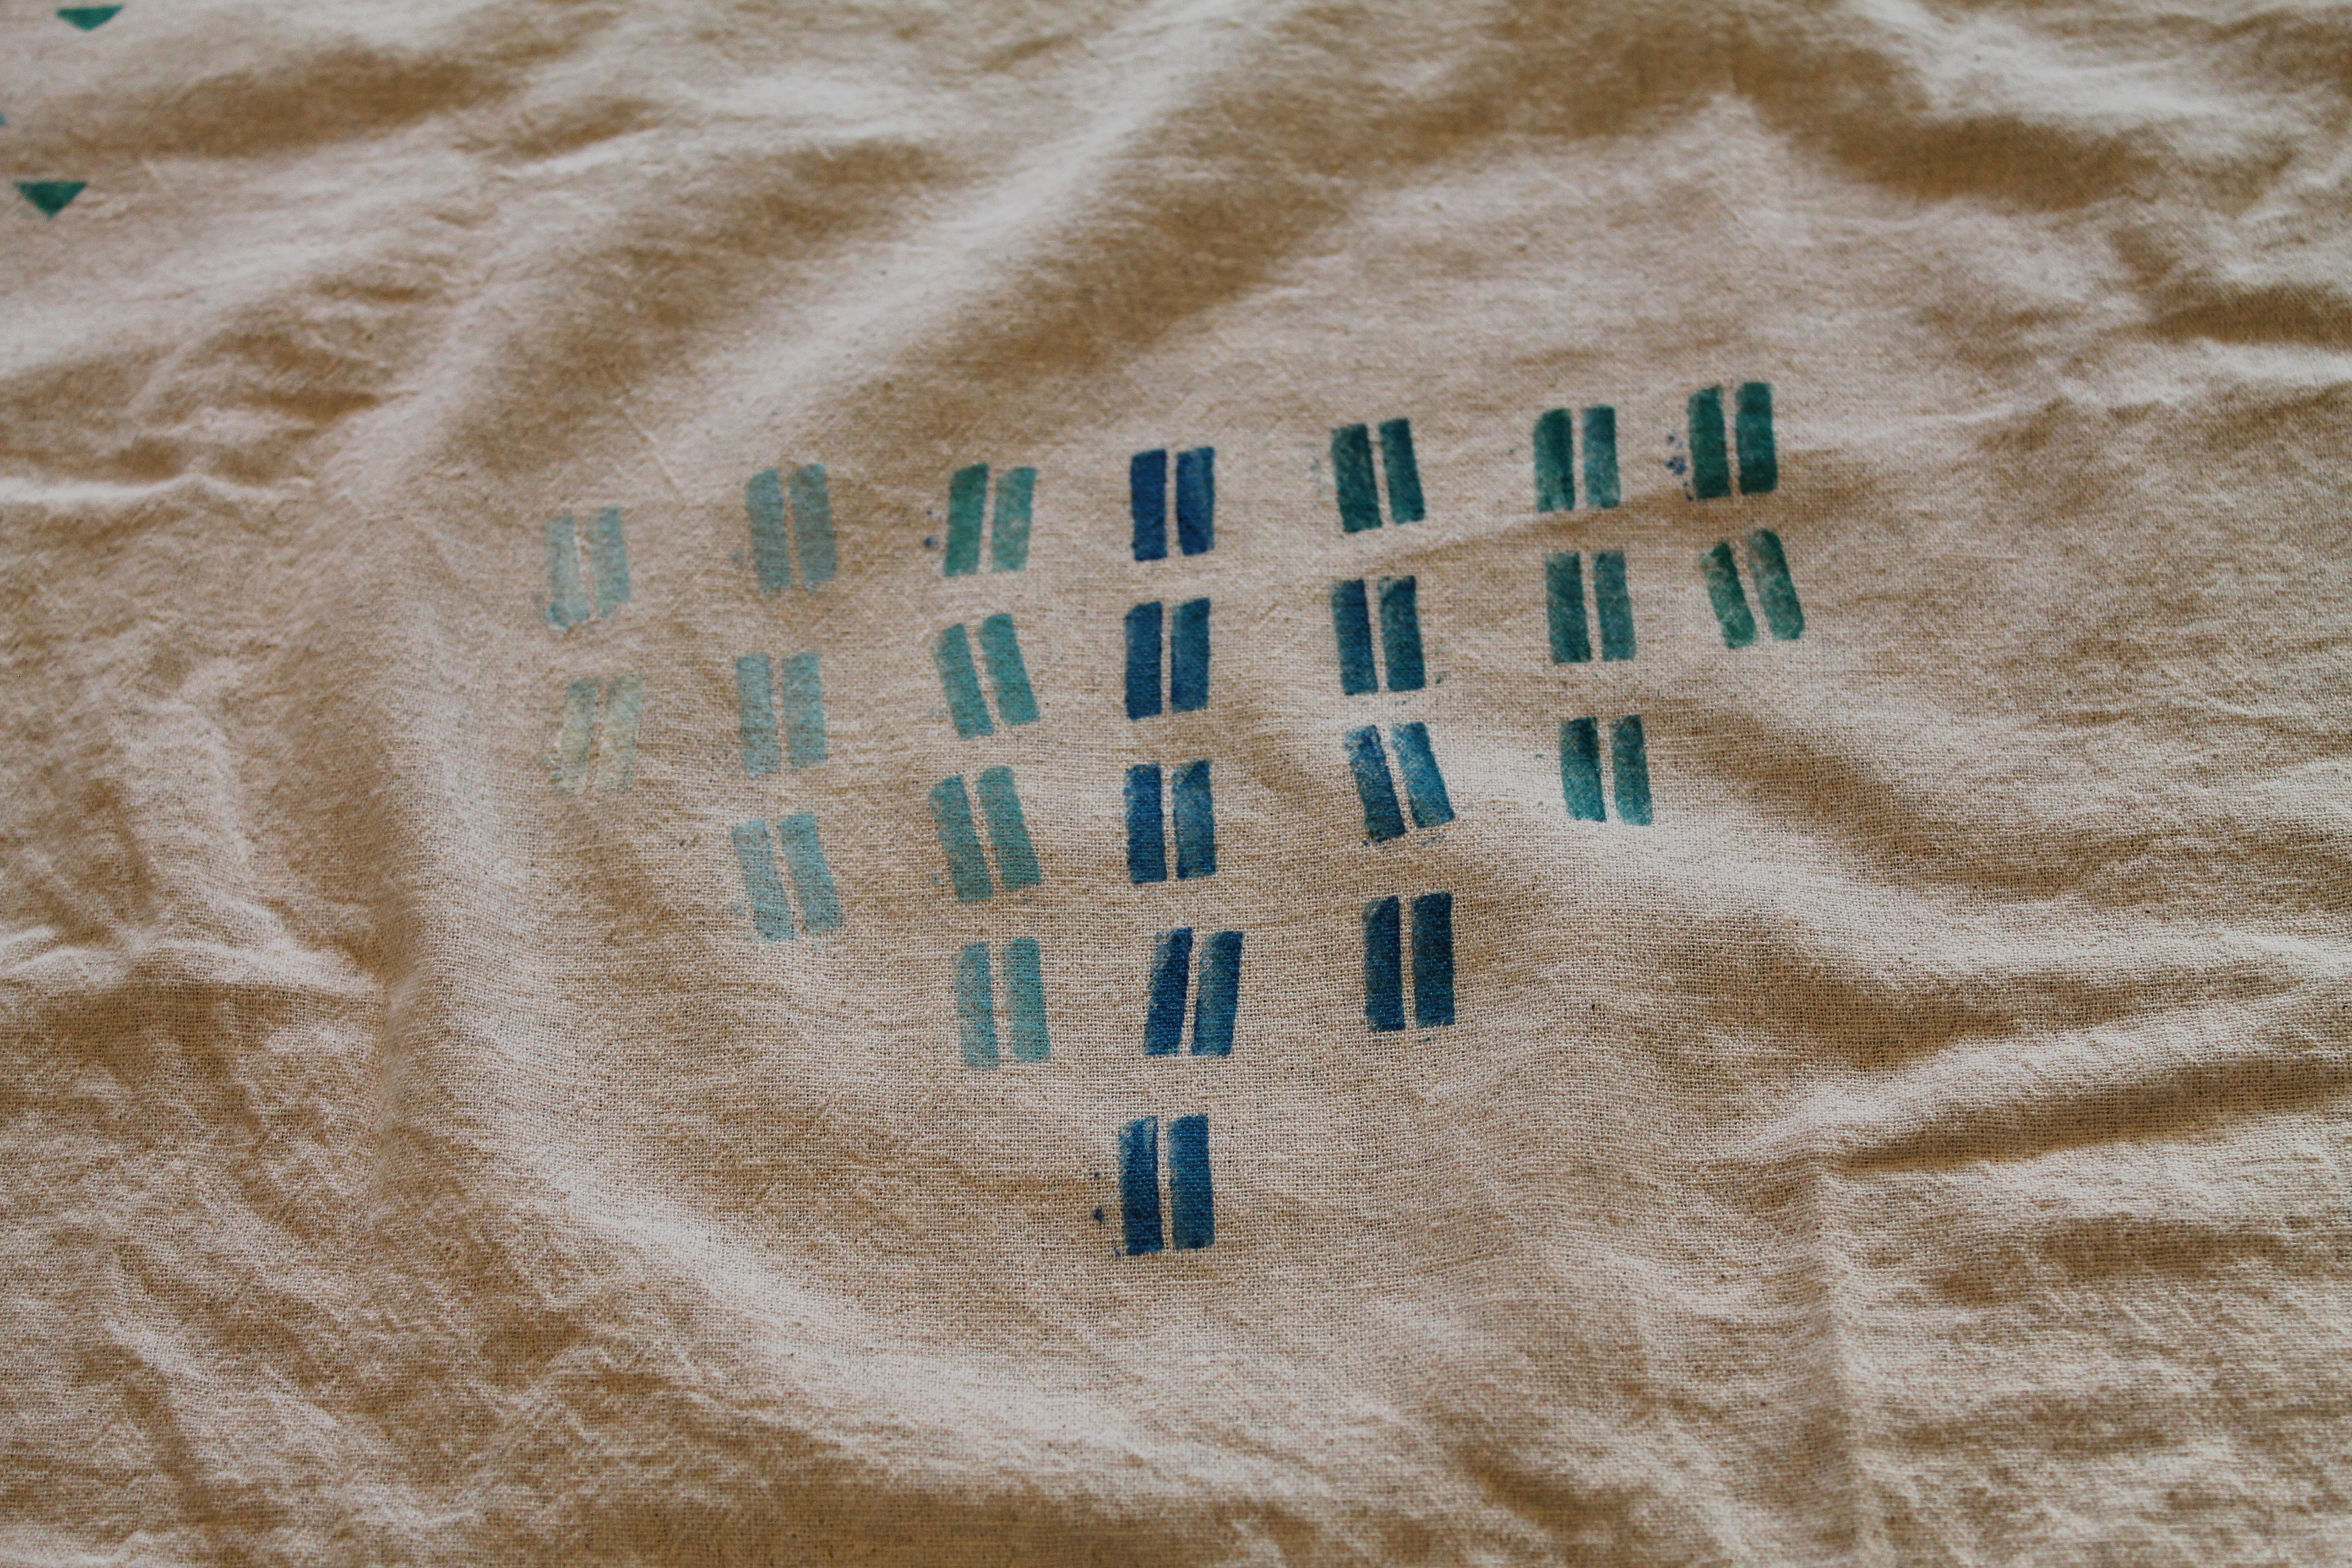
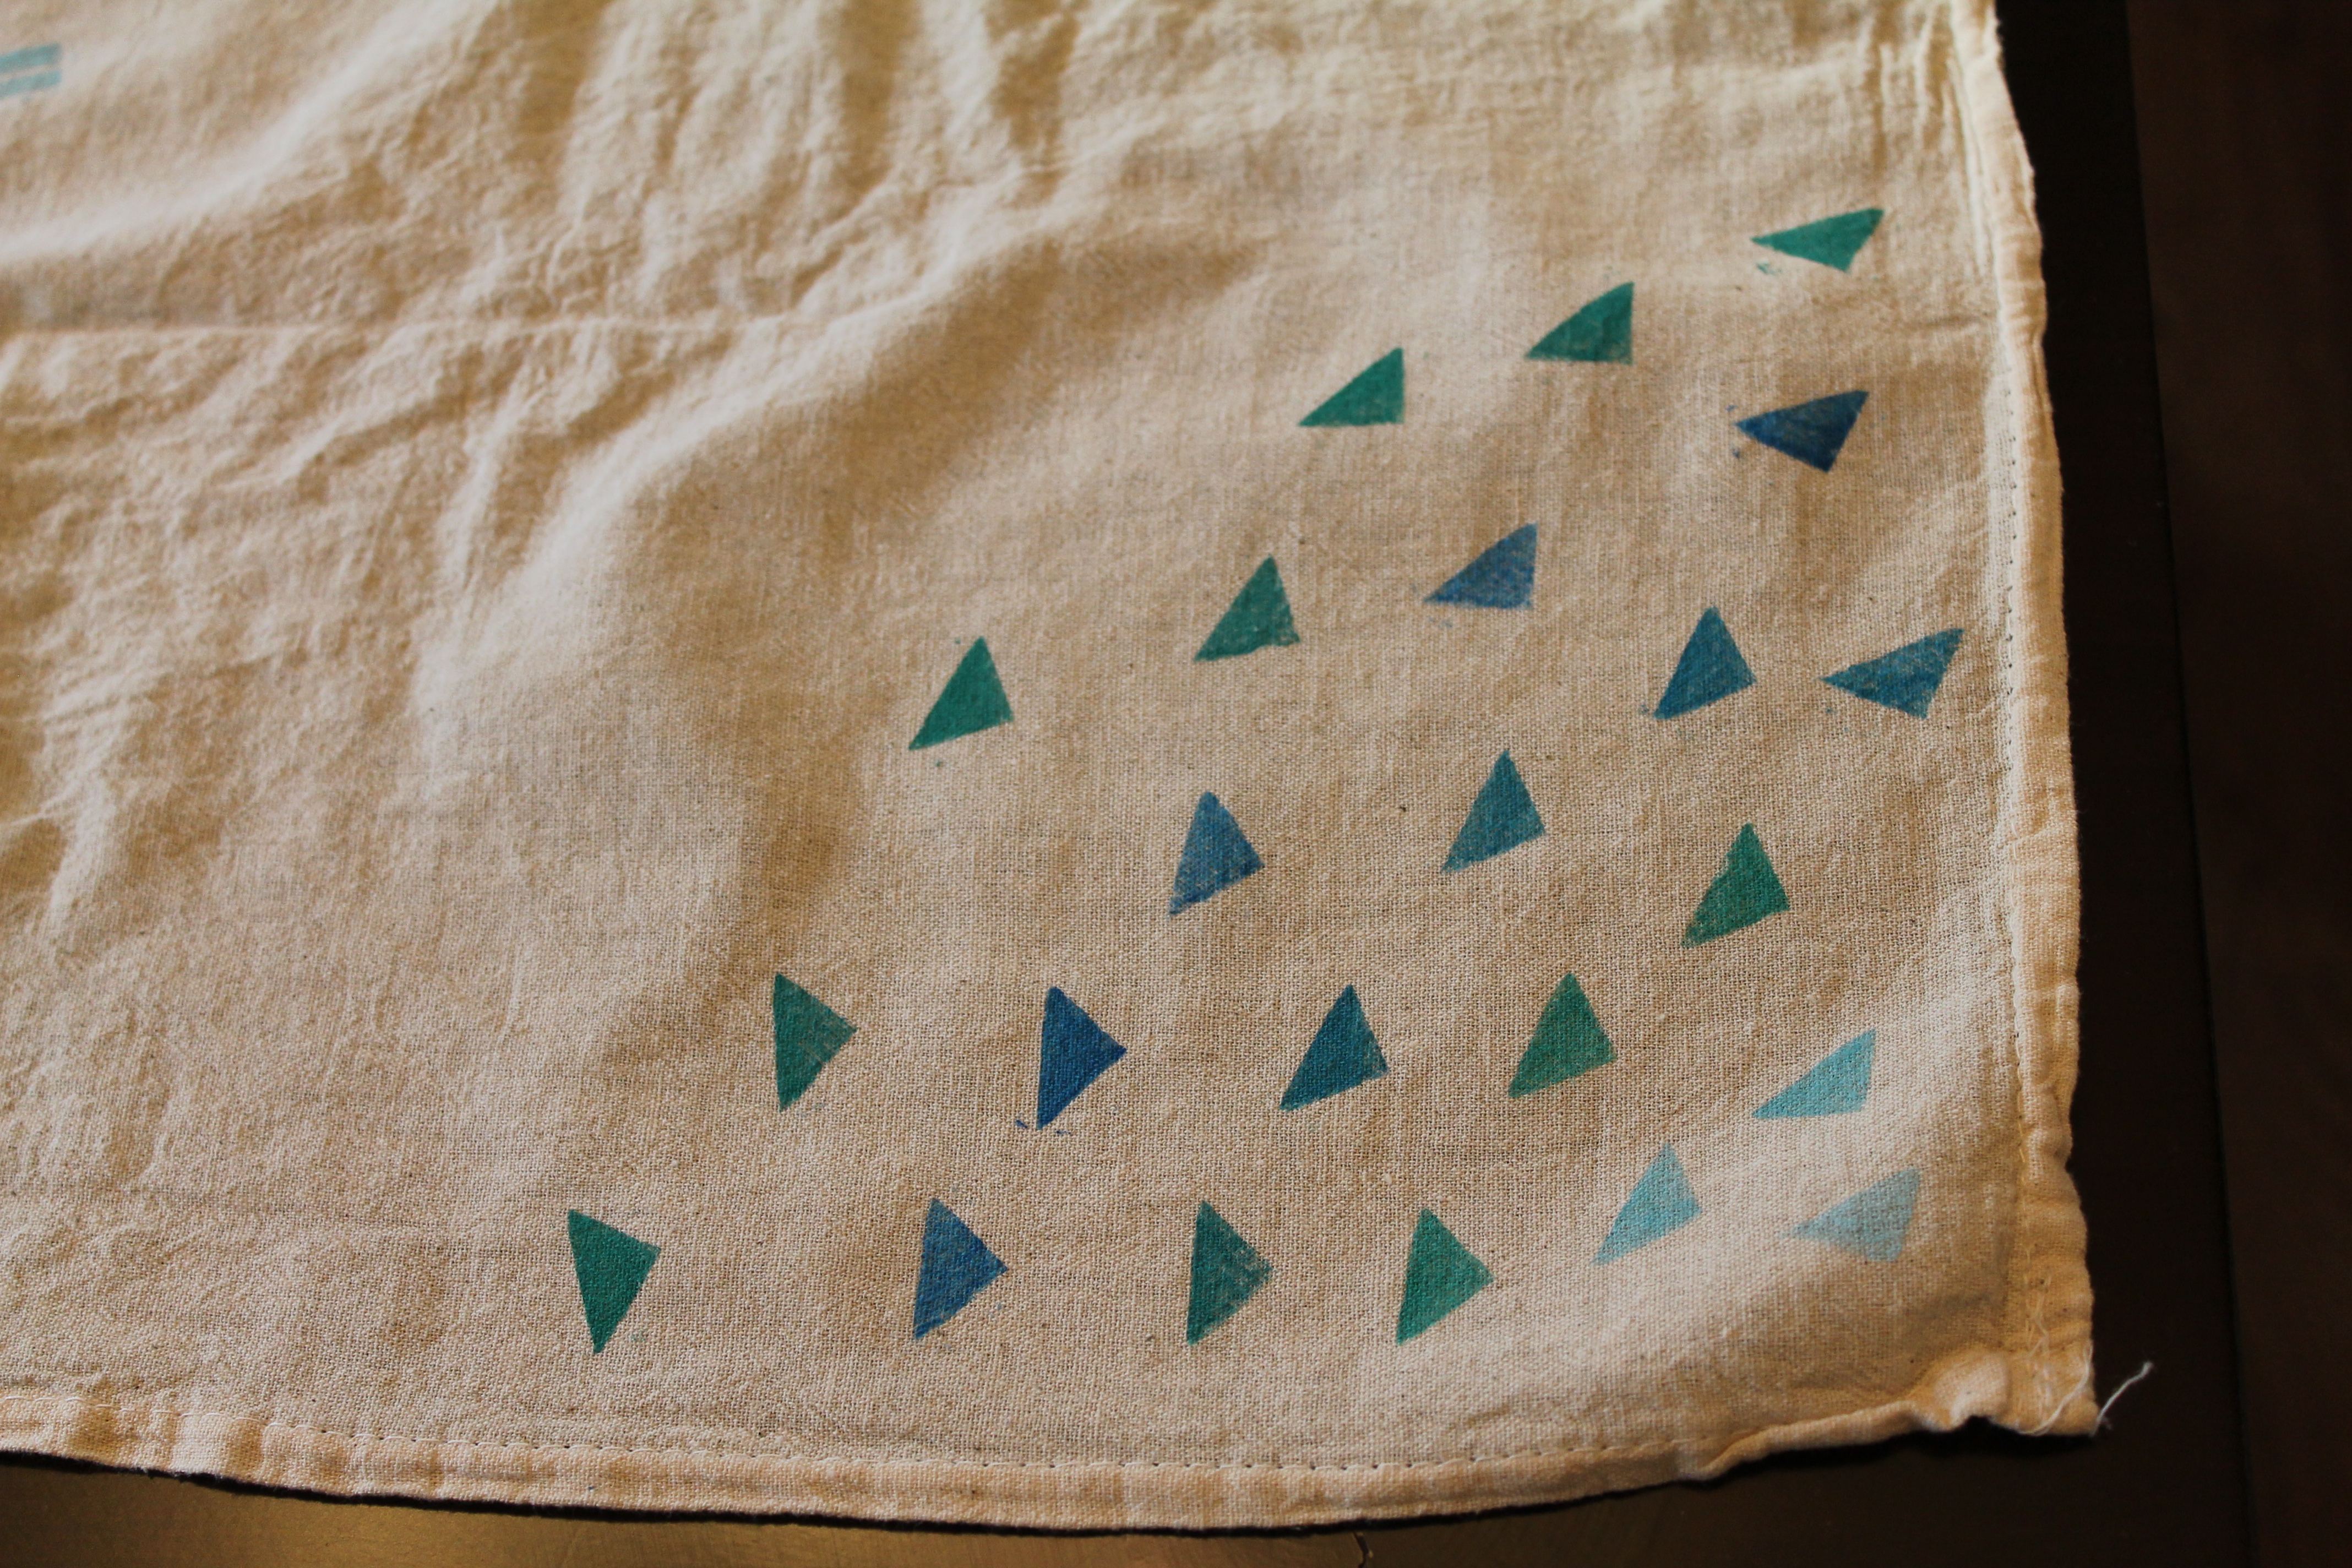
 Then you mix up some paint and paint the foam and stamp it on the tea towel. Here are some designs I made.
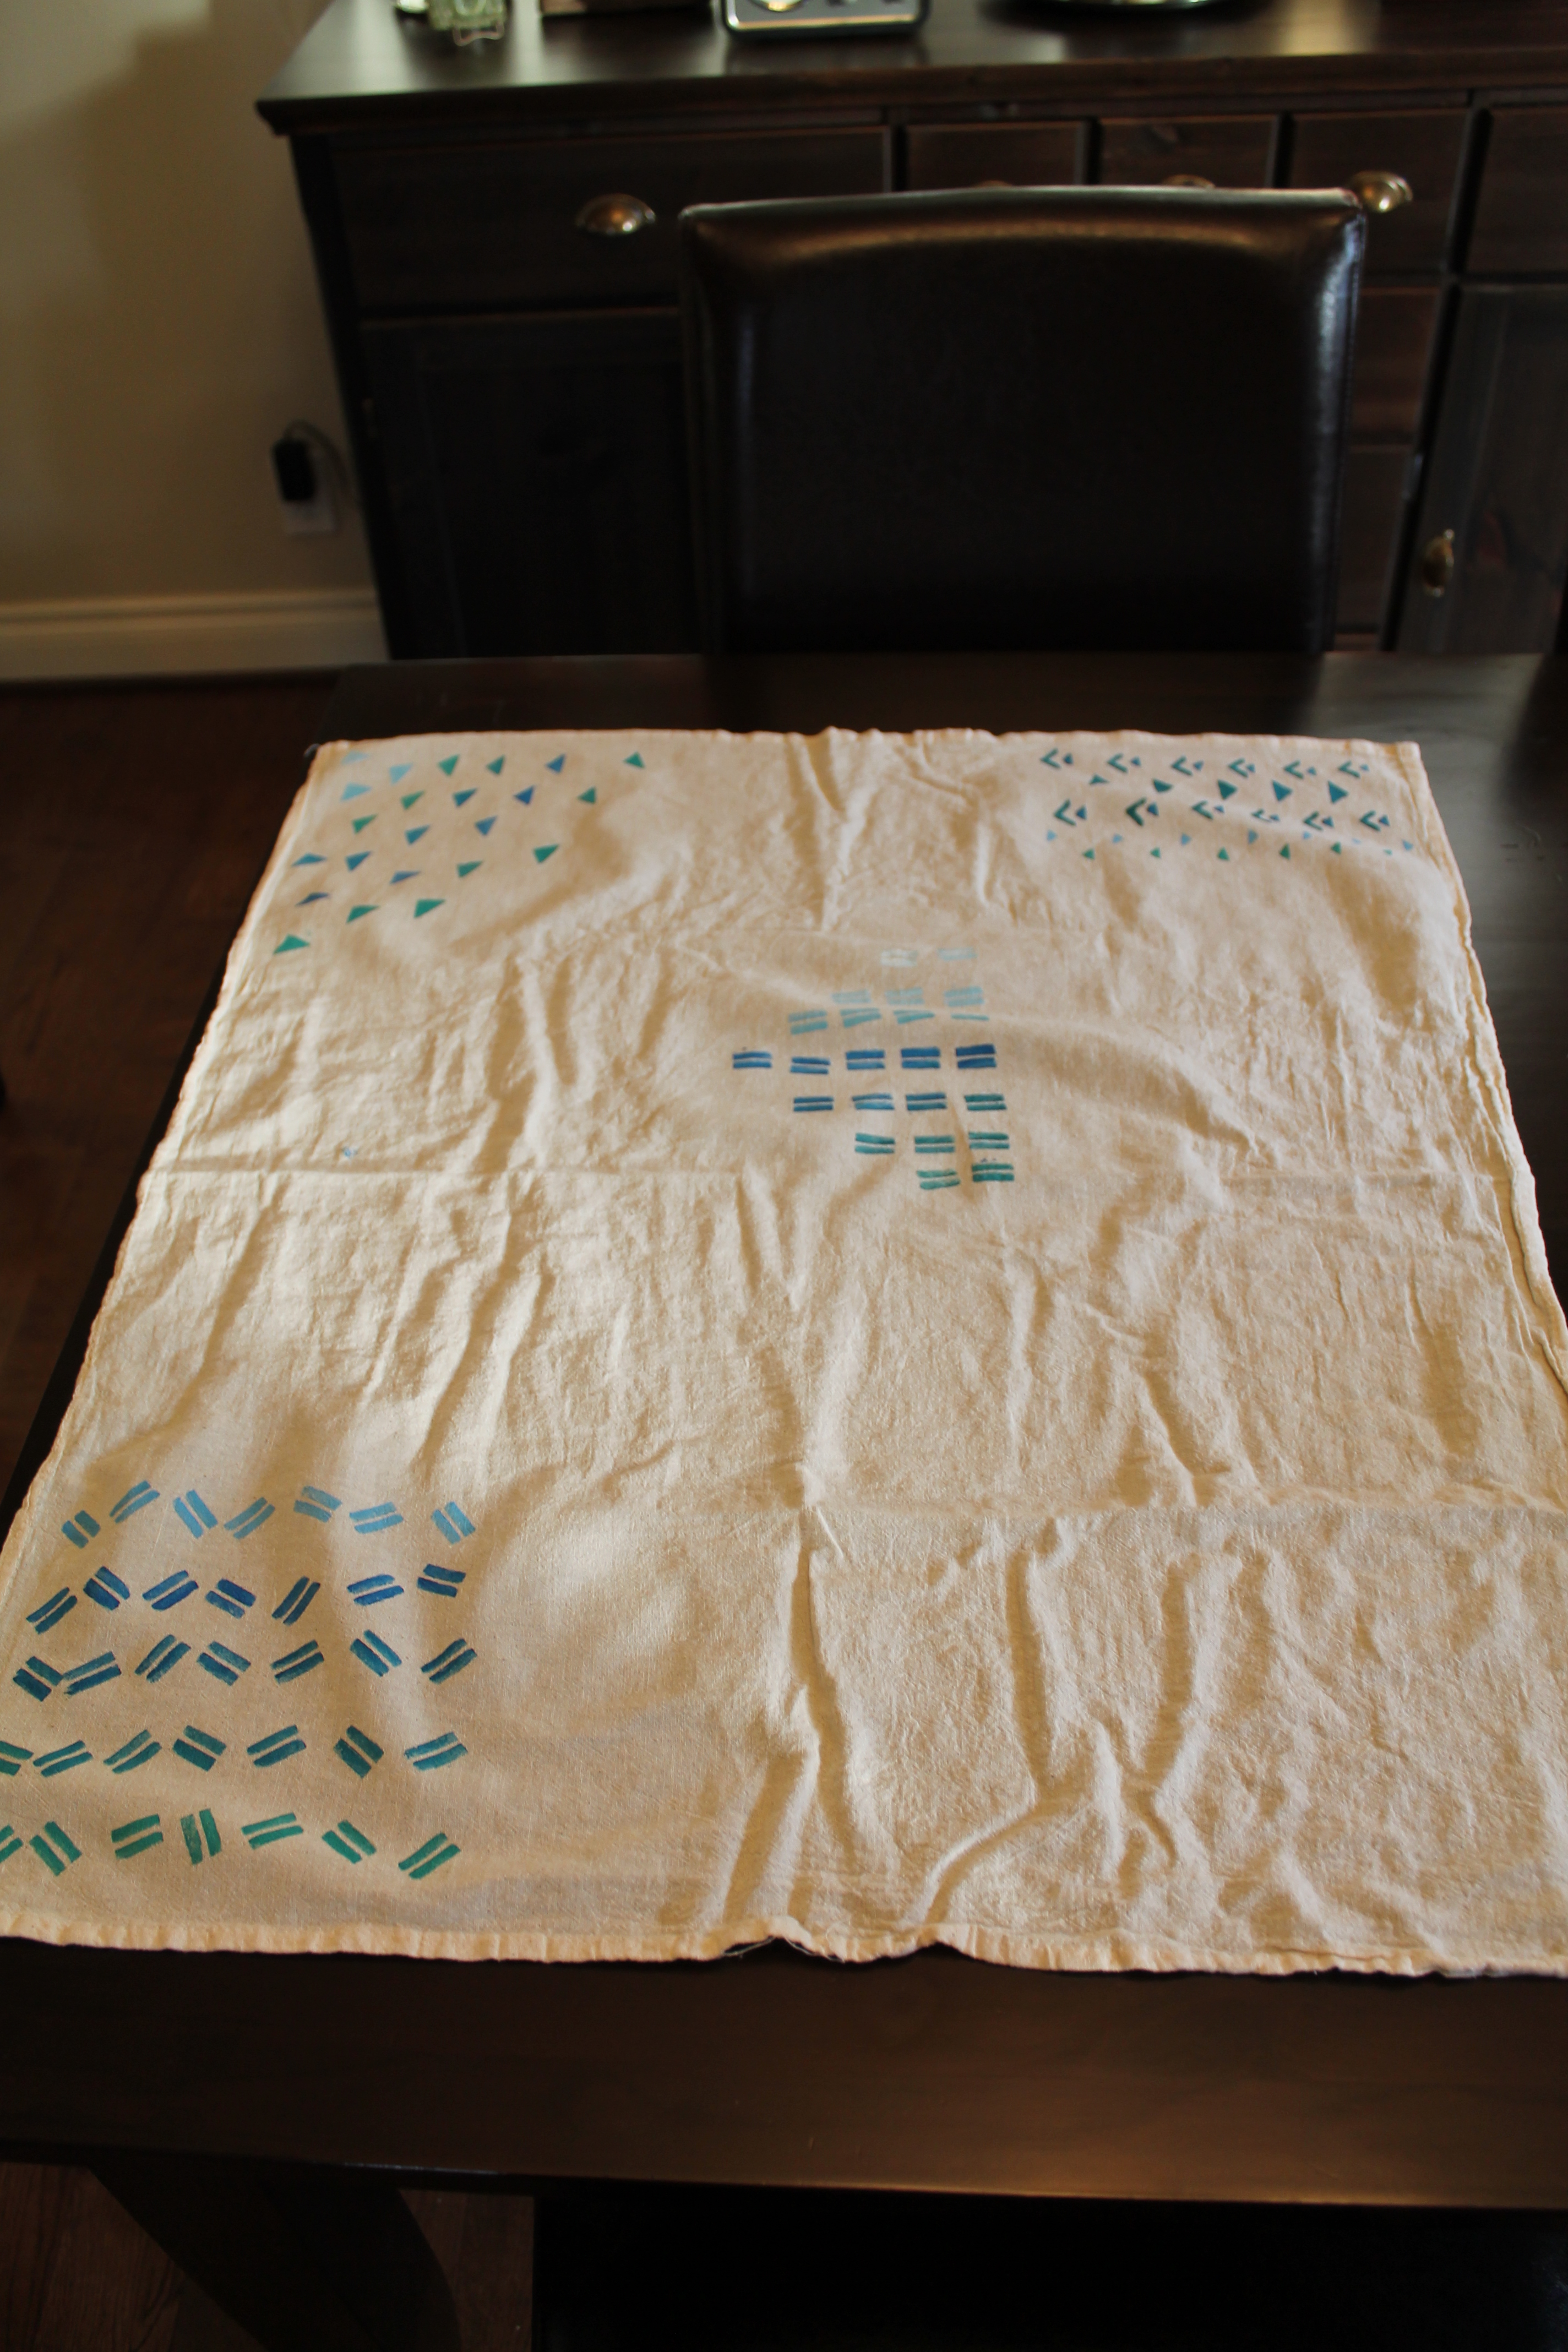
Whole tea towel:
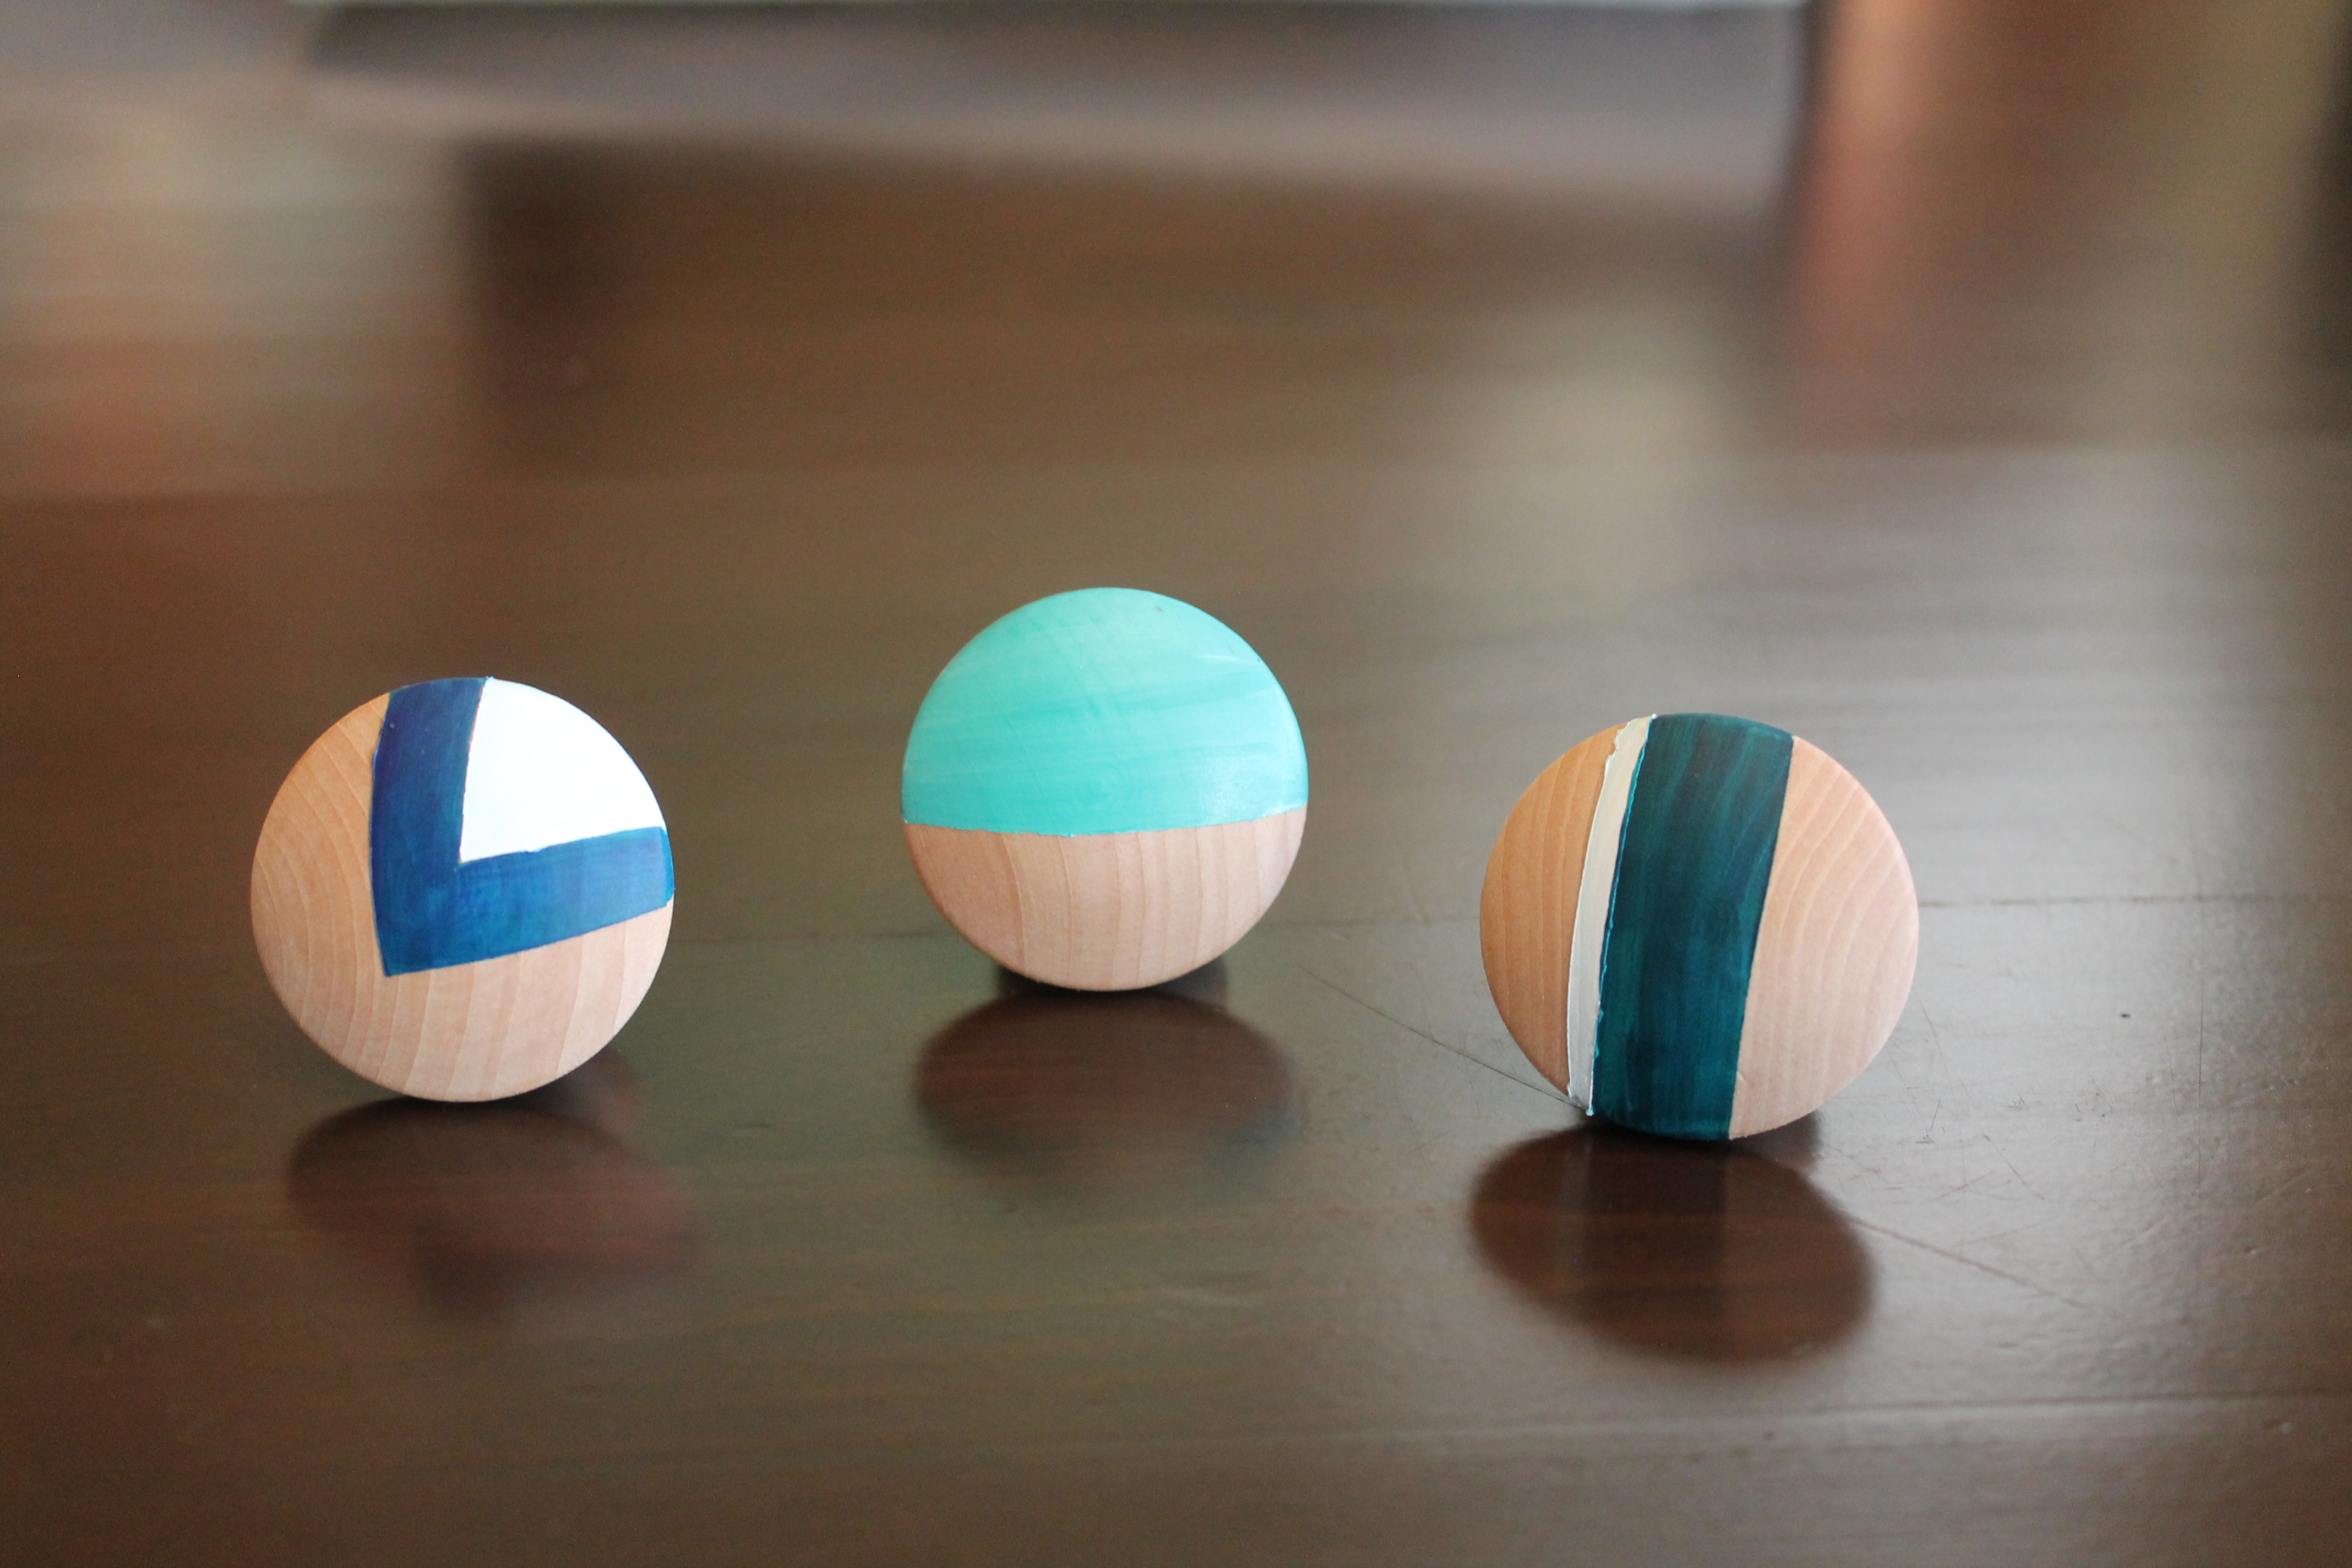
The other painting project were these wall pegs. I made these using blue painters tape to form the lines.
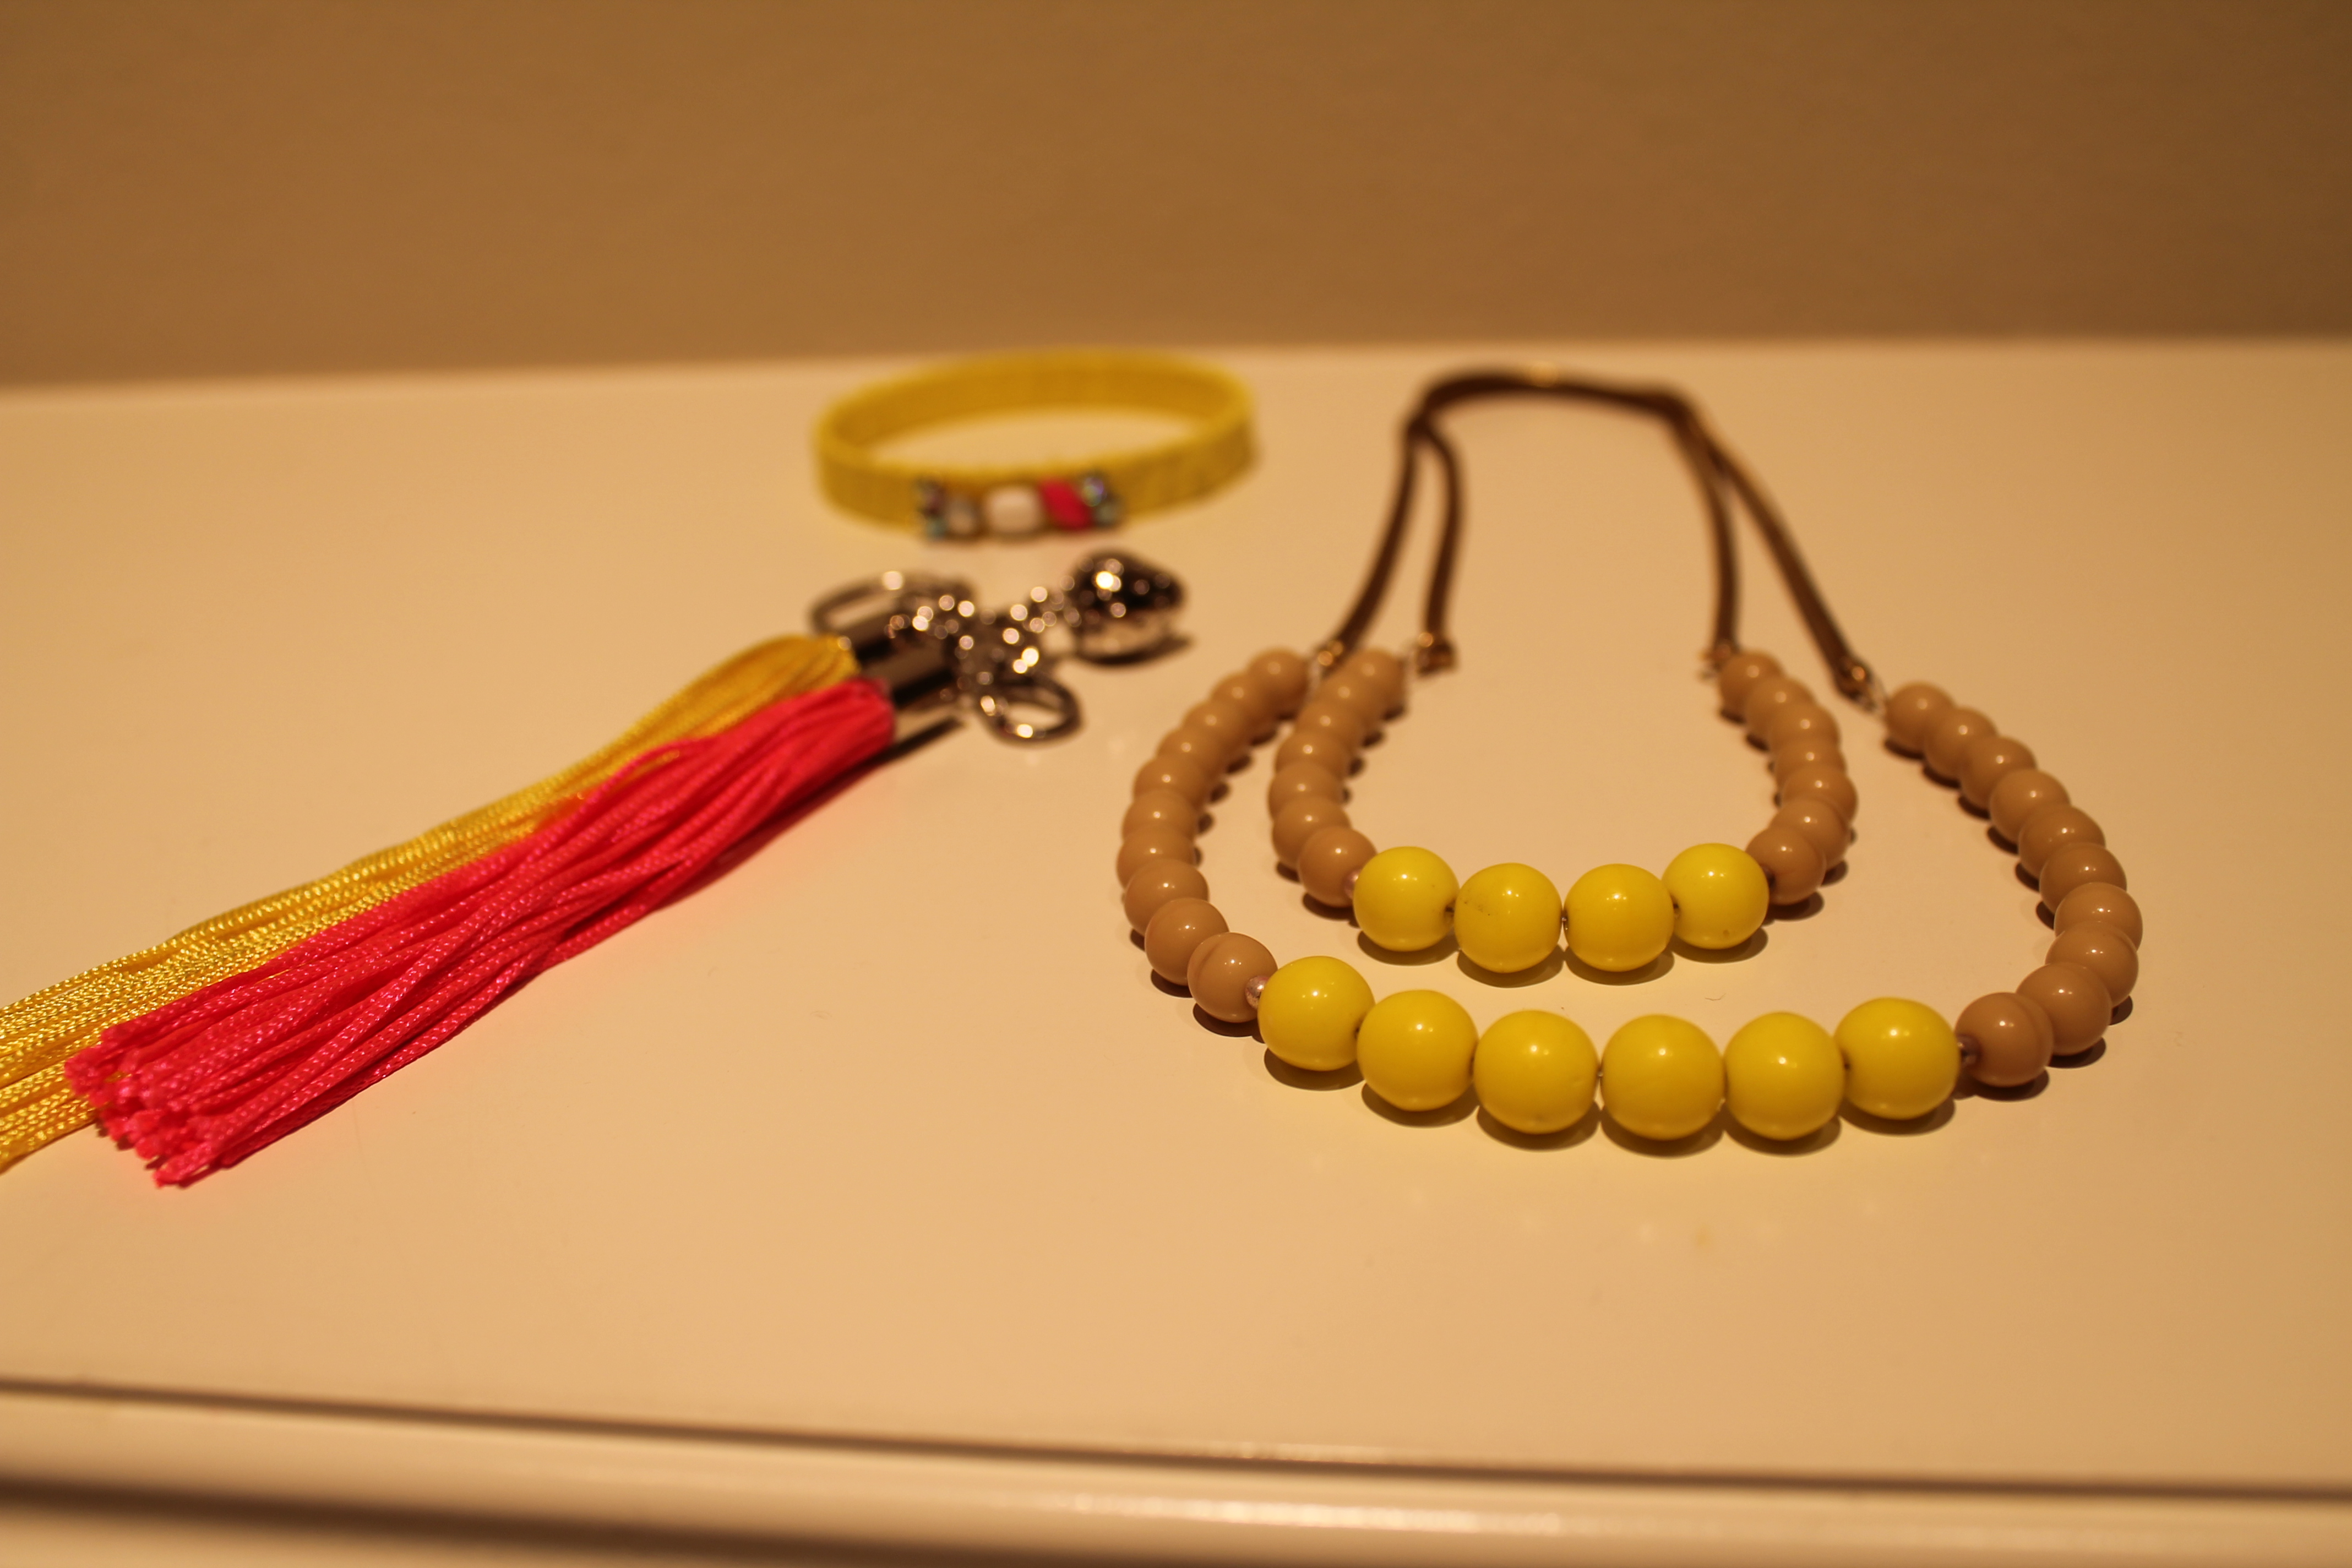
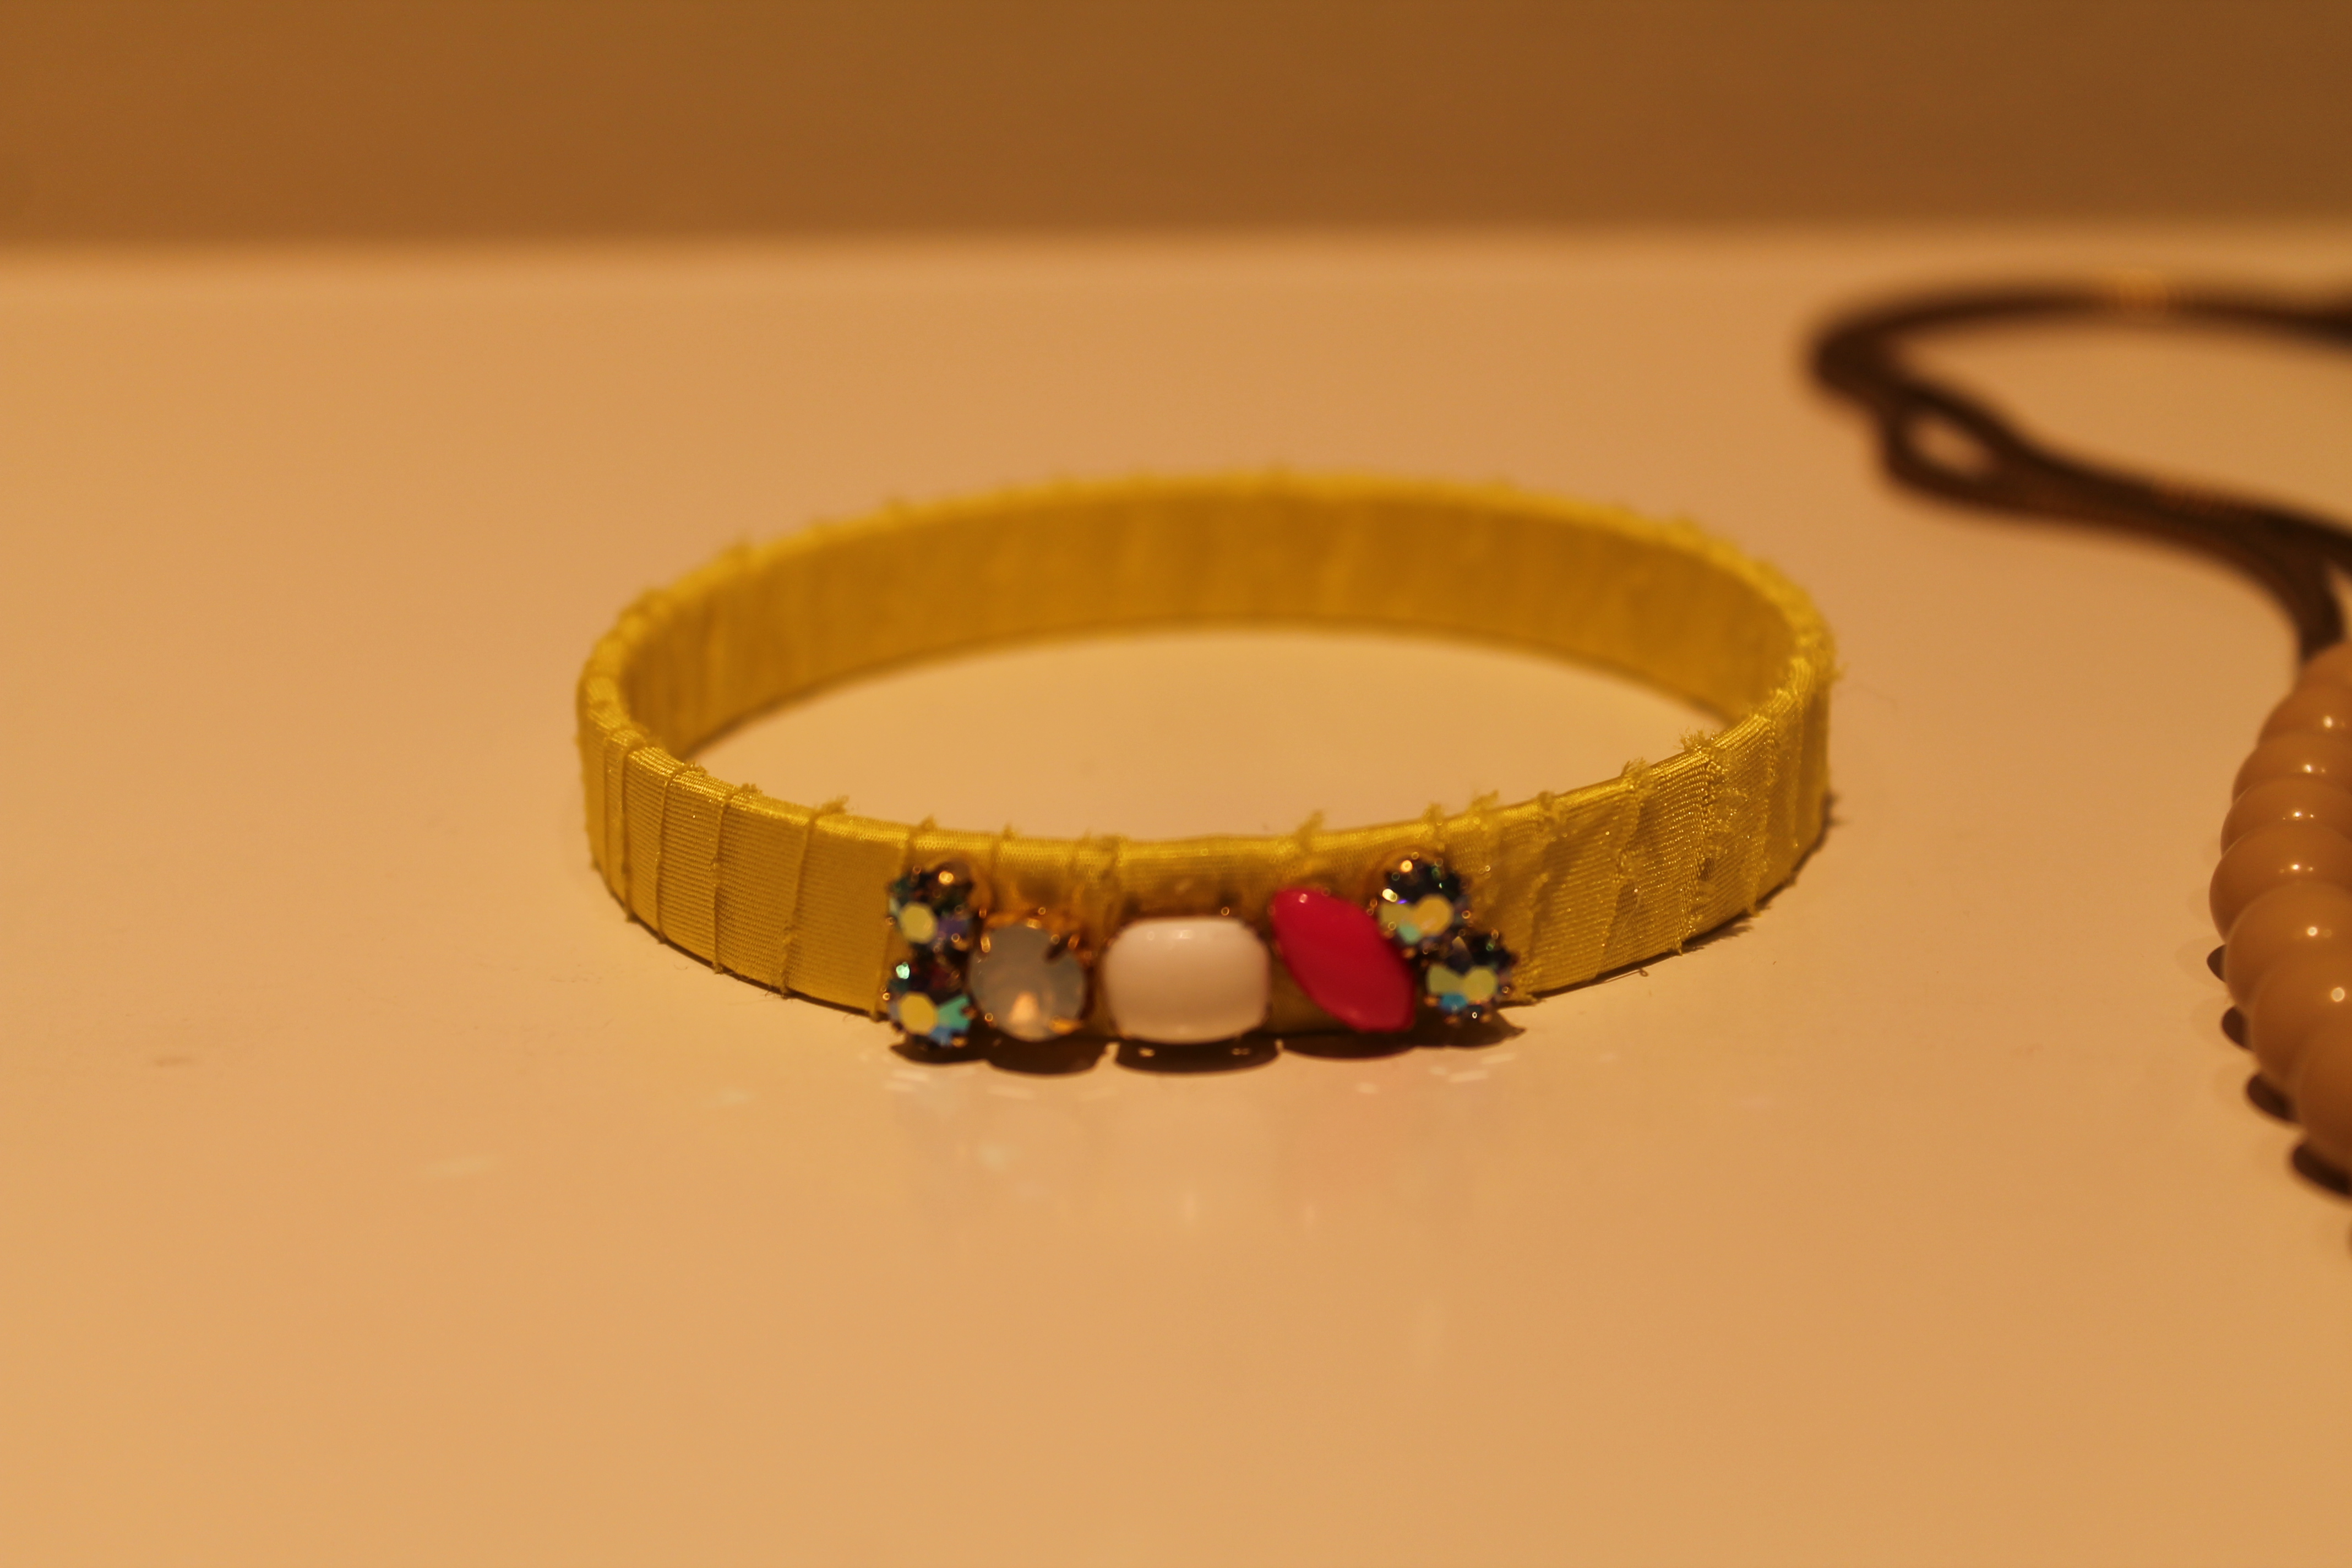
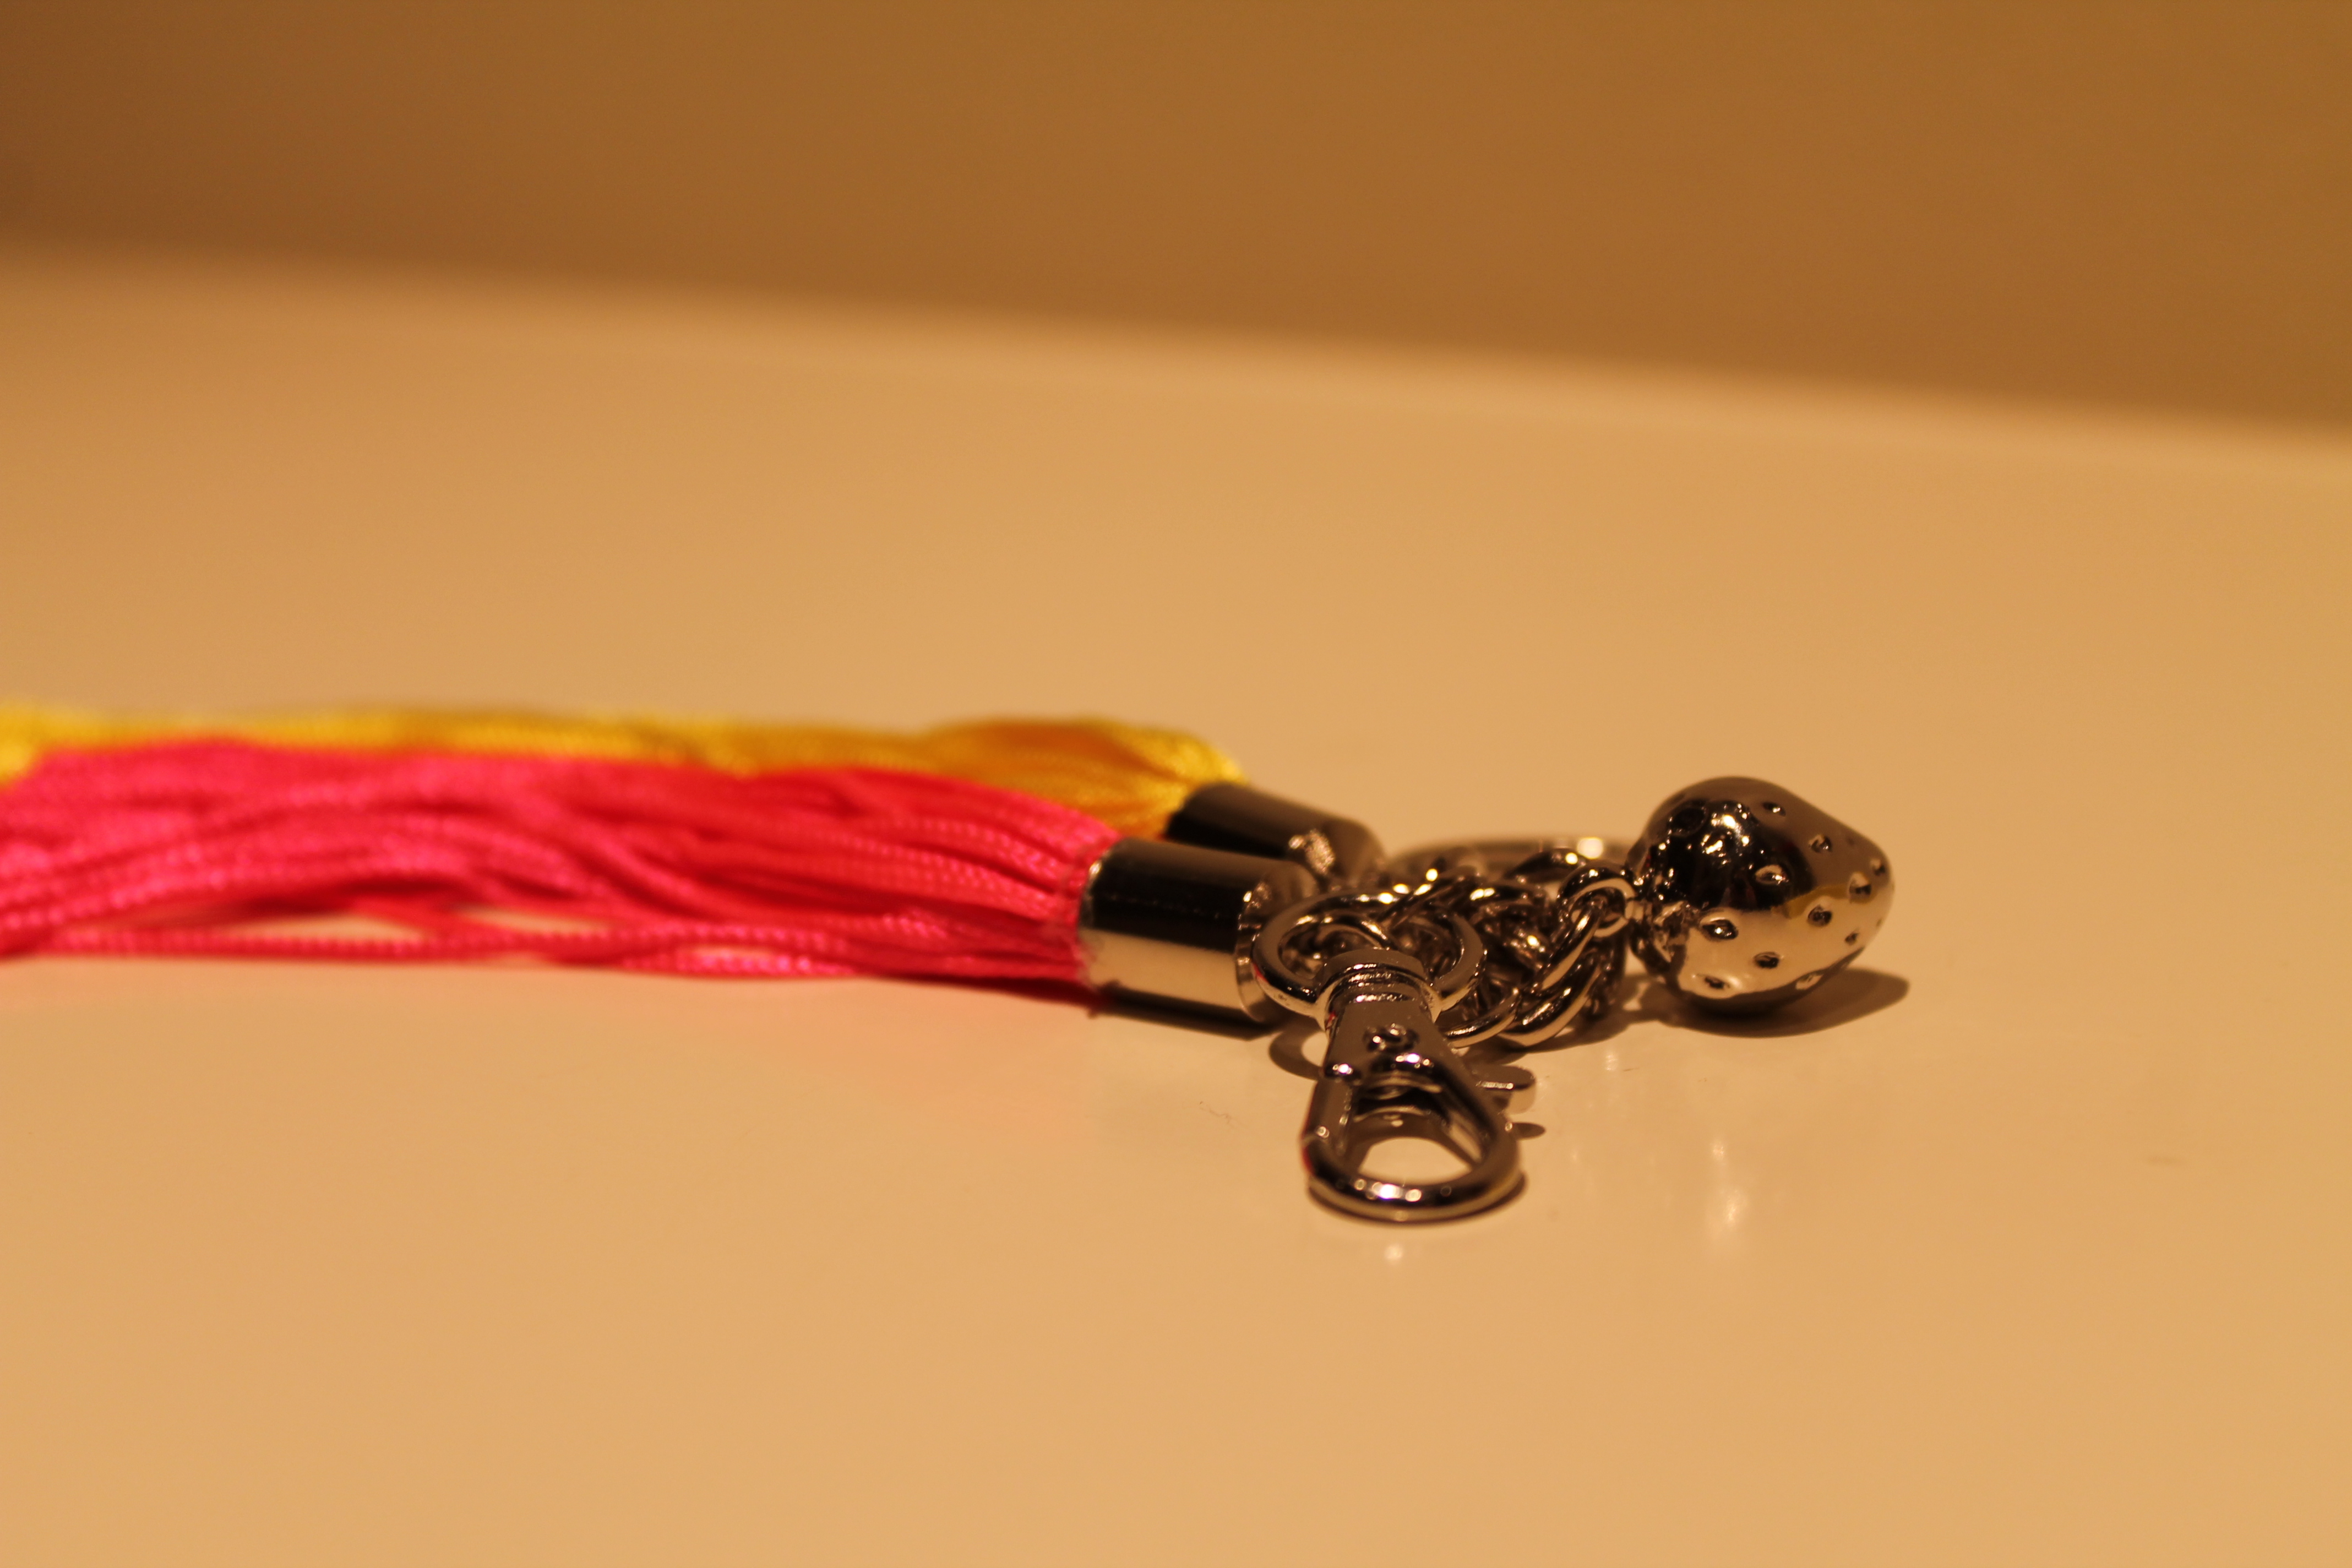
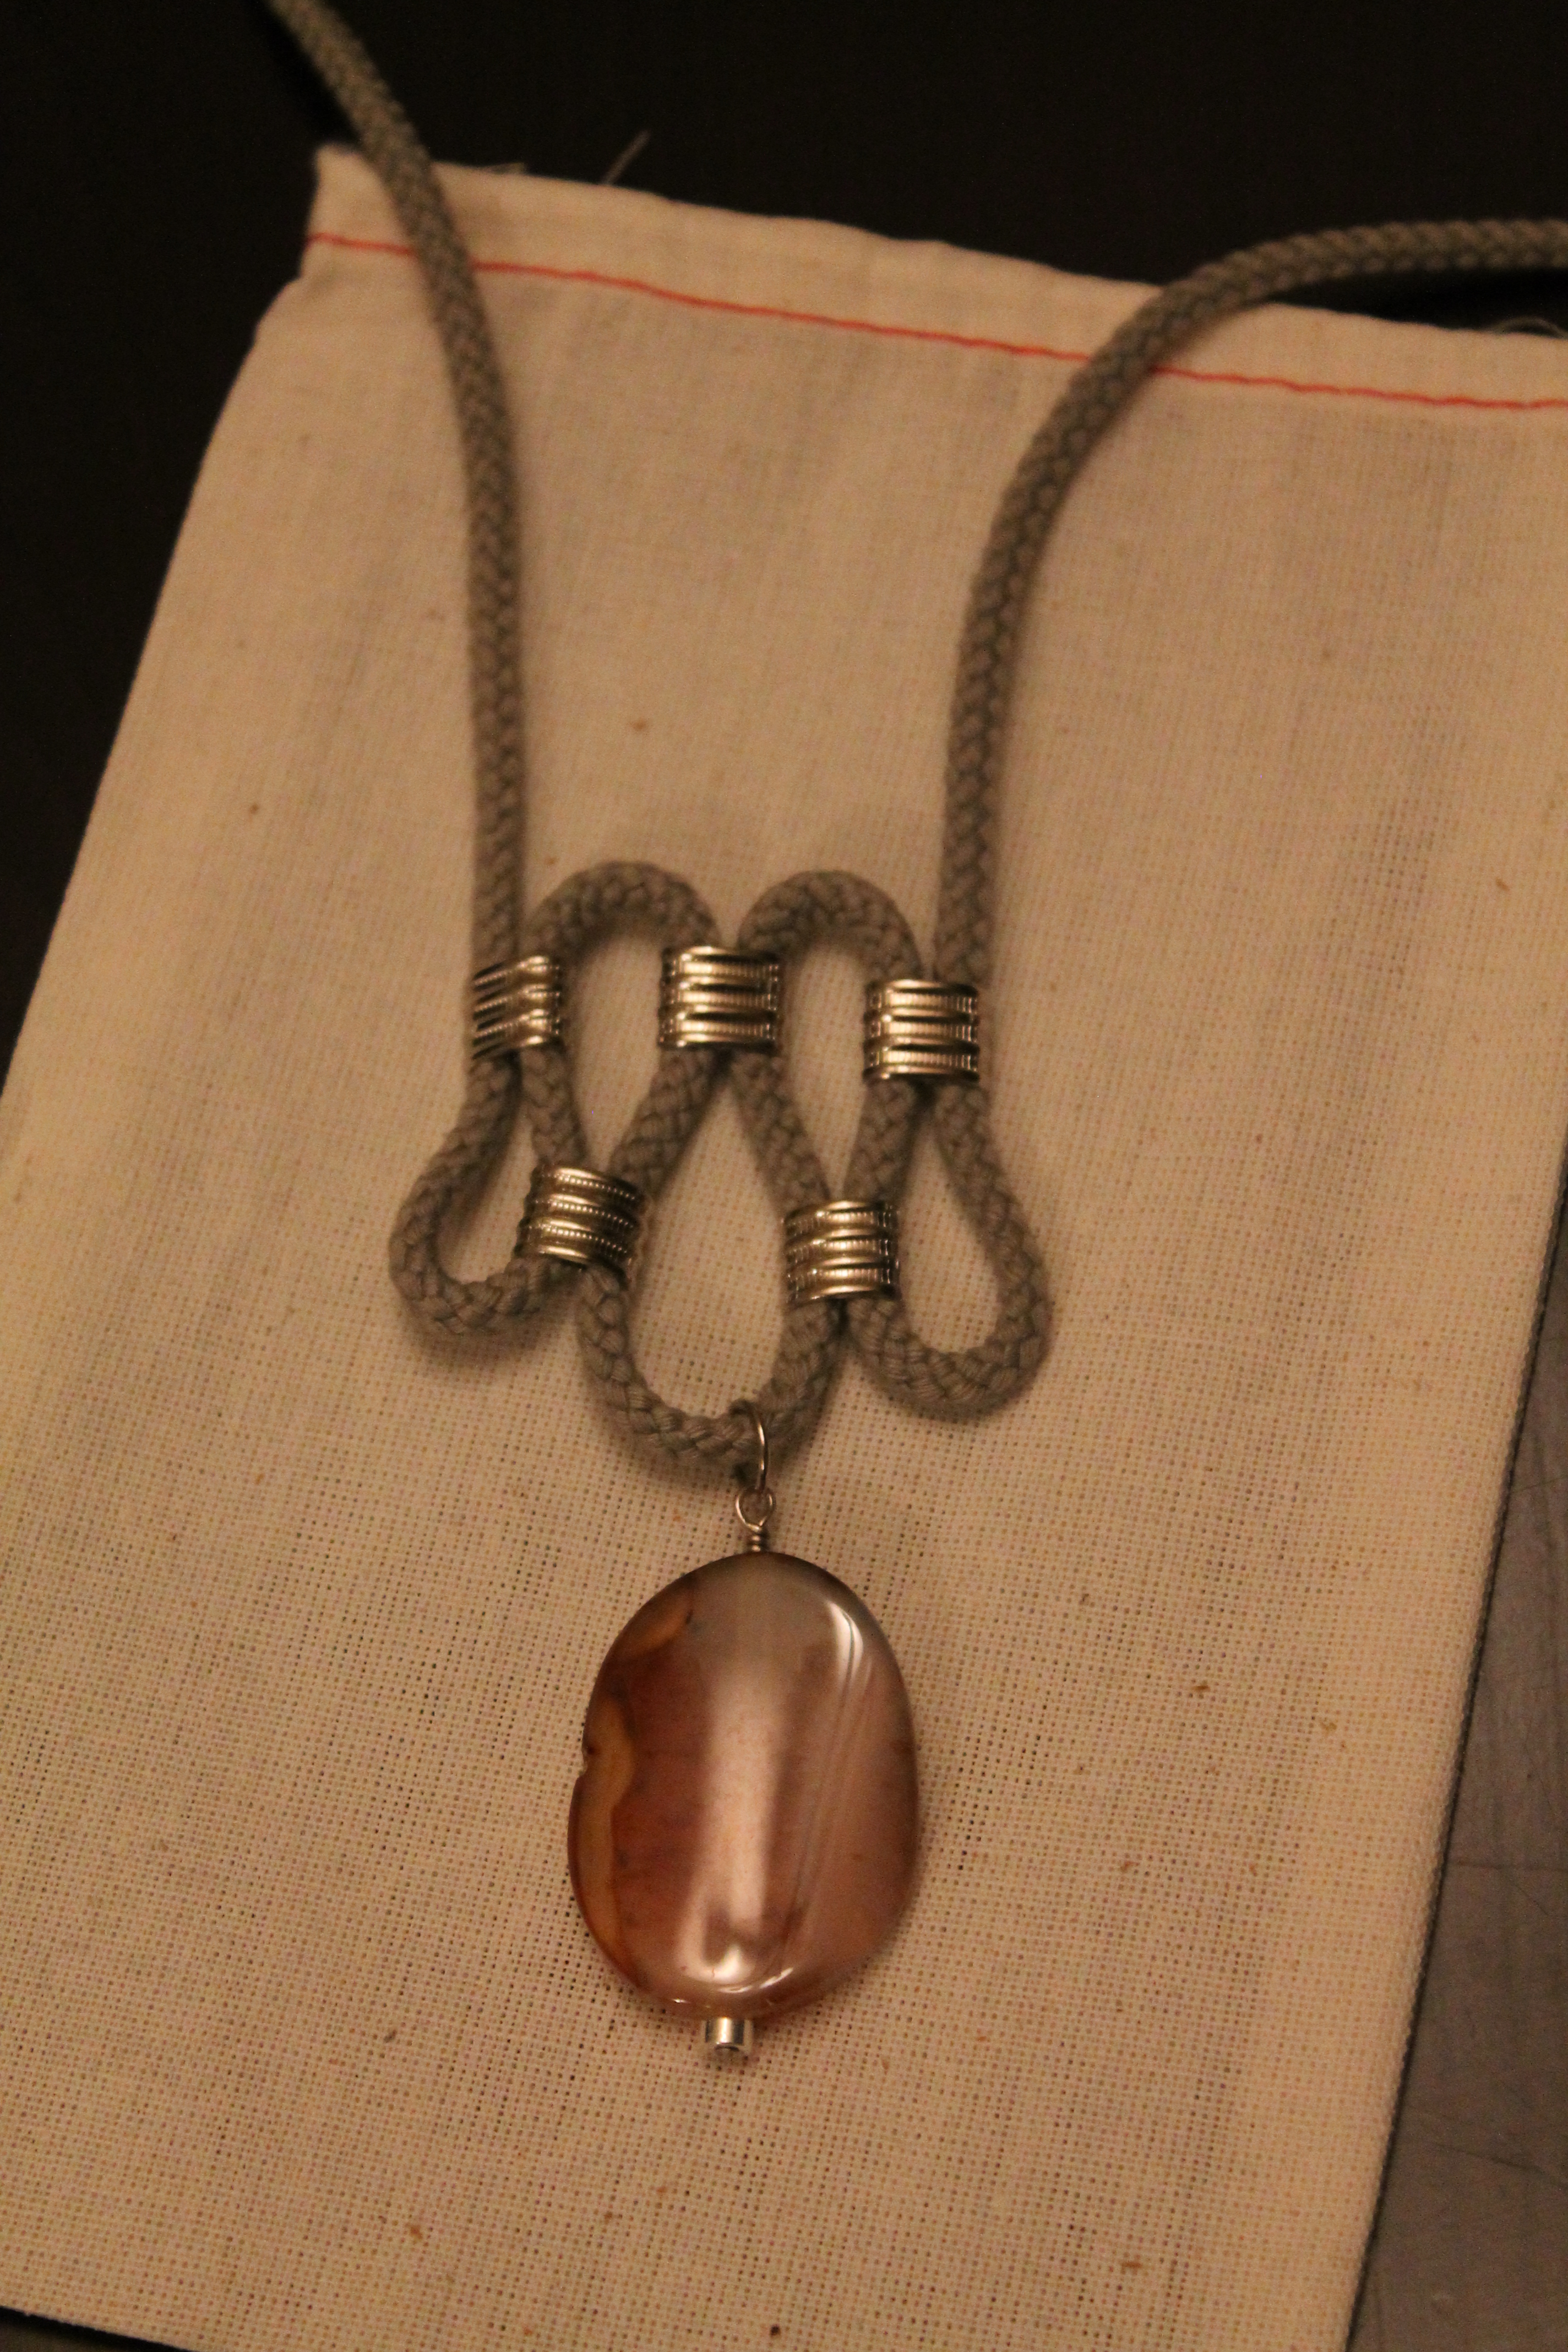
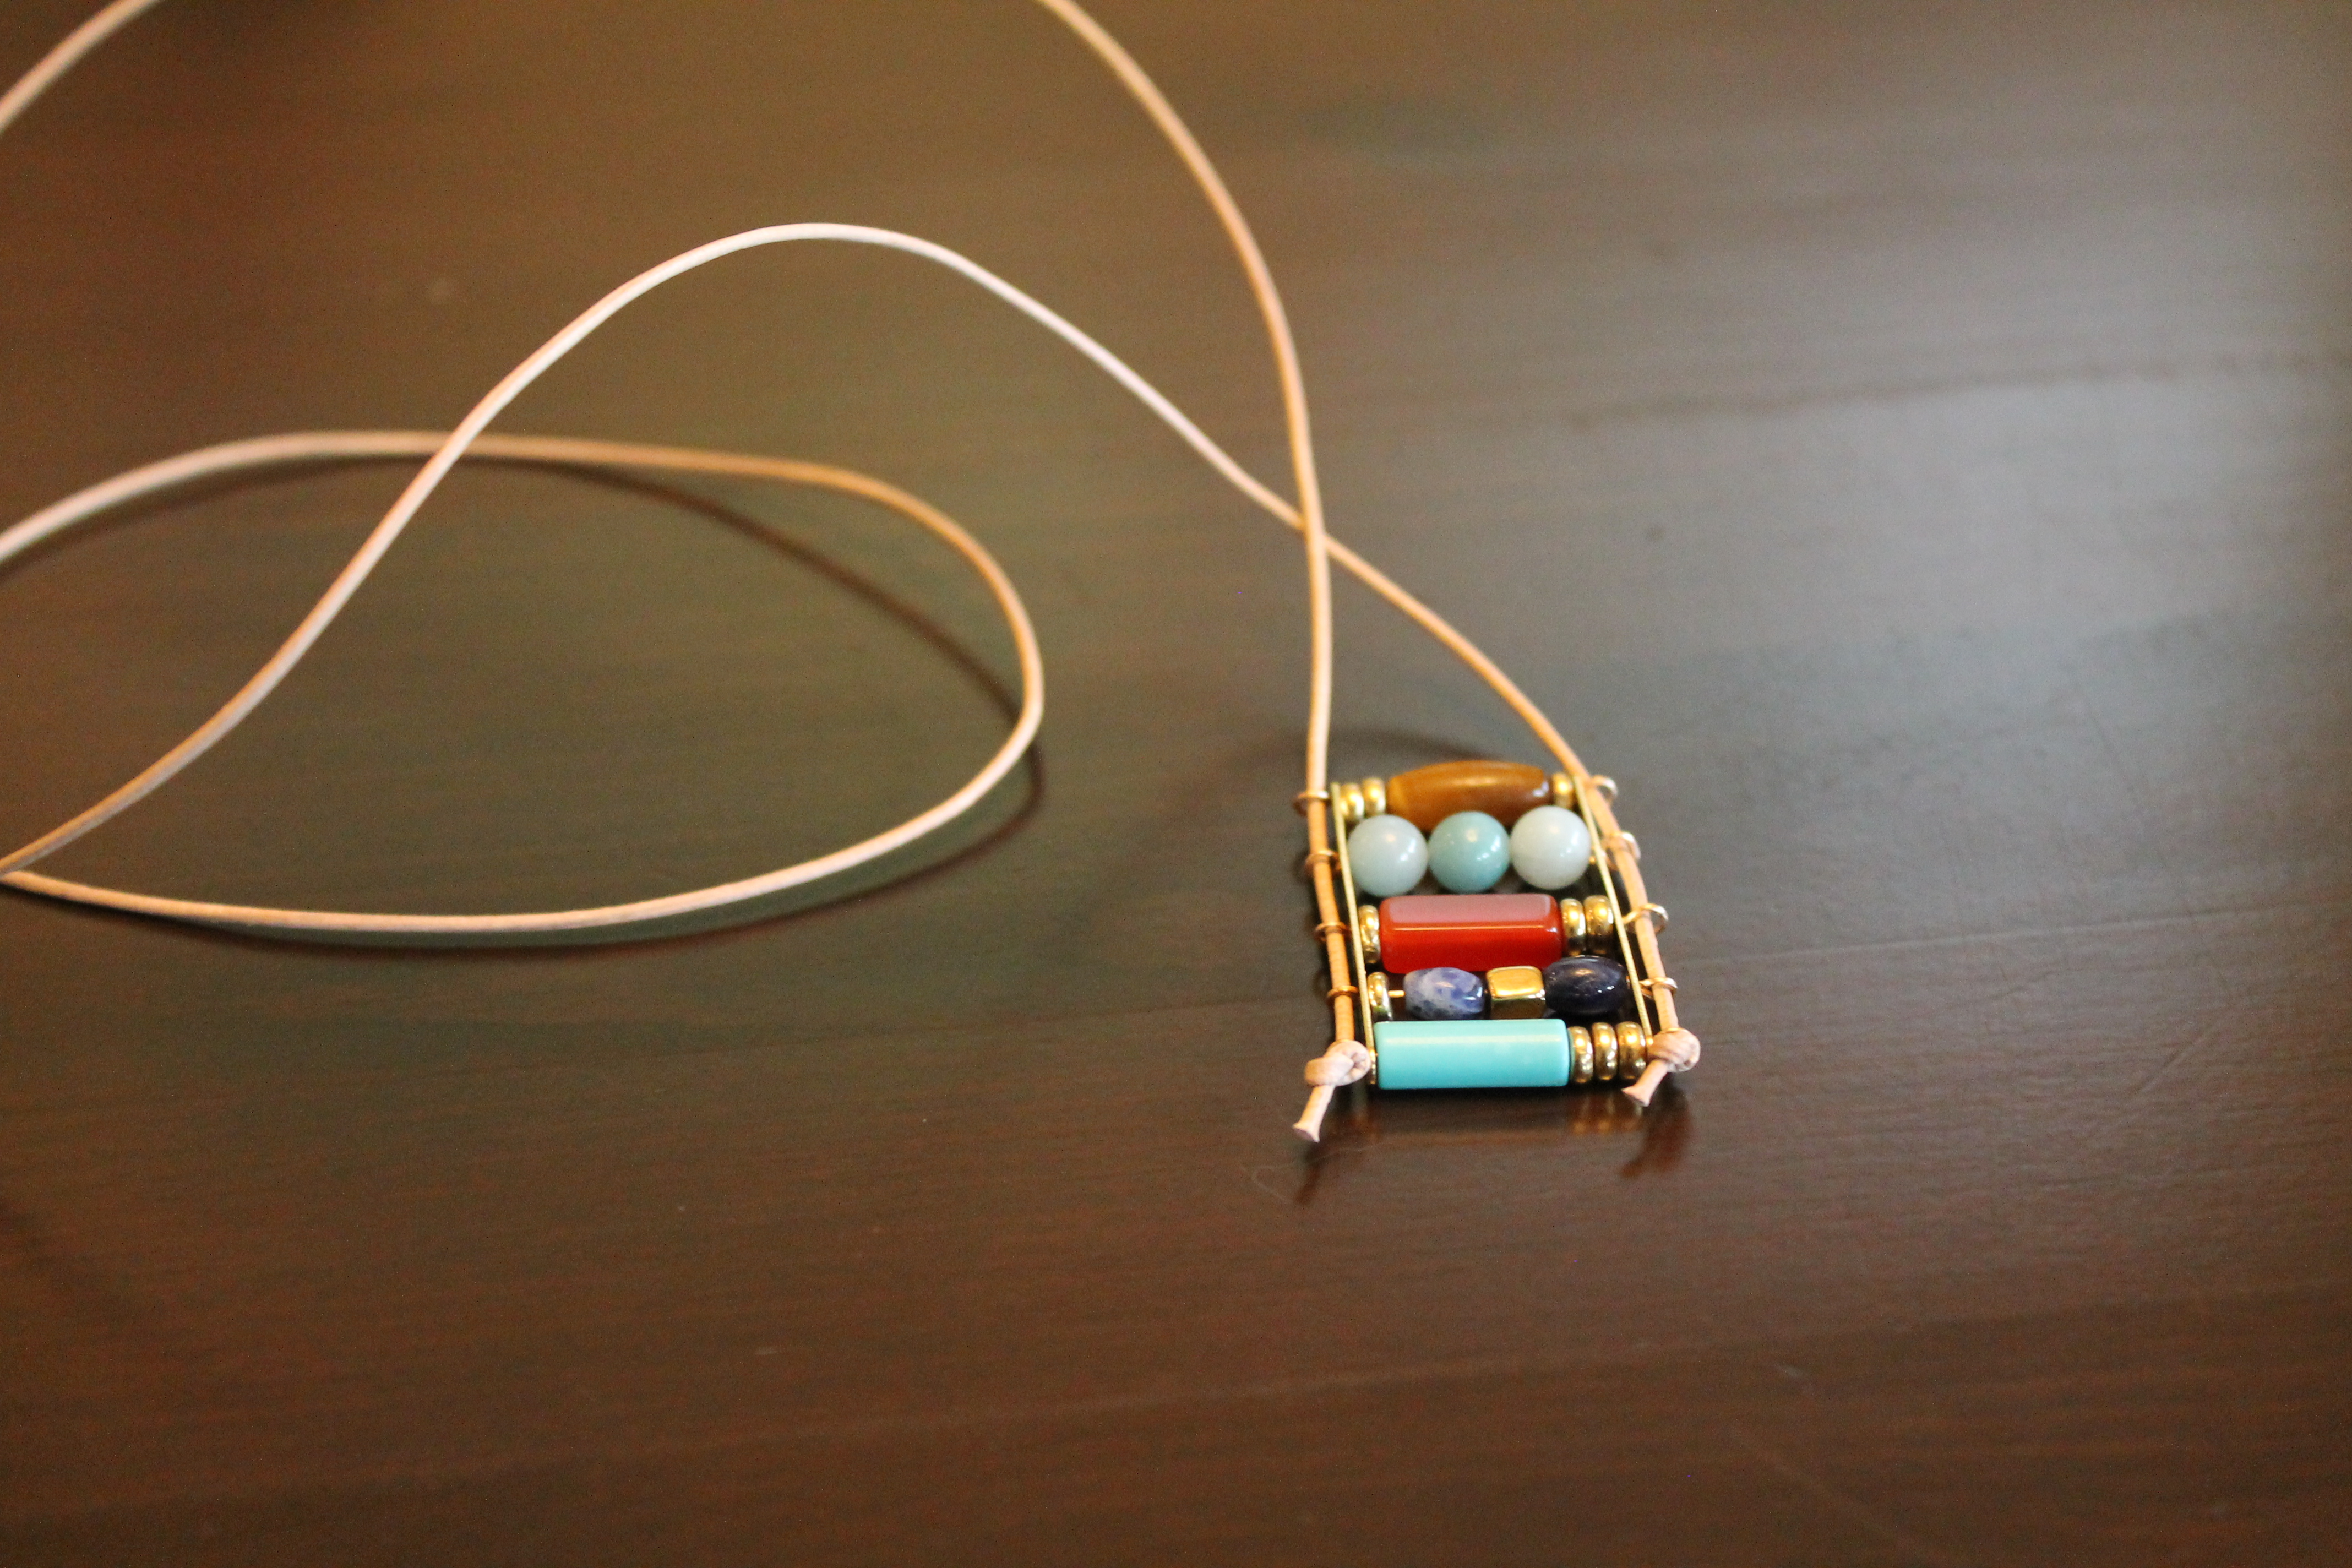
Of the two jewelry projects, I really liked the necklace and have already worn it with a red maxi dress.
Overall this was a pretty cool kit and I had fun making all of the projects. Can’t wait to see what is in store for June!