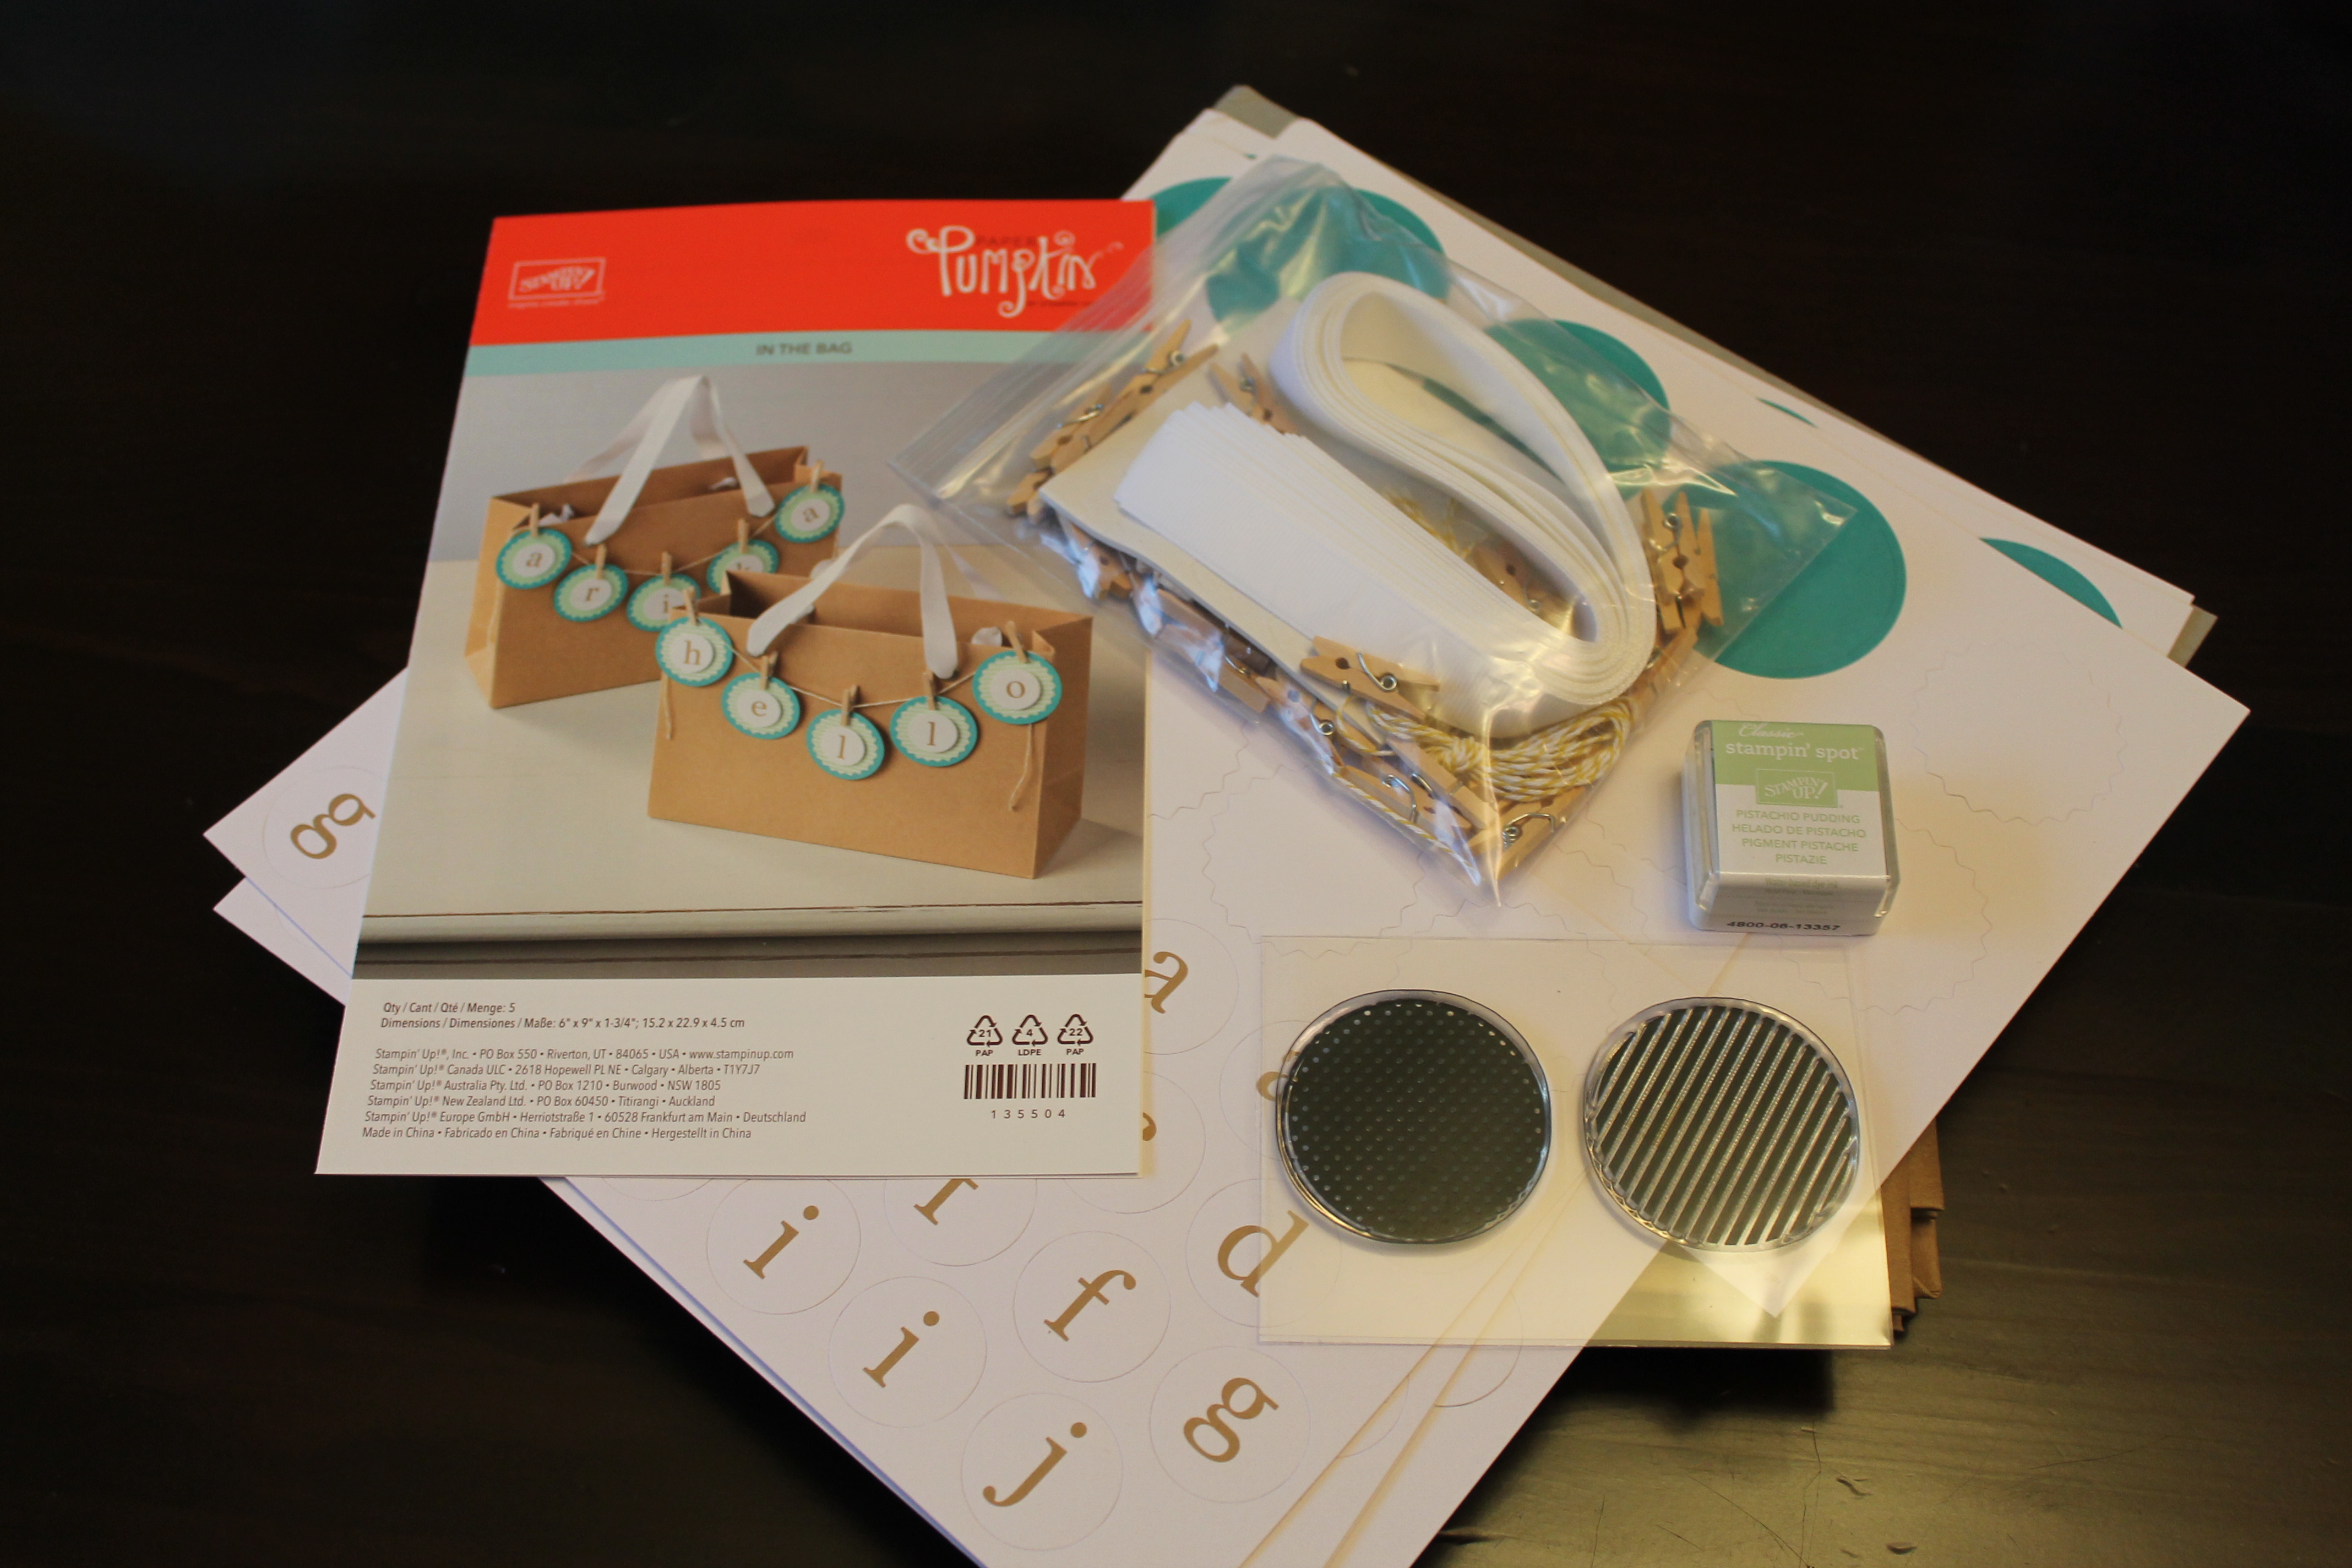
This month’s For the Makers box was called the Ophelia Collection. It consisted of two jewelry projects, a hair tie, and a beeswax sachet.
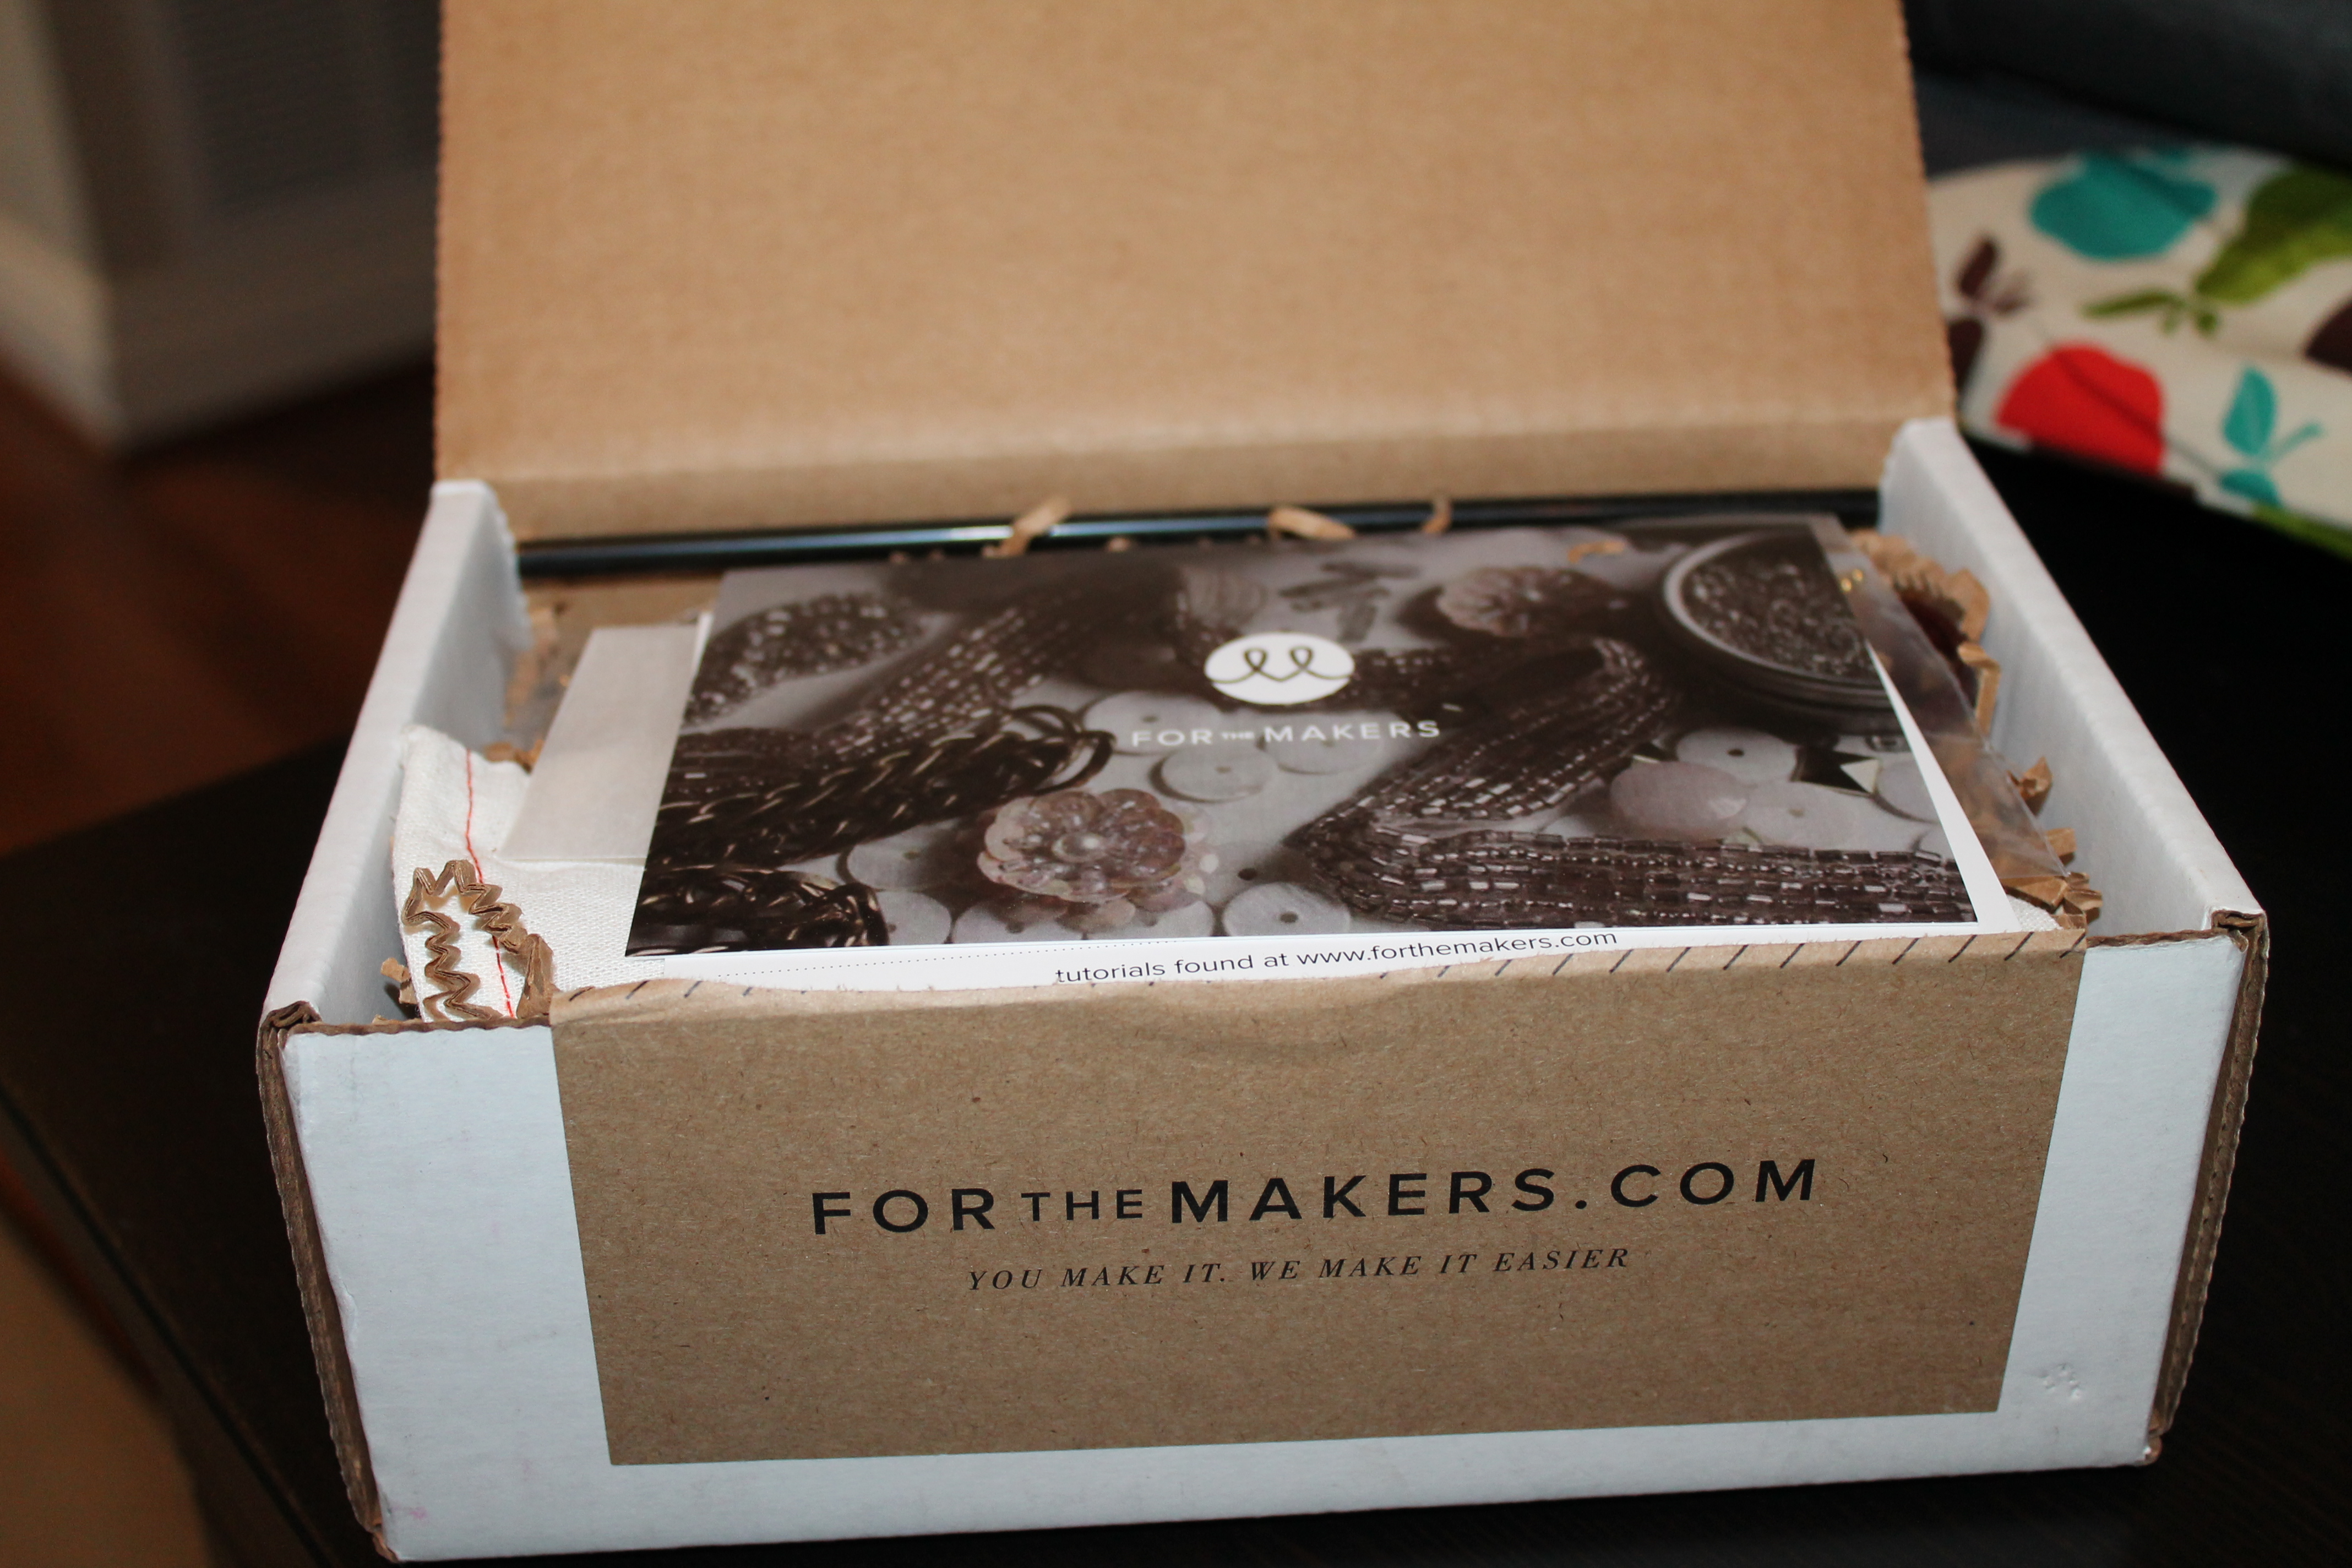
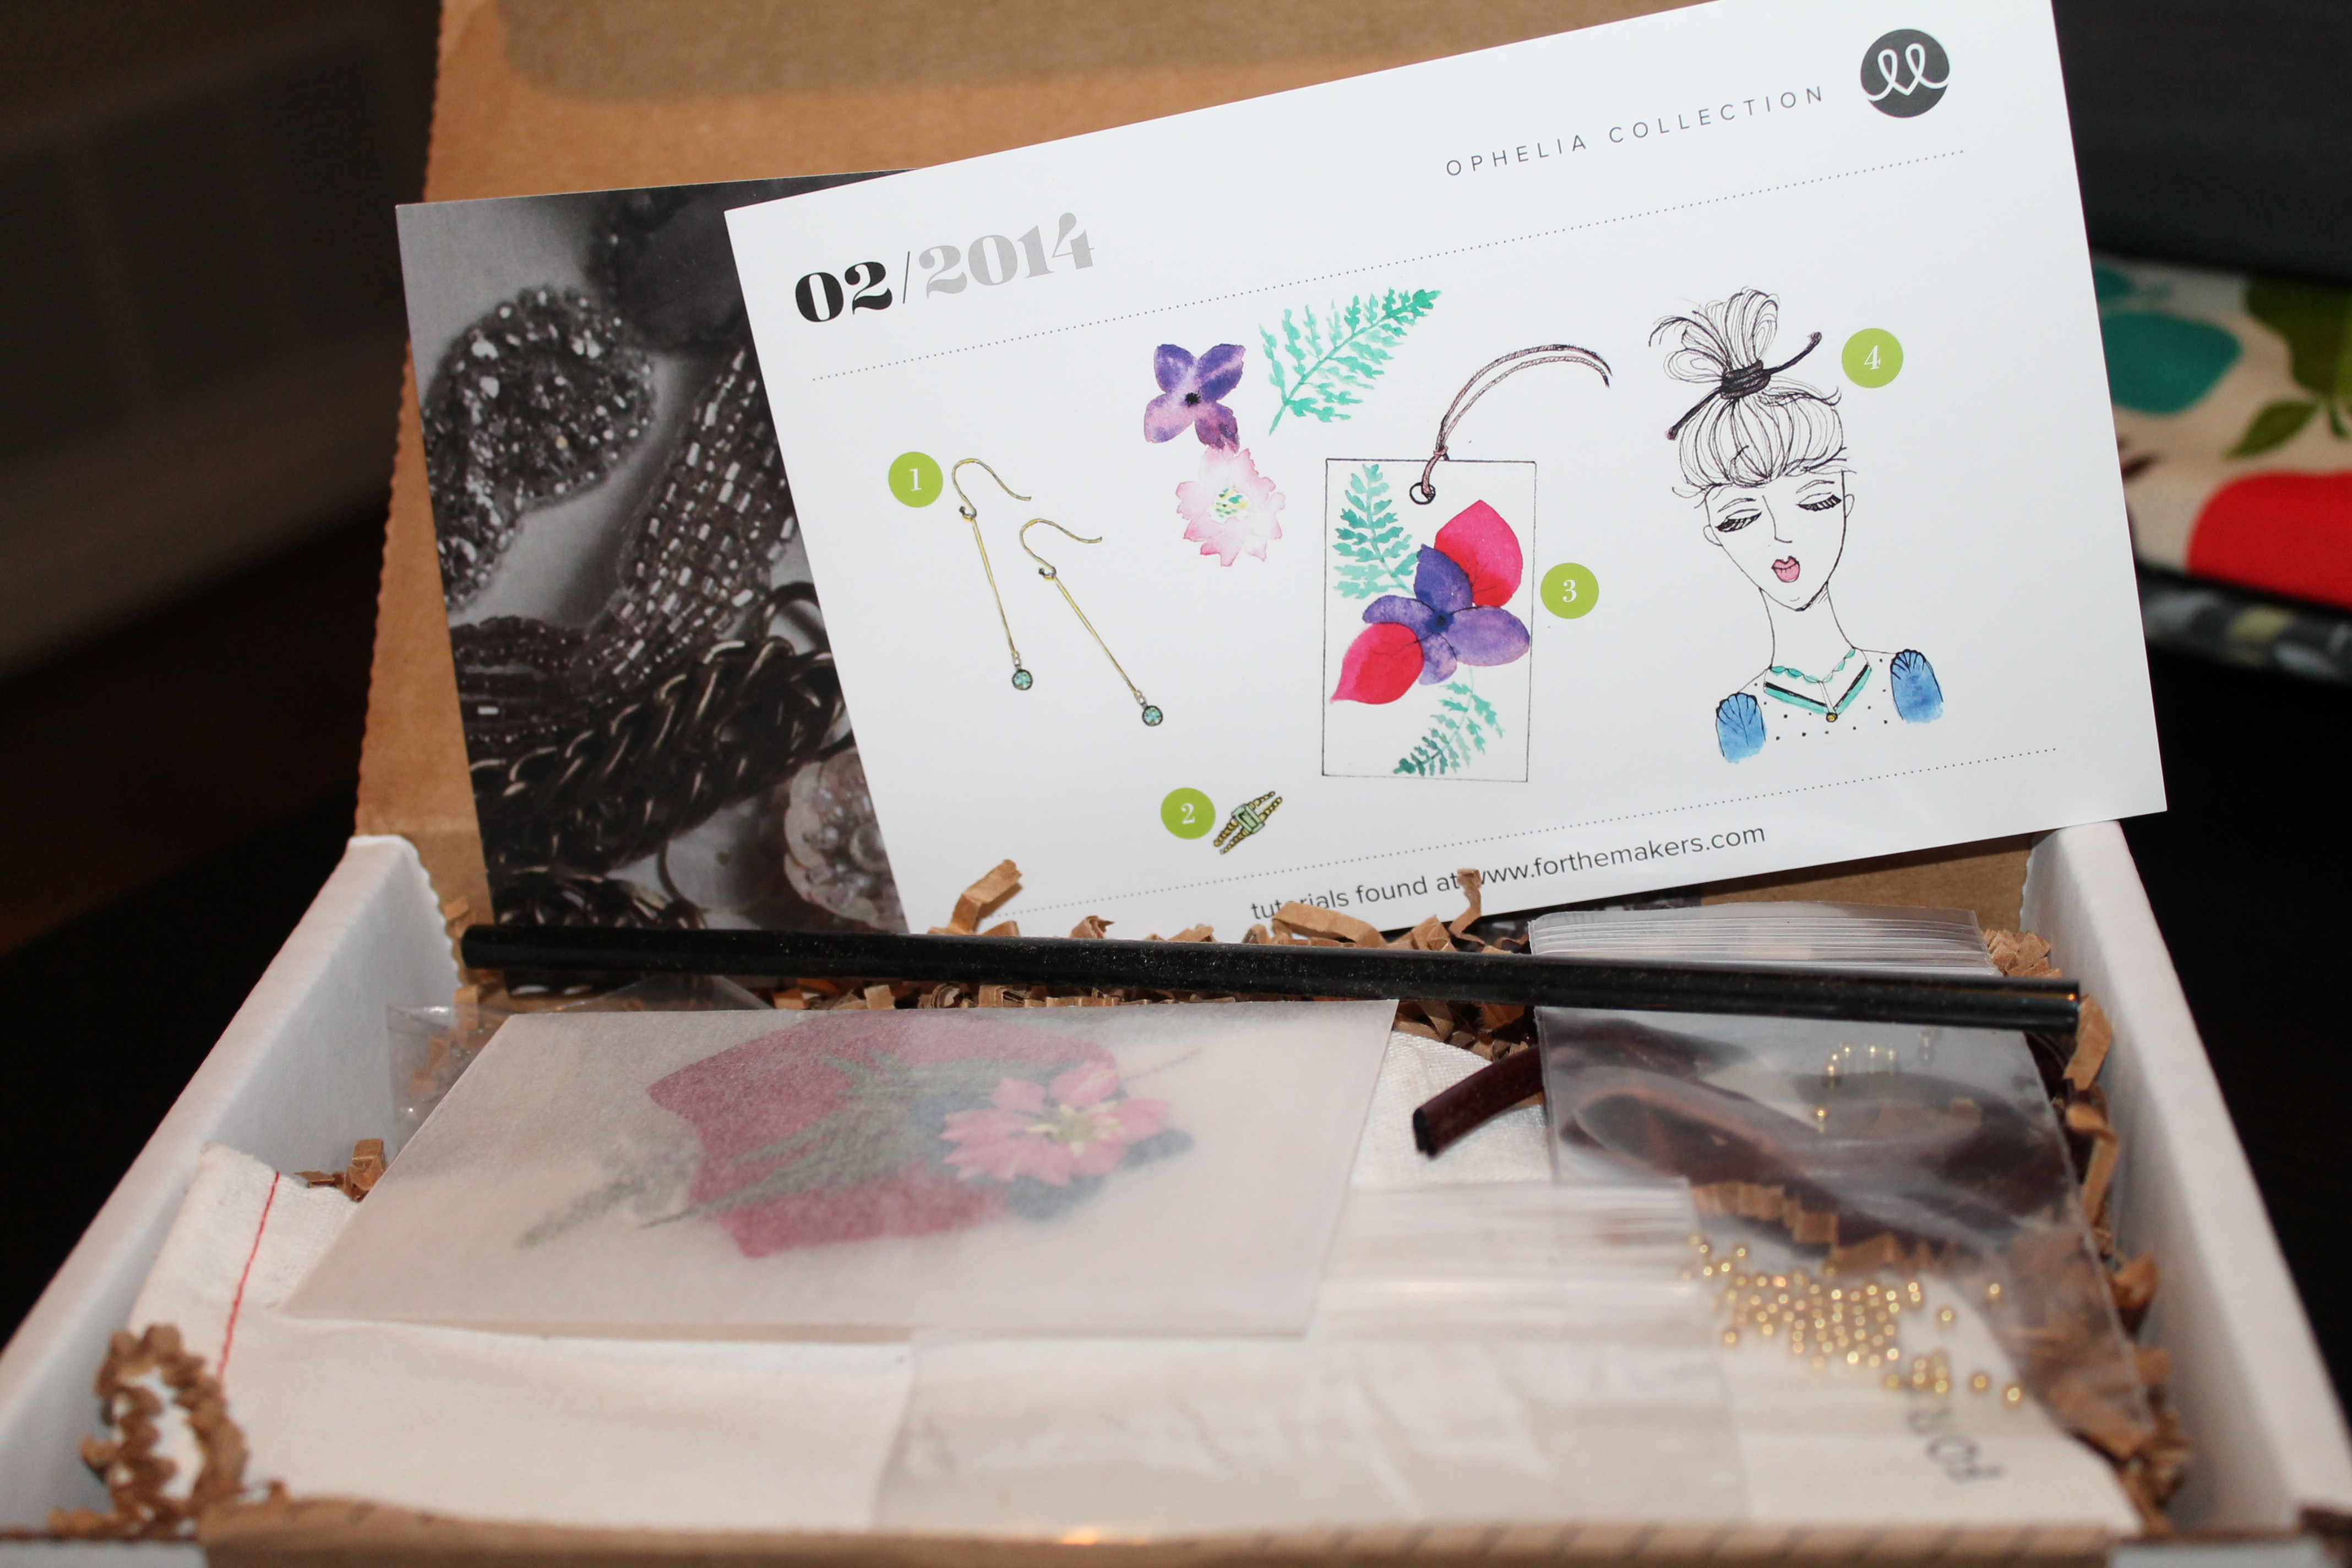 The jewelry and hair tie projects took me maybe 45 minutes to complete (mostly just trying to tie a knot for the tiny ring without the beads going everywhere.) The sachet was pretty fast as well but ended up partially ruining my melting pot I use for candle-making.
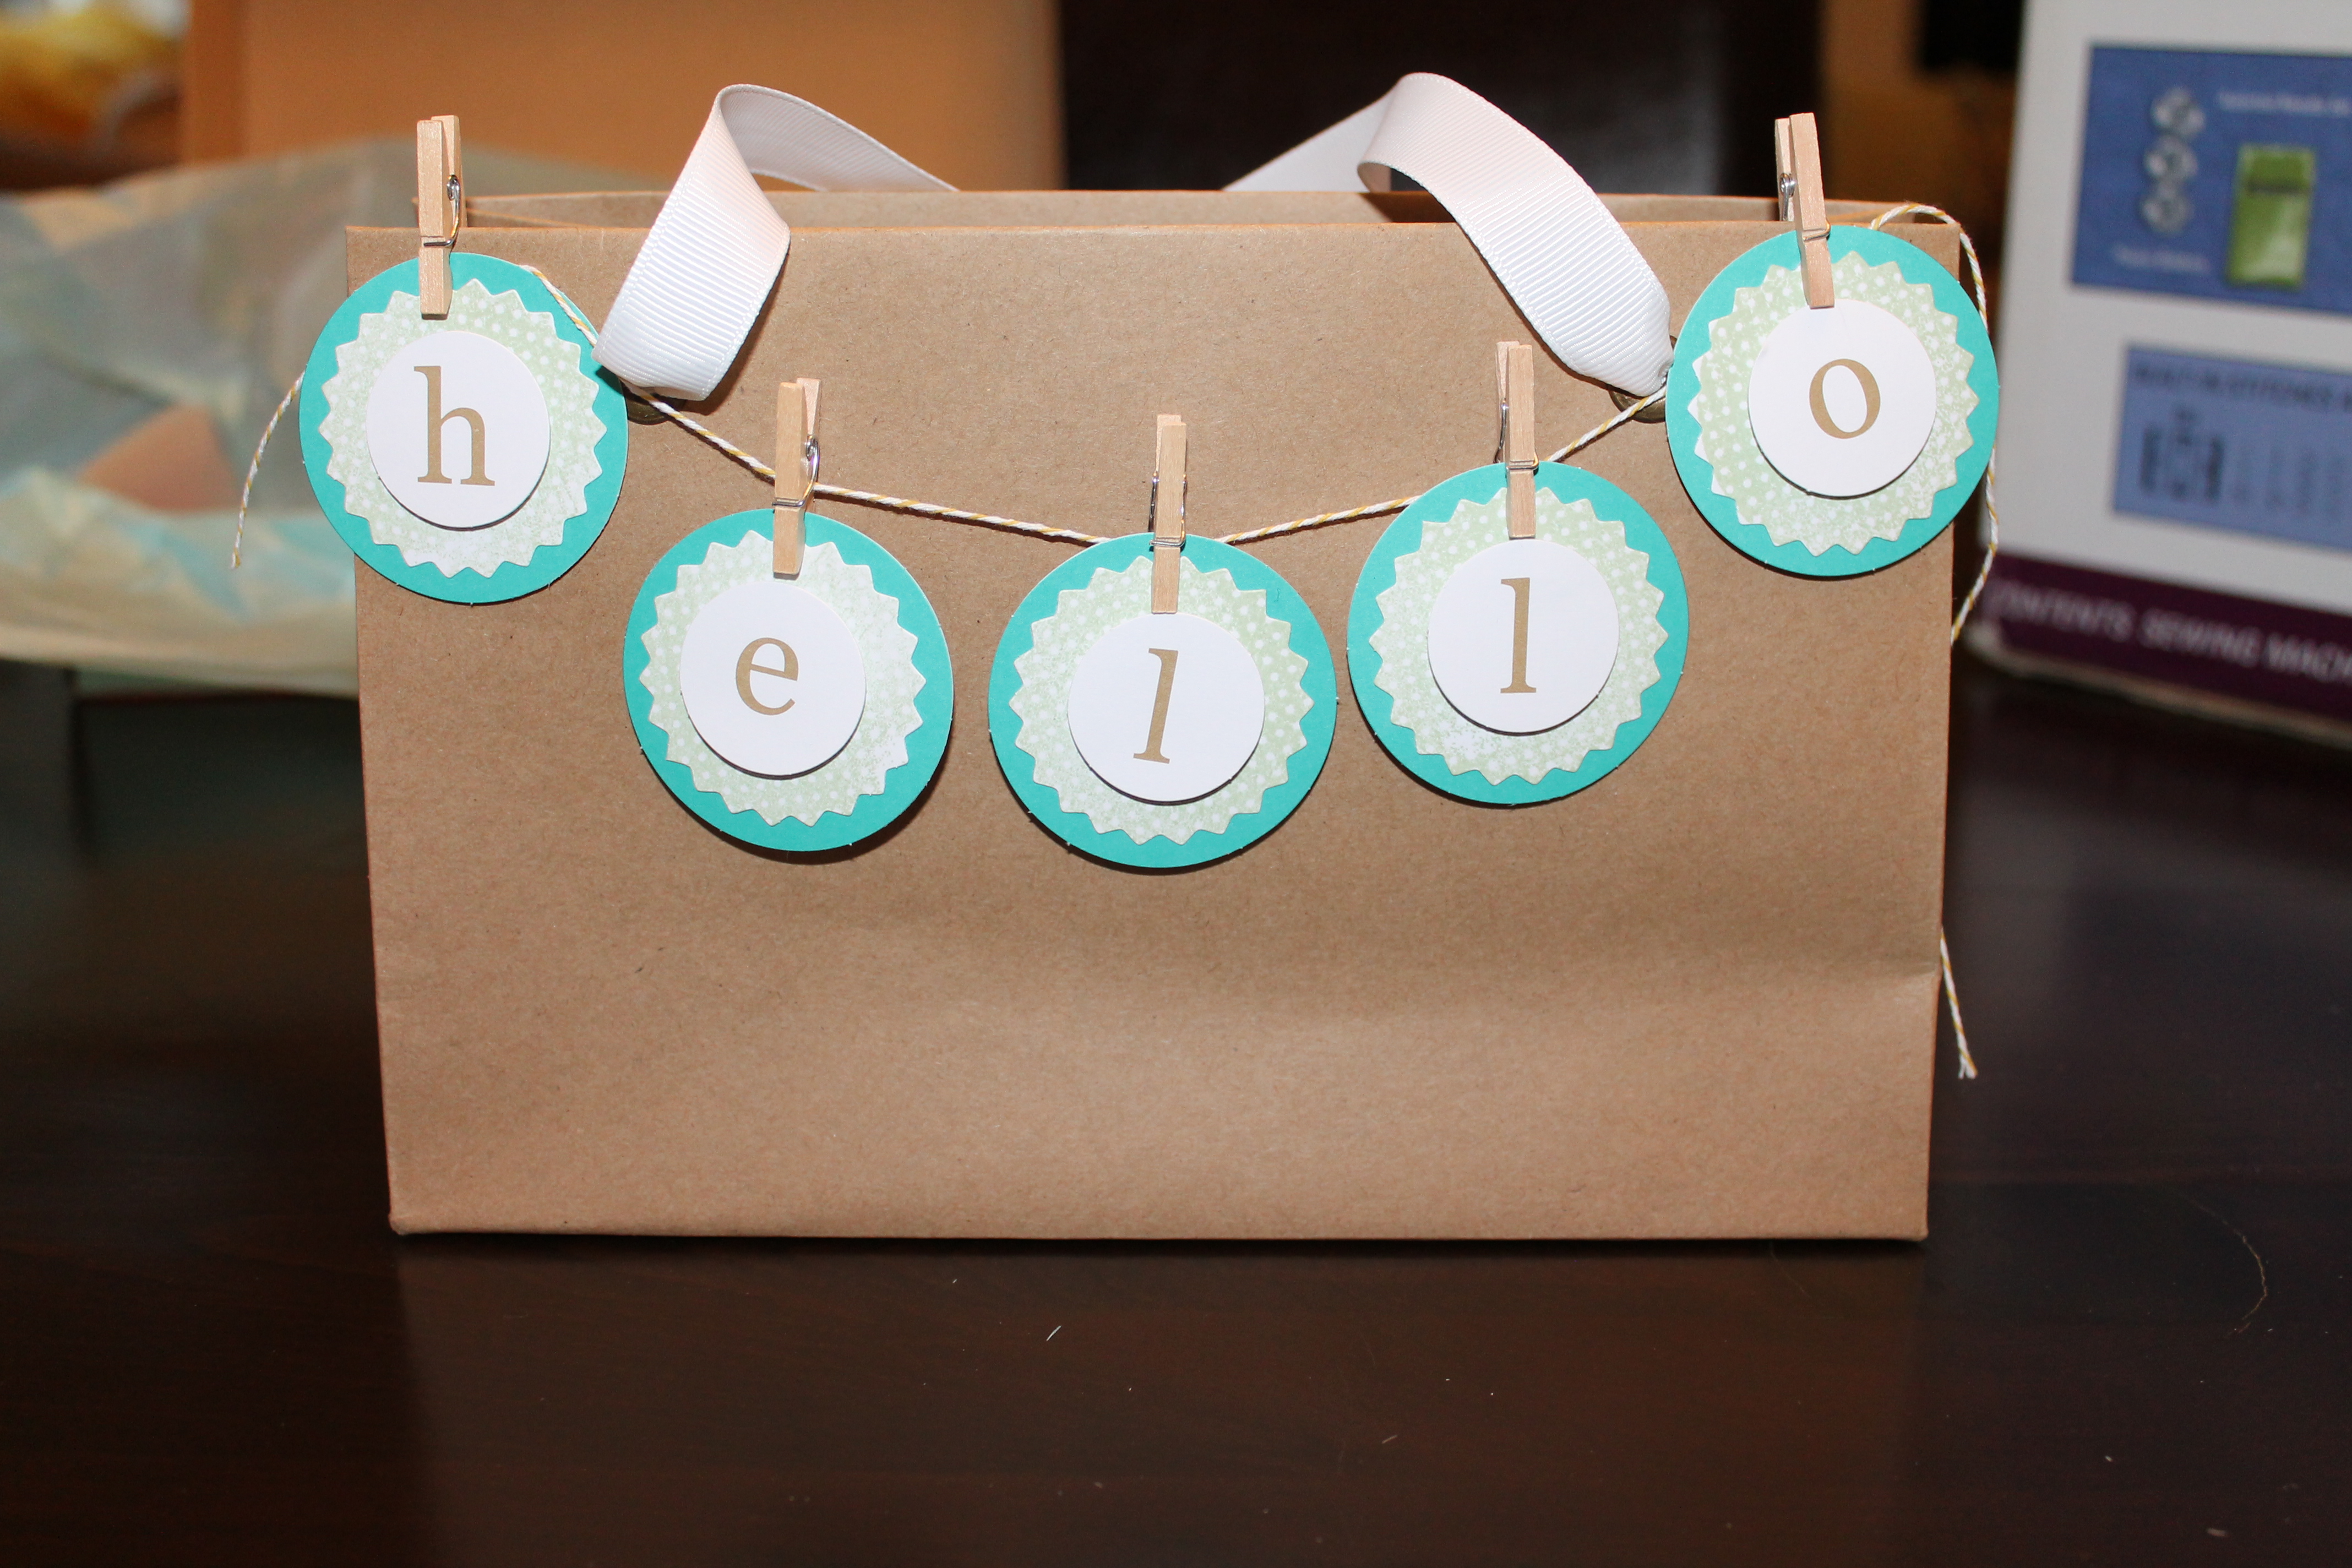
Finished Jewelry pieces
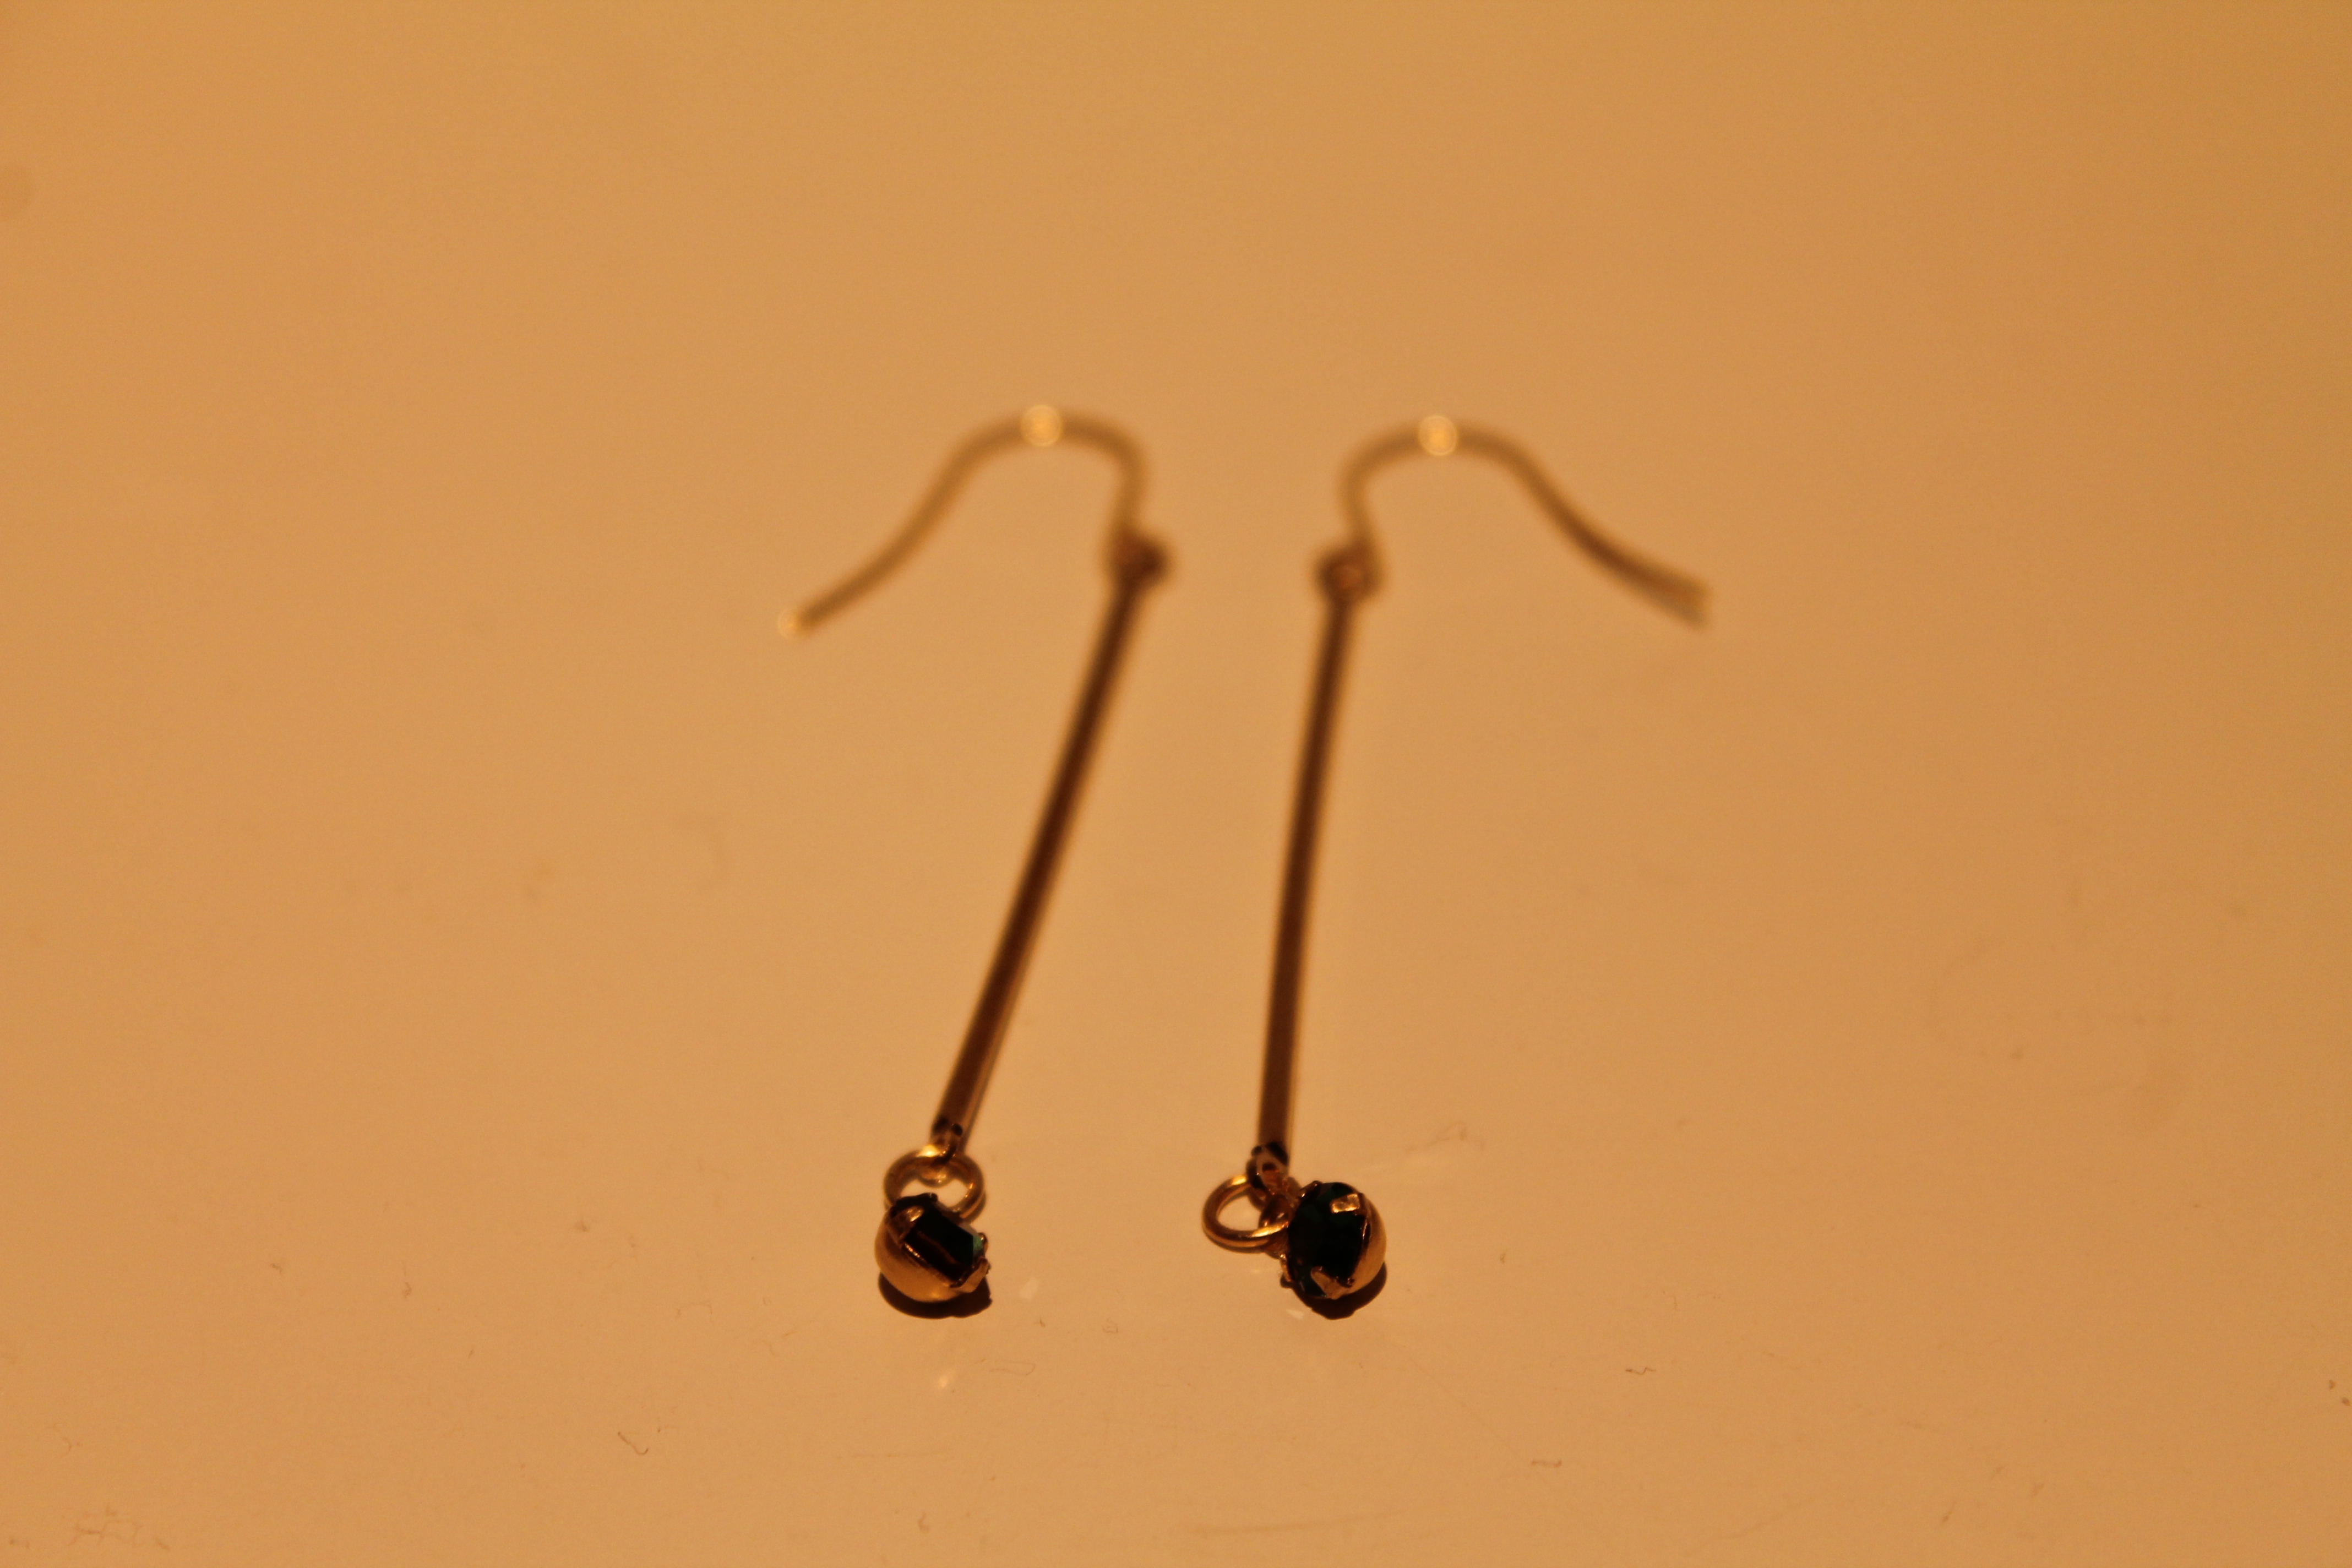
 The first jewelry project was a pair of earrings with a small green jewel hanging at the end. The only thing you need to do is fasten the jewel in the setting then attach it to the findings. I struggled with one of the settings because the jewel wouldn’t sit flat.
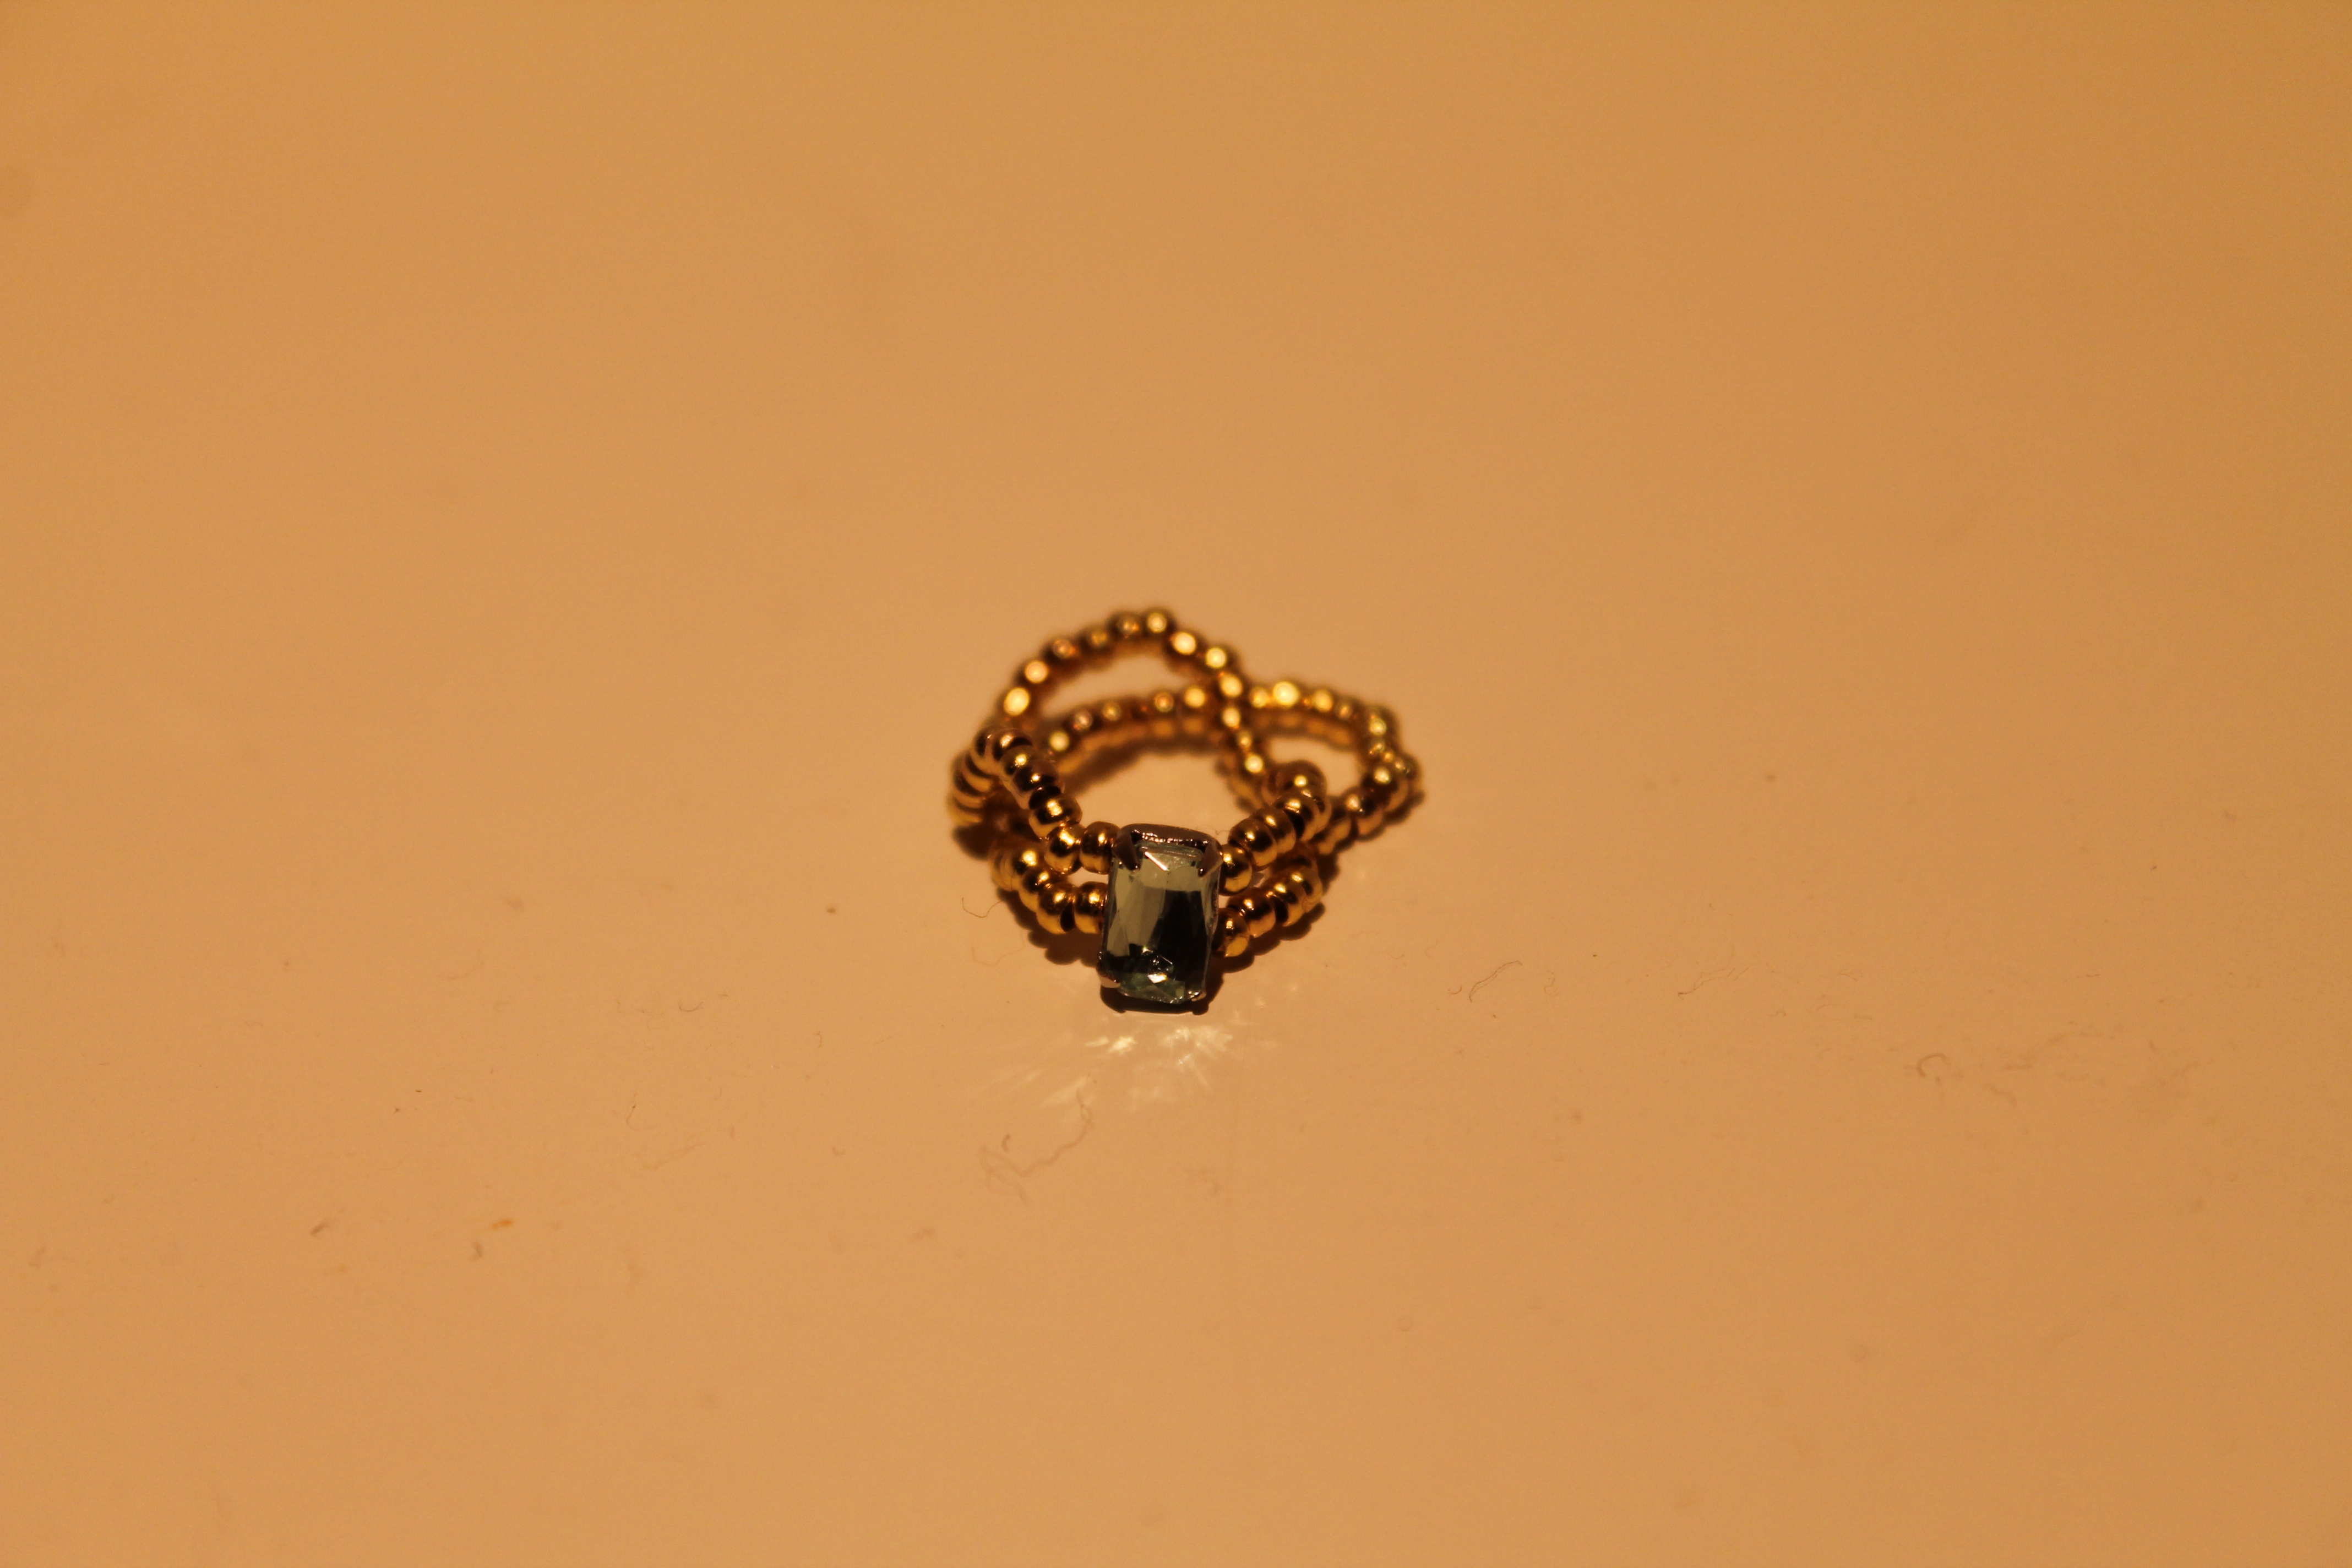
The ring was simple to string together, but I could NOT get that knot to tie without a ton of frustration. Also, I used all of the beads and it is still pretty tight on my middle finger where I want to wear it. (It does not fit a size 7 as suggested.)
Hair Tie
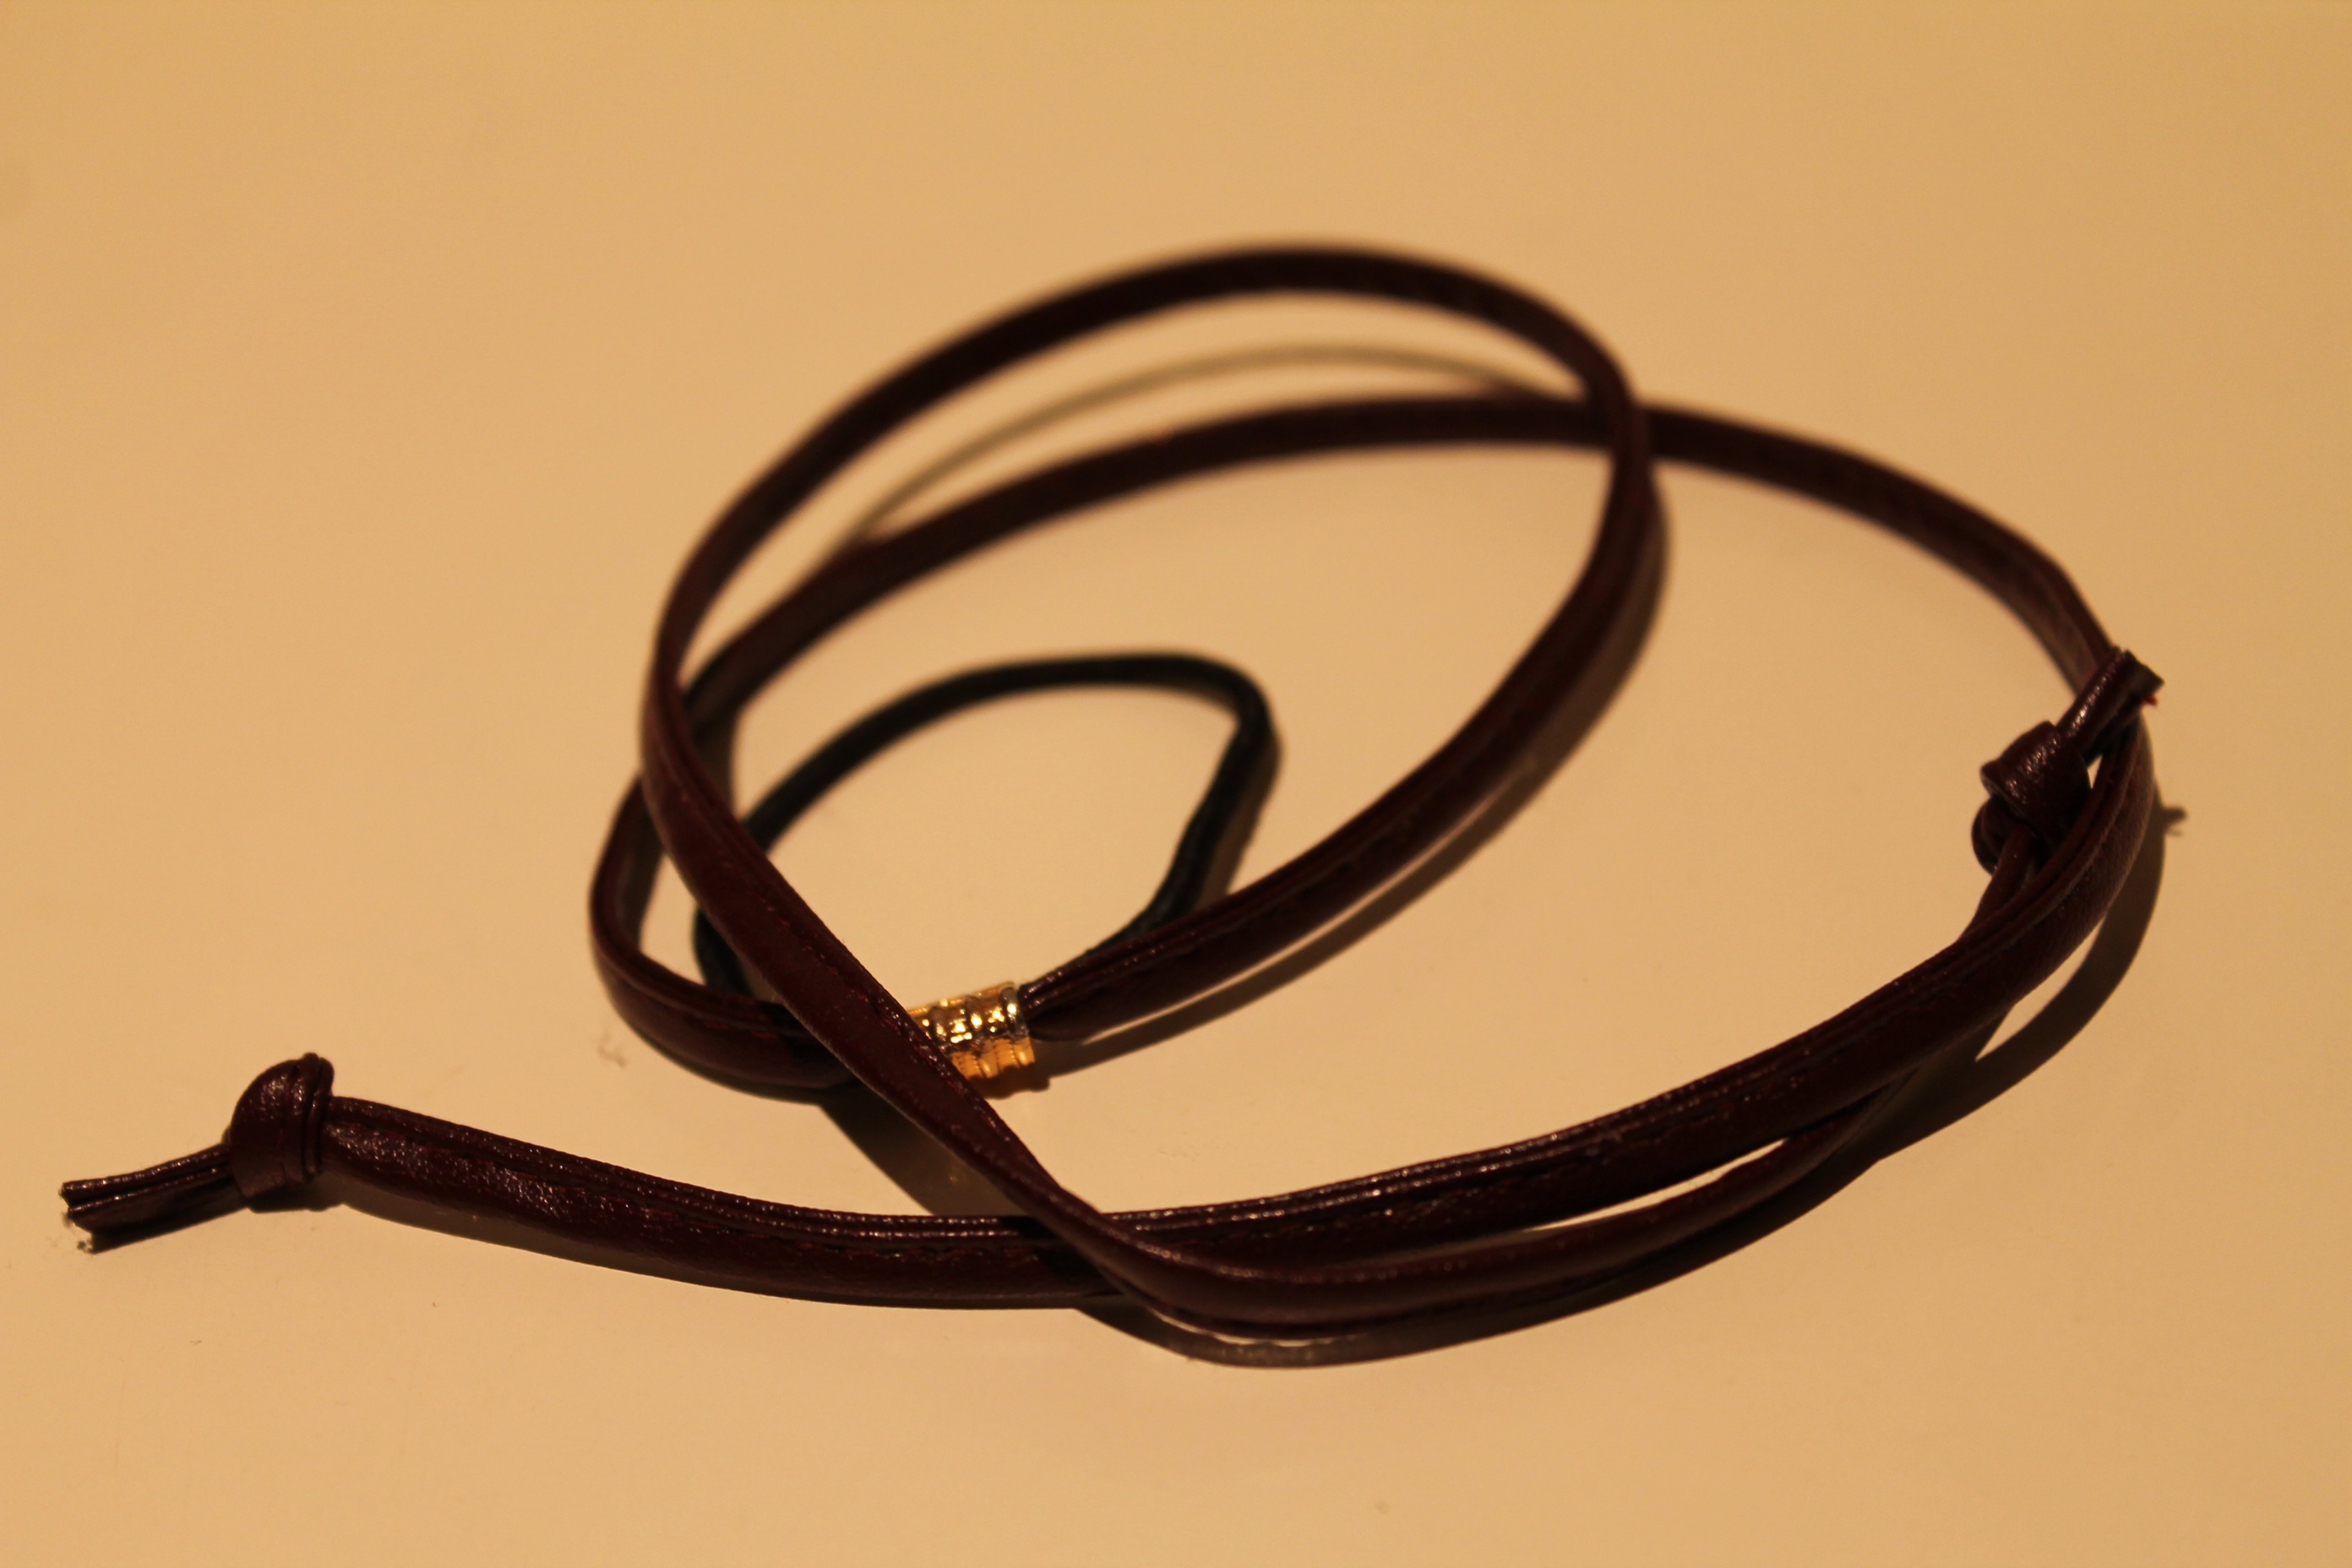 This was just a regular hair holder, a length of cord, and a crimp bead that needed tightening. I doubt I’ll ever wear this in my hair because the crimp bead has rough edges and would likely catch and snag my hair. I already have fine hair to begin with so I don’t want to tear it.
Beeswax Sachet
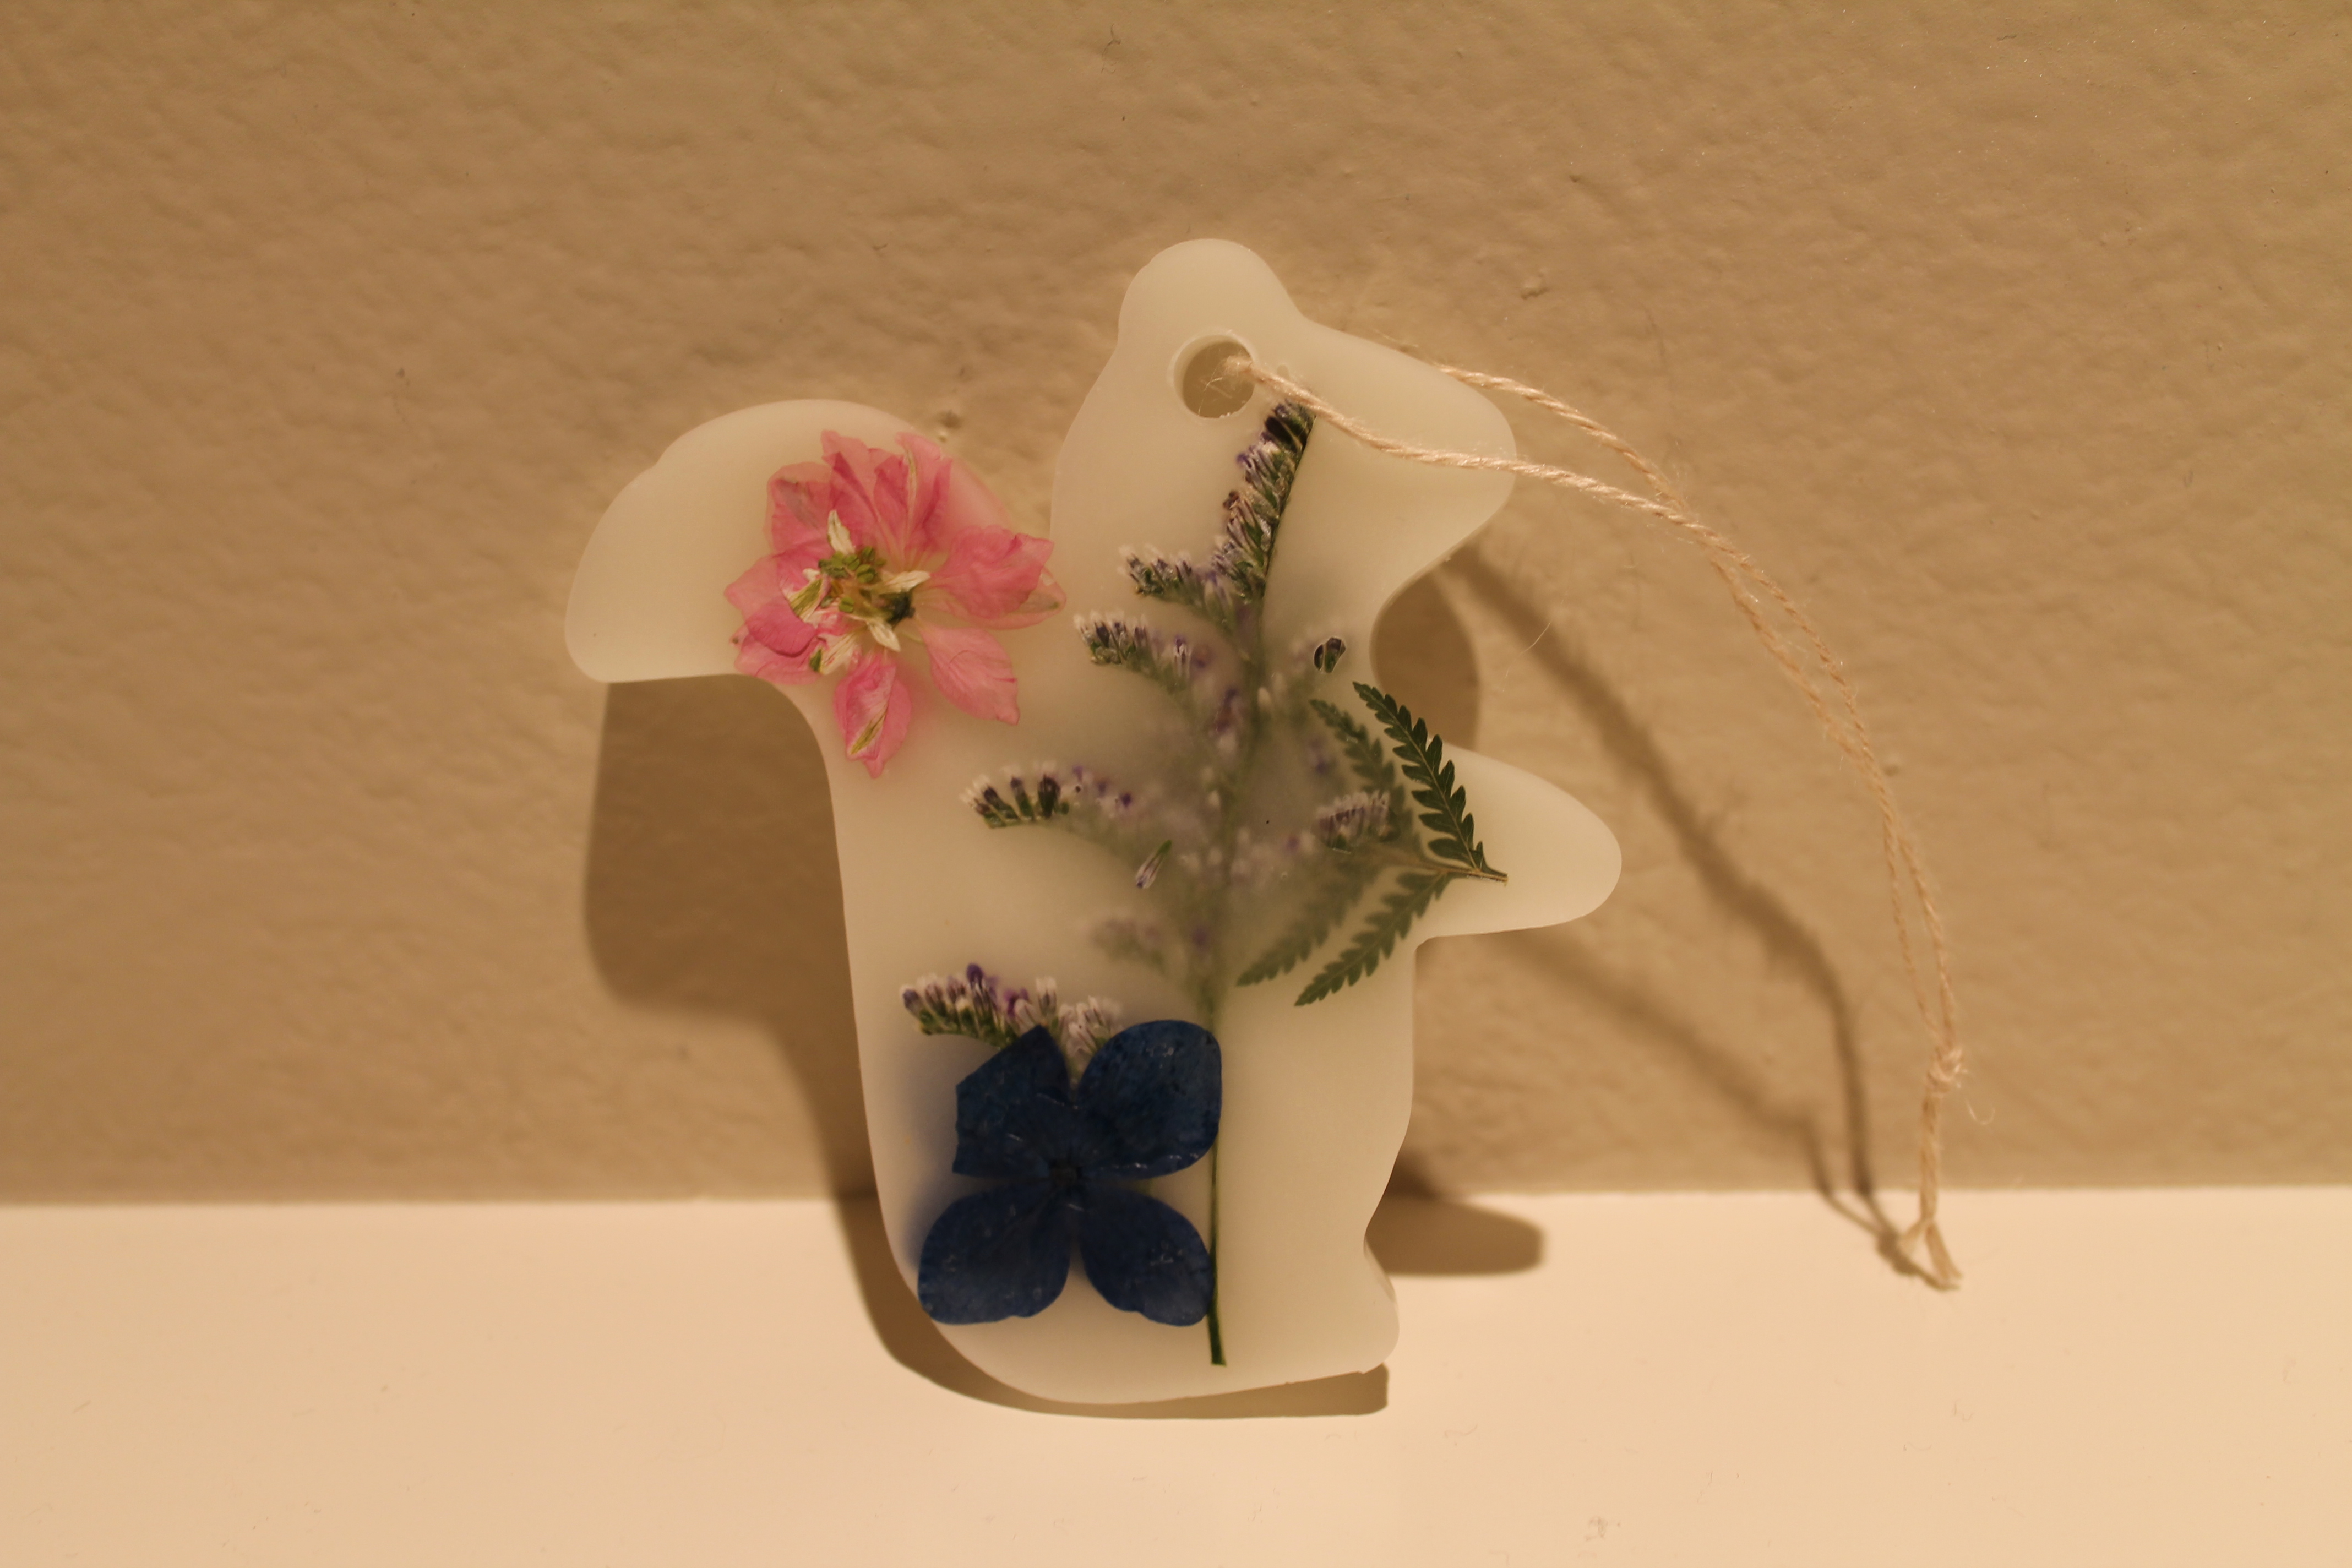 This was an unexpected delight. I put off making this because it needed a bunch of supplies that were difficult to gather and I didn’t have a rectangular cookie cutter like they used. In fact the only metal cookie cutter I had was this squirrel shape. (Who knows.) But it ended up turning out really cute! Unfortunately the beeswax stuck to the sides of my melting container I use for candle-making and even boiling water in it several times and trying to rinse it out barely worked. There is still residue near the top. Who knew beeswax would stick so bad. Paraffin and soy come off cleanly.
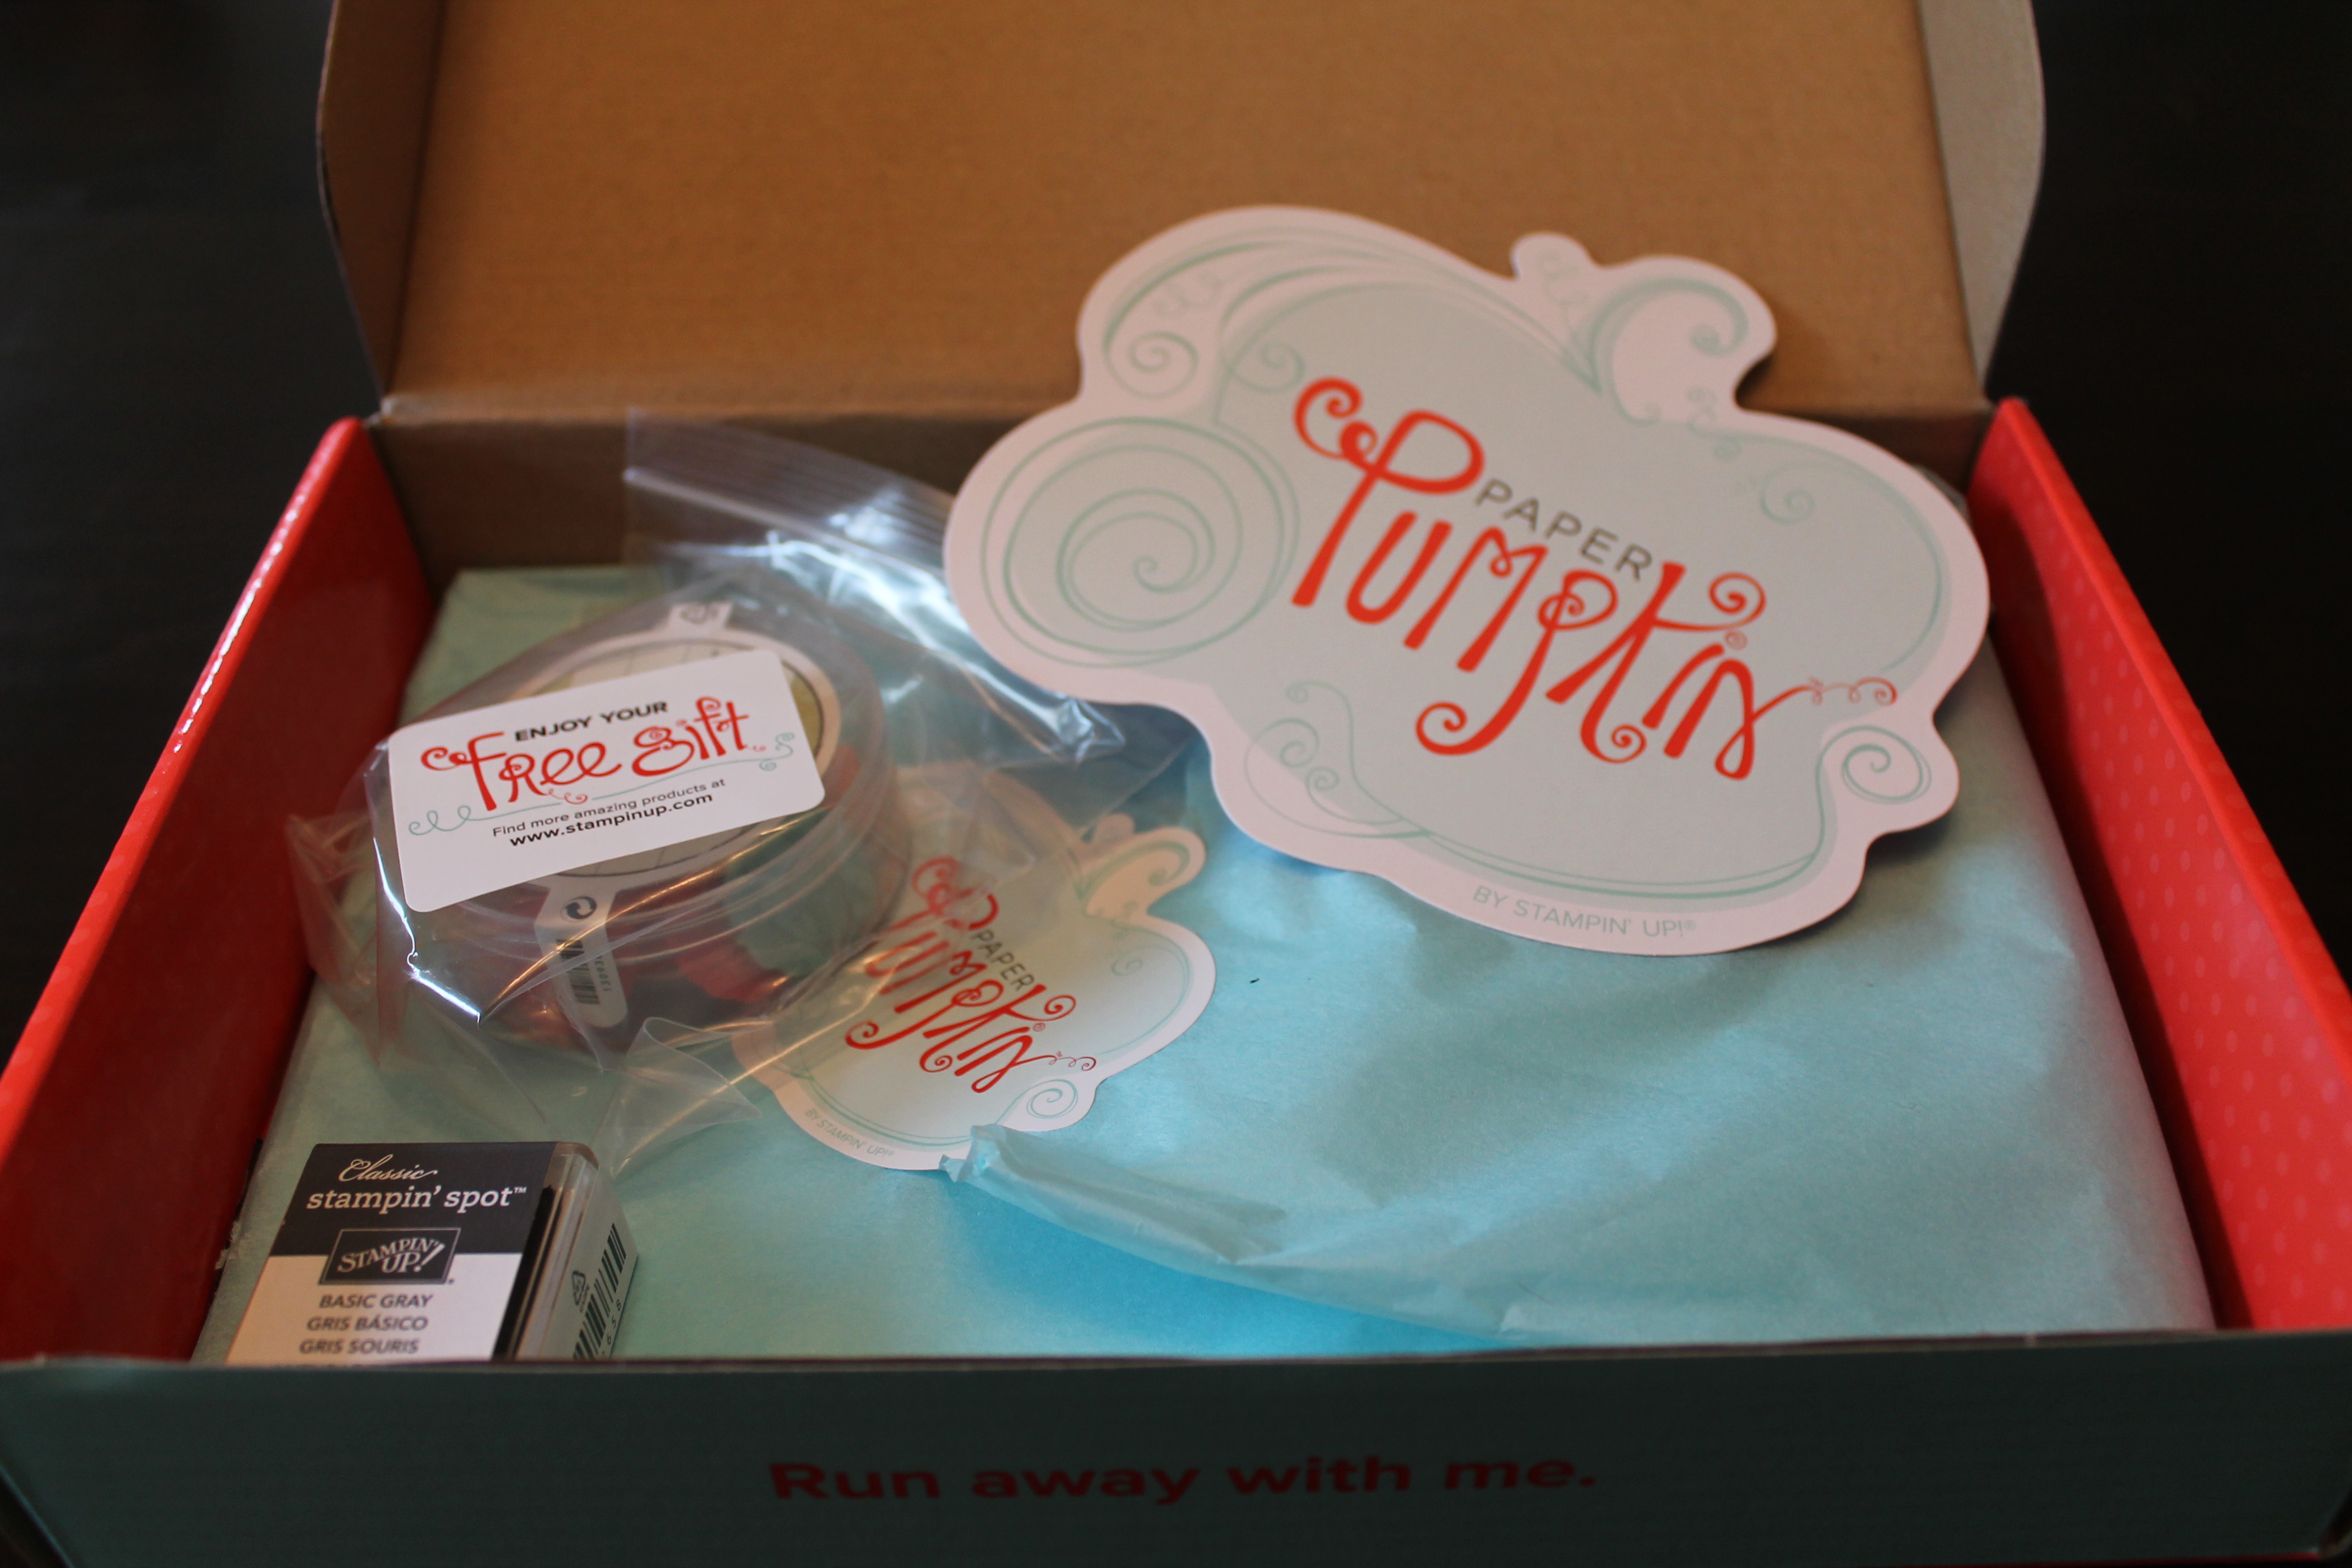
Overall I was a little dissapointed in this kit because the jewelry projects were super simple and the supplies seemed really cheap for what I paid. The sachet turned out really cute but didn’t really make up for the cheap jewelry and hair accessory. I hope next month has some more involved projects.
For anyone interested in signing up, you can learn more here.