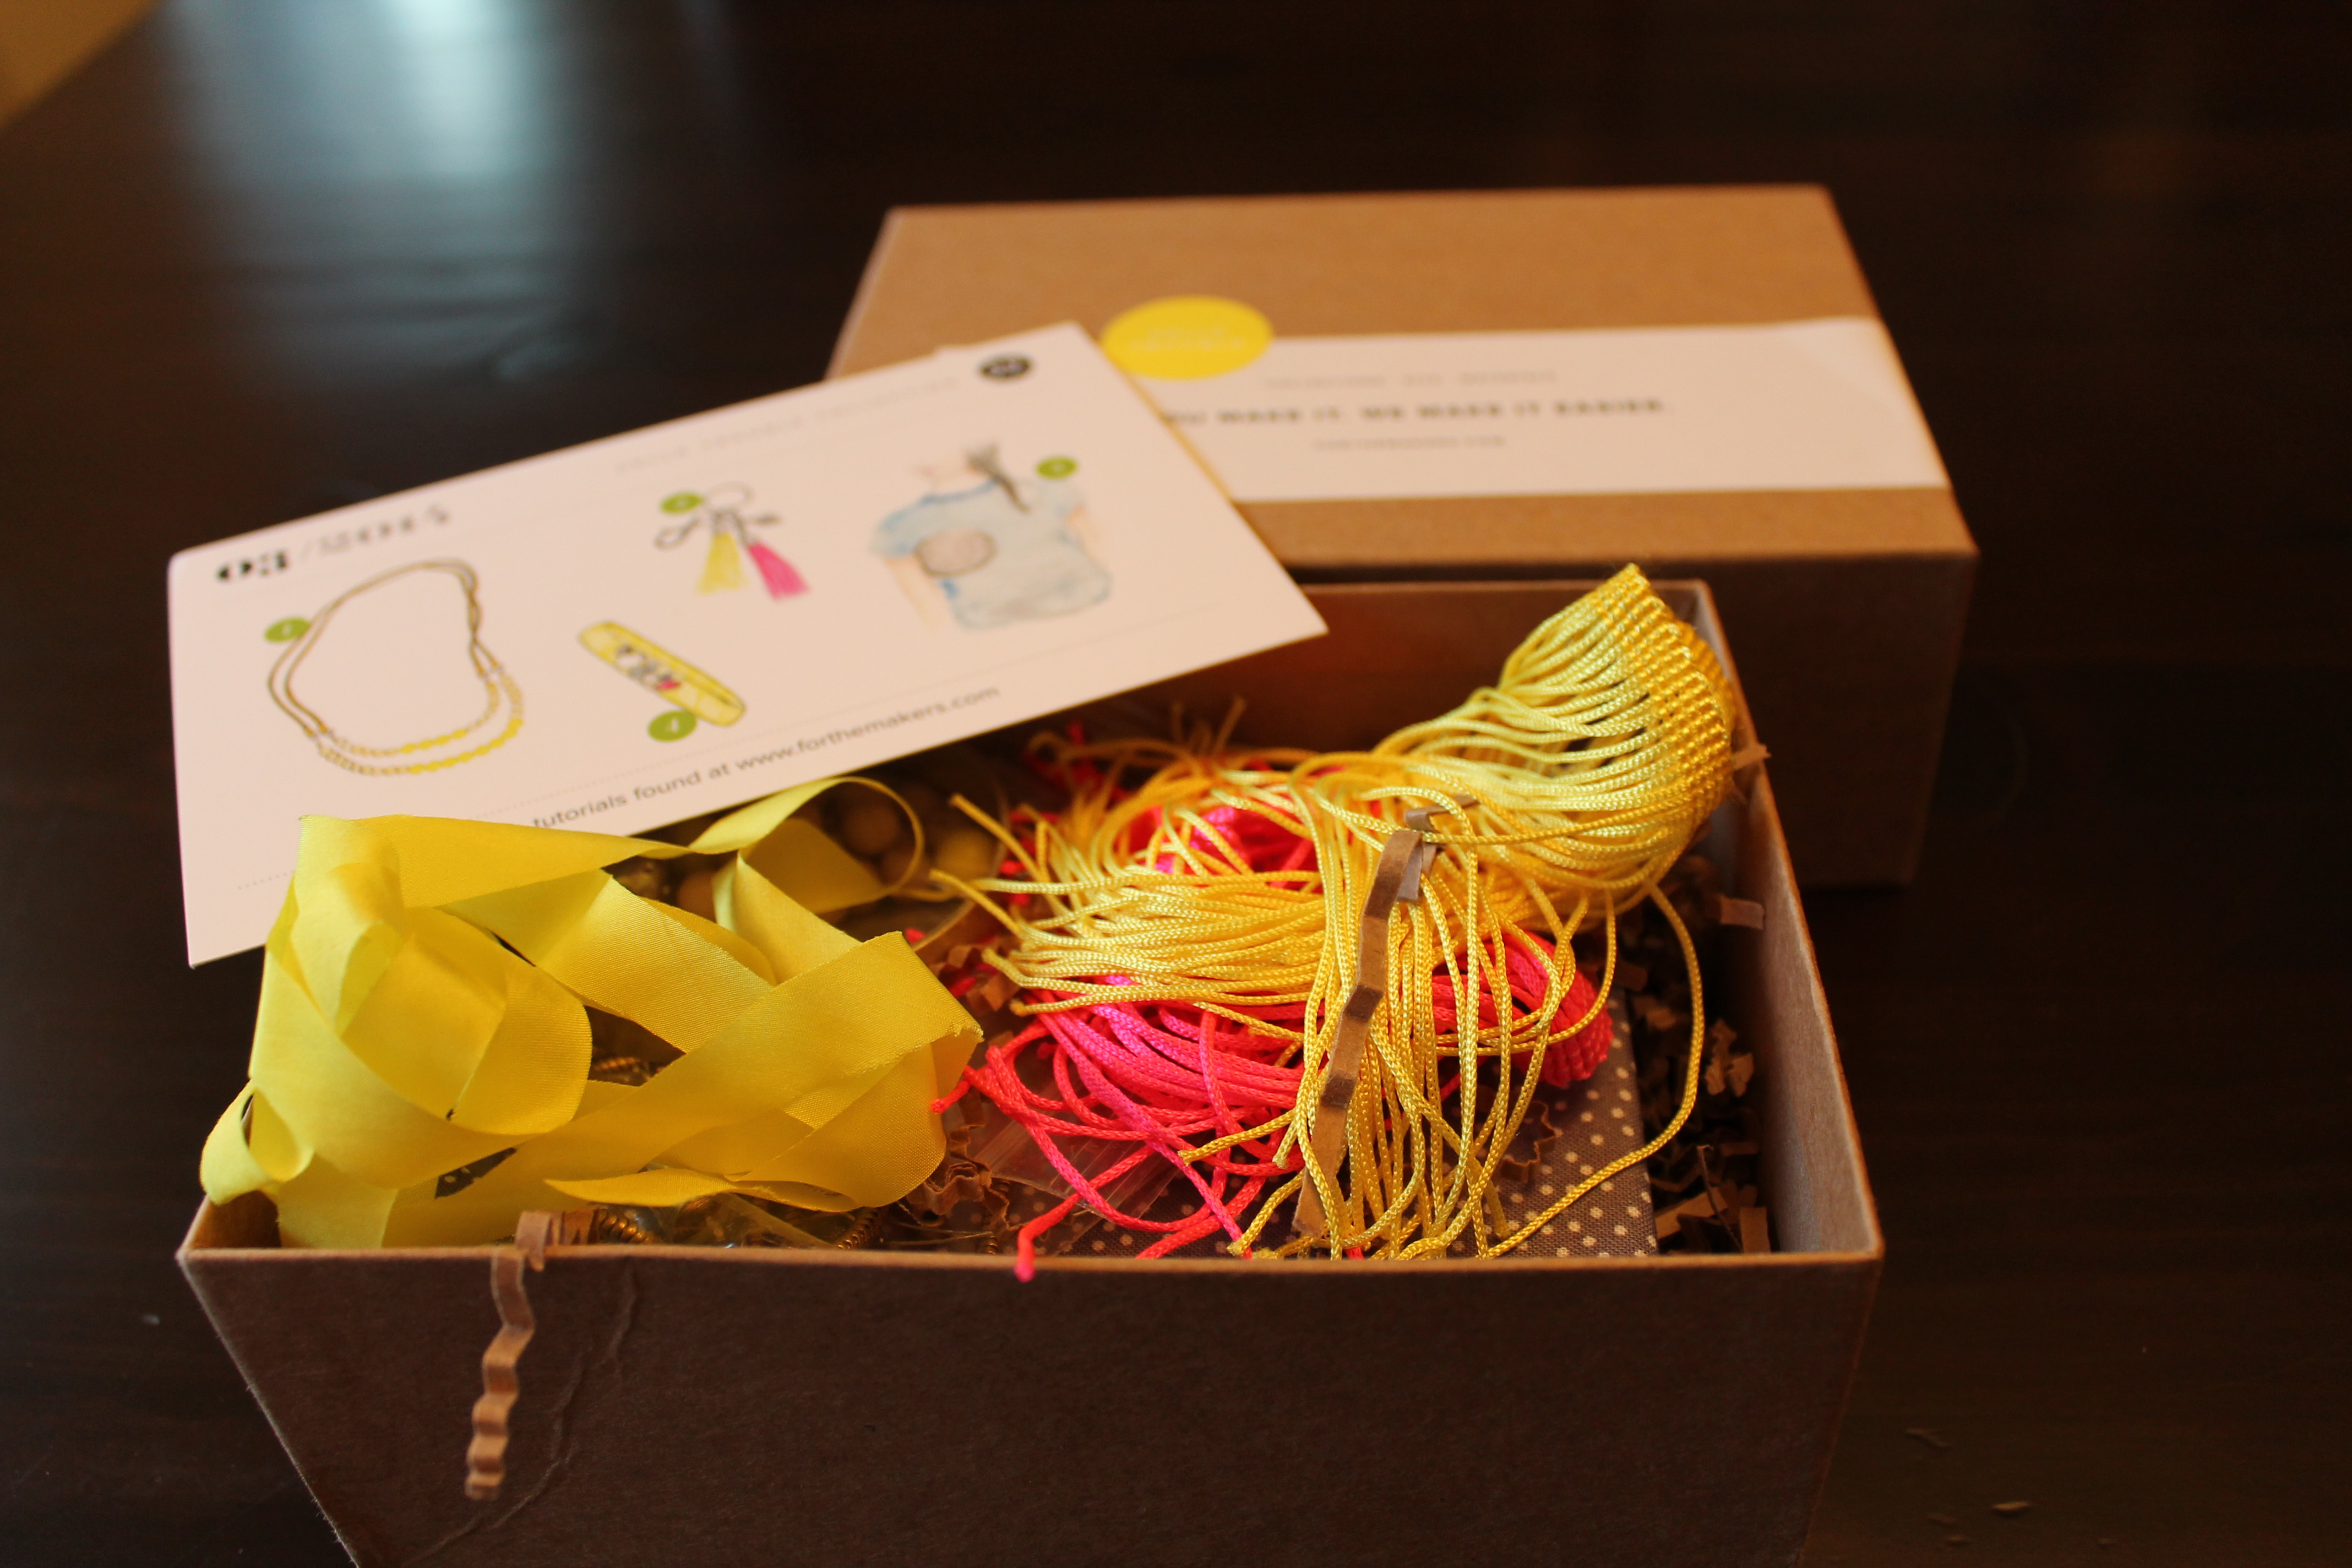
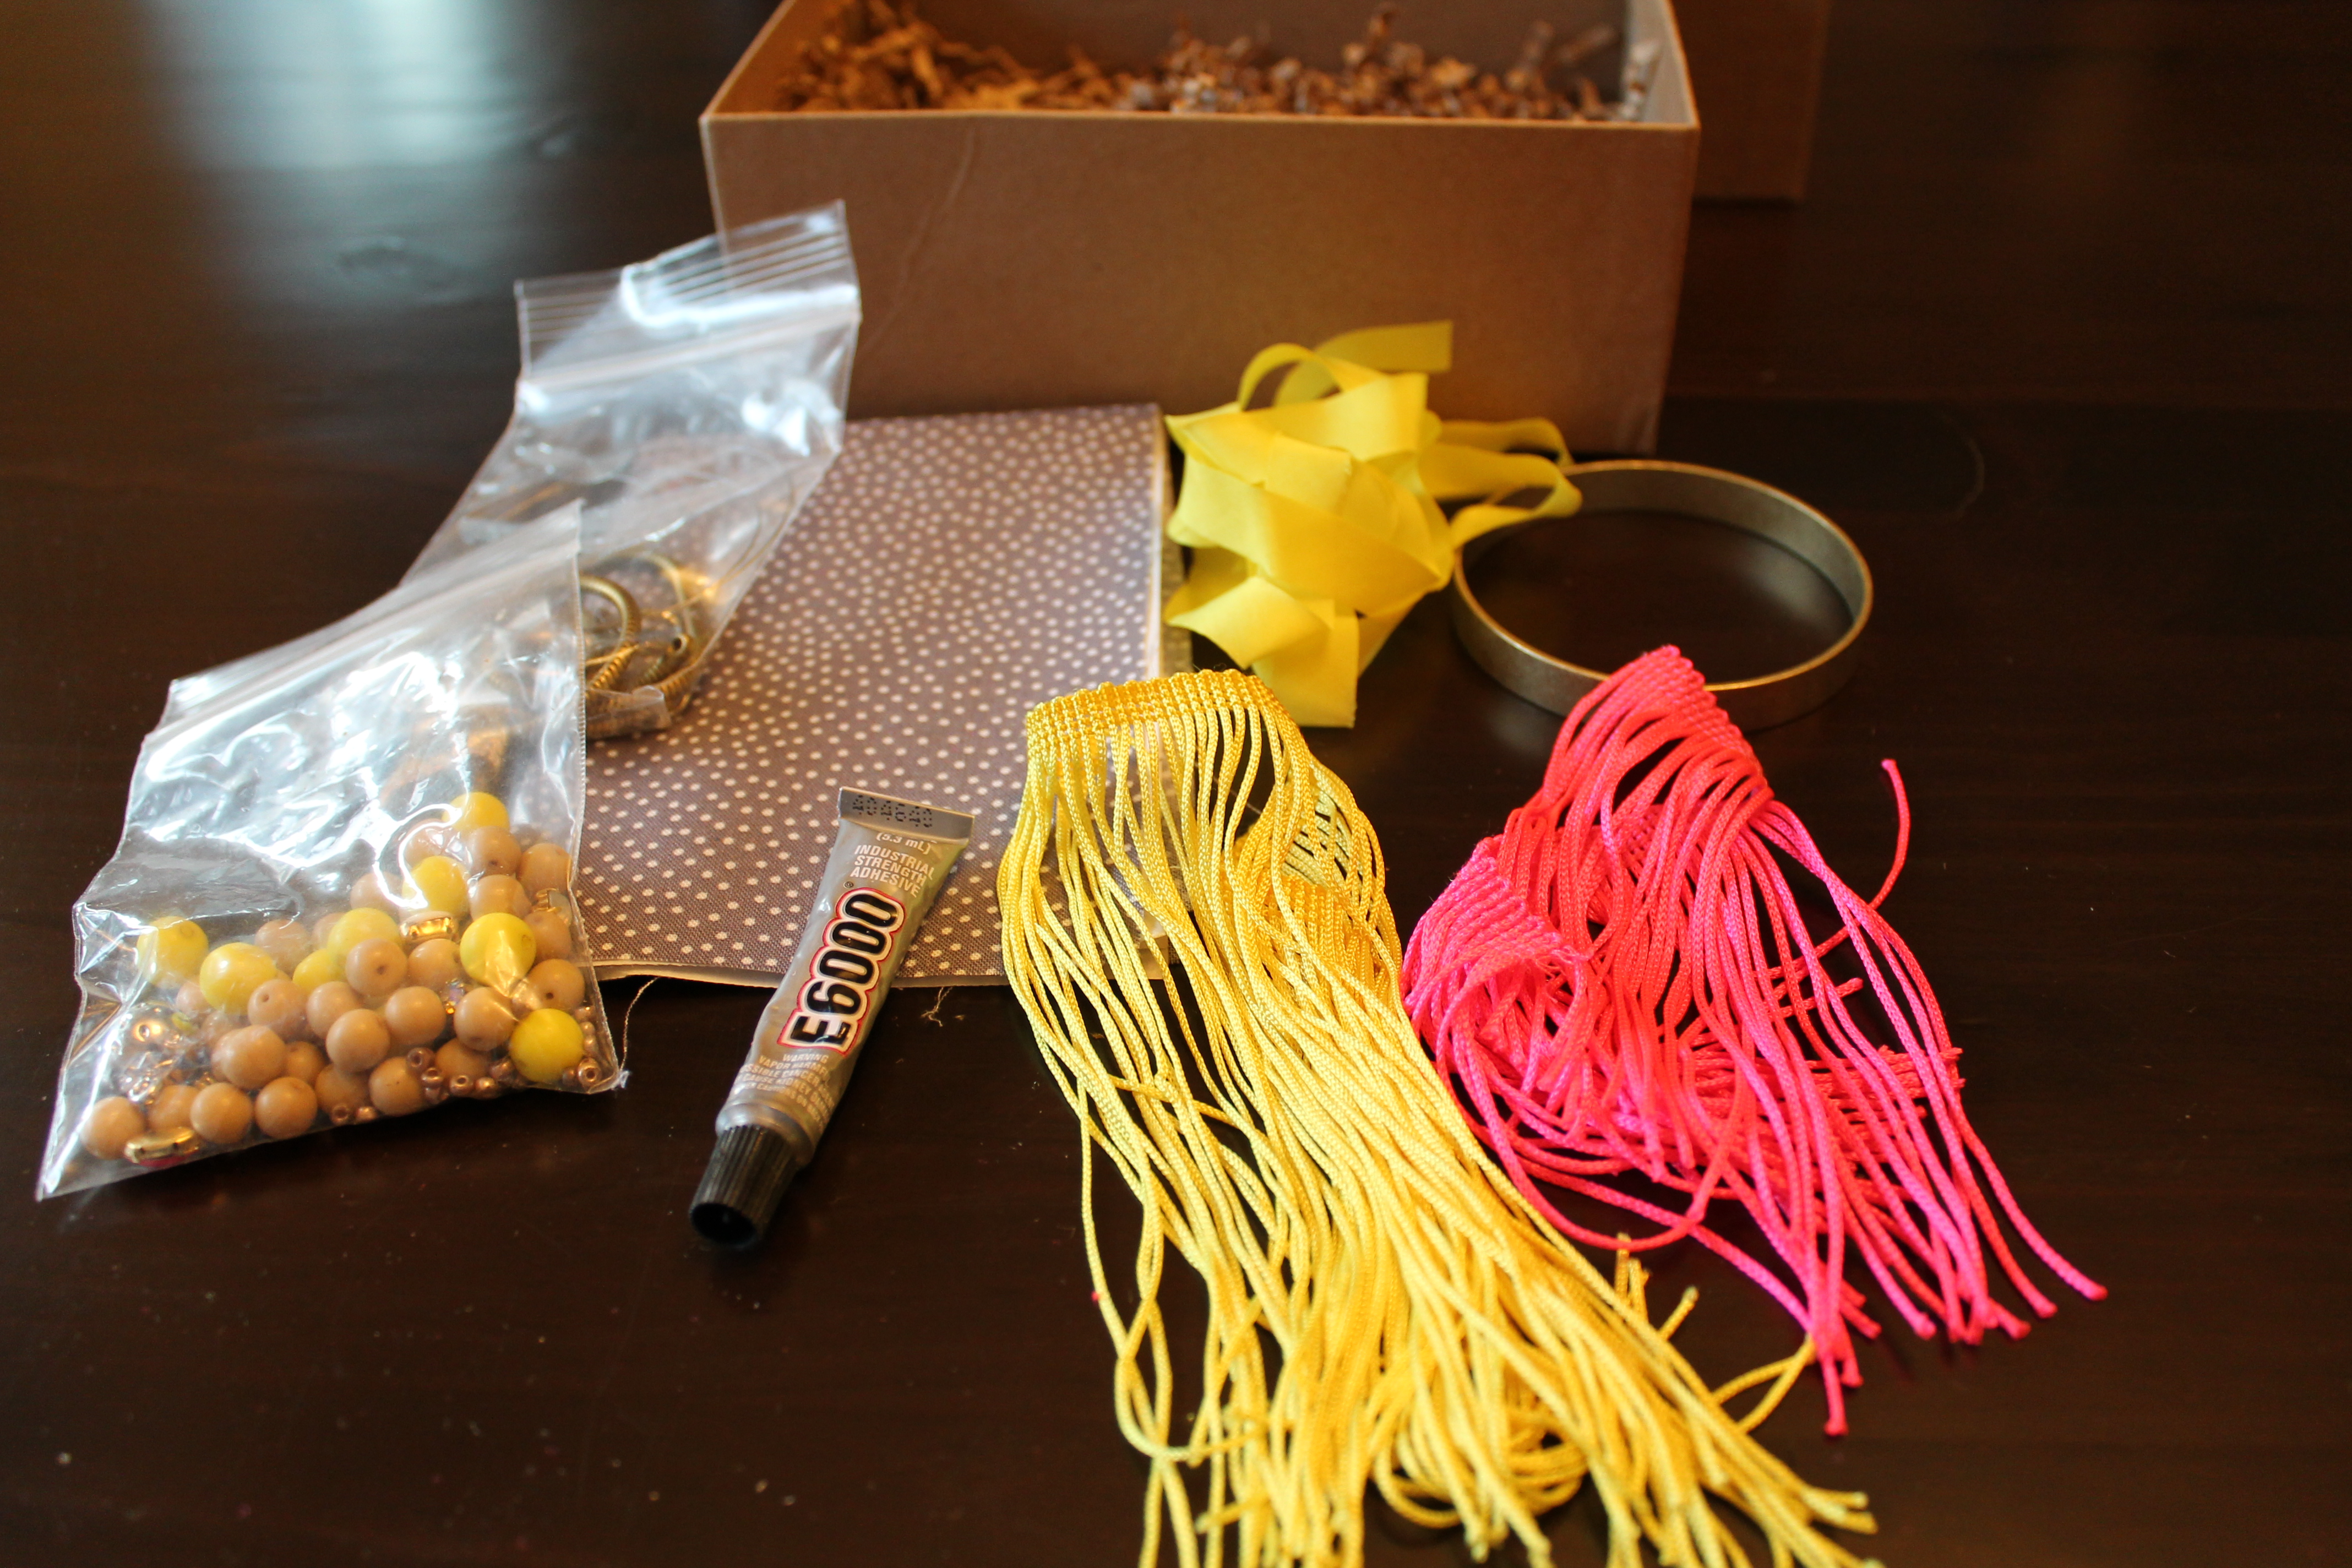
I really liked the March kit from For the Makers because it was very 80s themed and reminded me of things I would have liked as a child of the 80s. Here’s what it came with:
The vibrant neon yellows and hot pinks remind me of pop-beads and charm necklaces. I also remember a small faux leather purse I had in that same shade of hot pink.
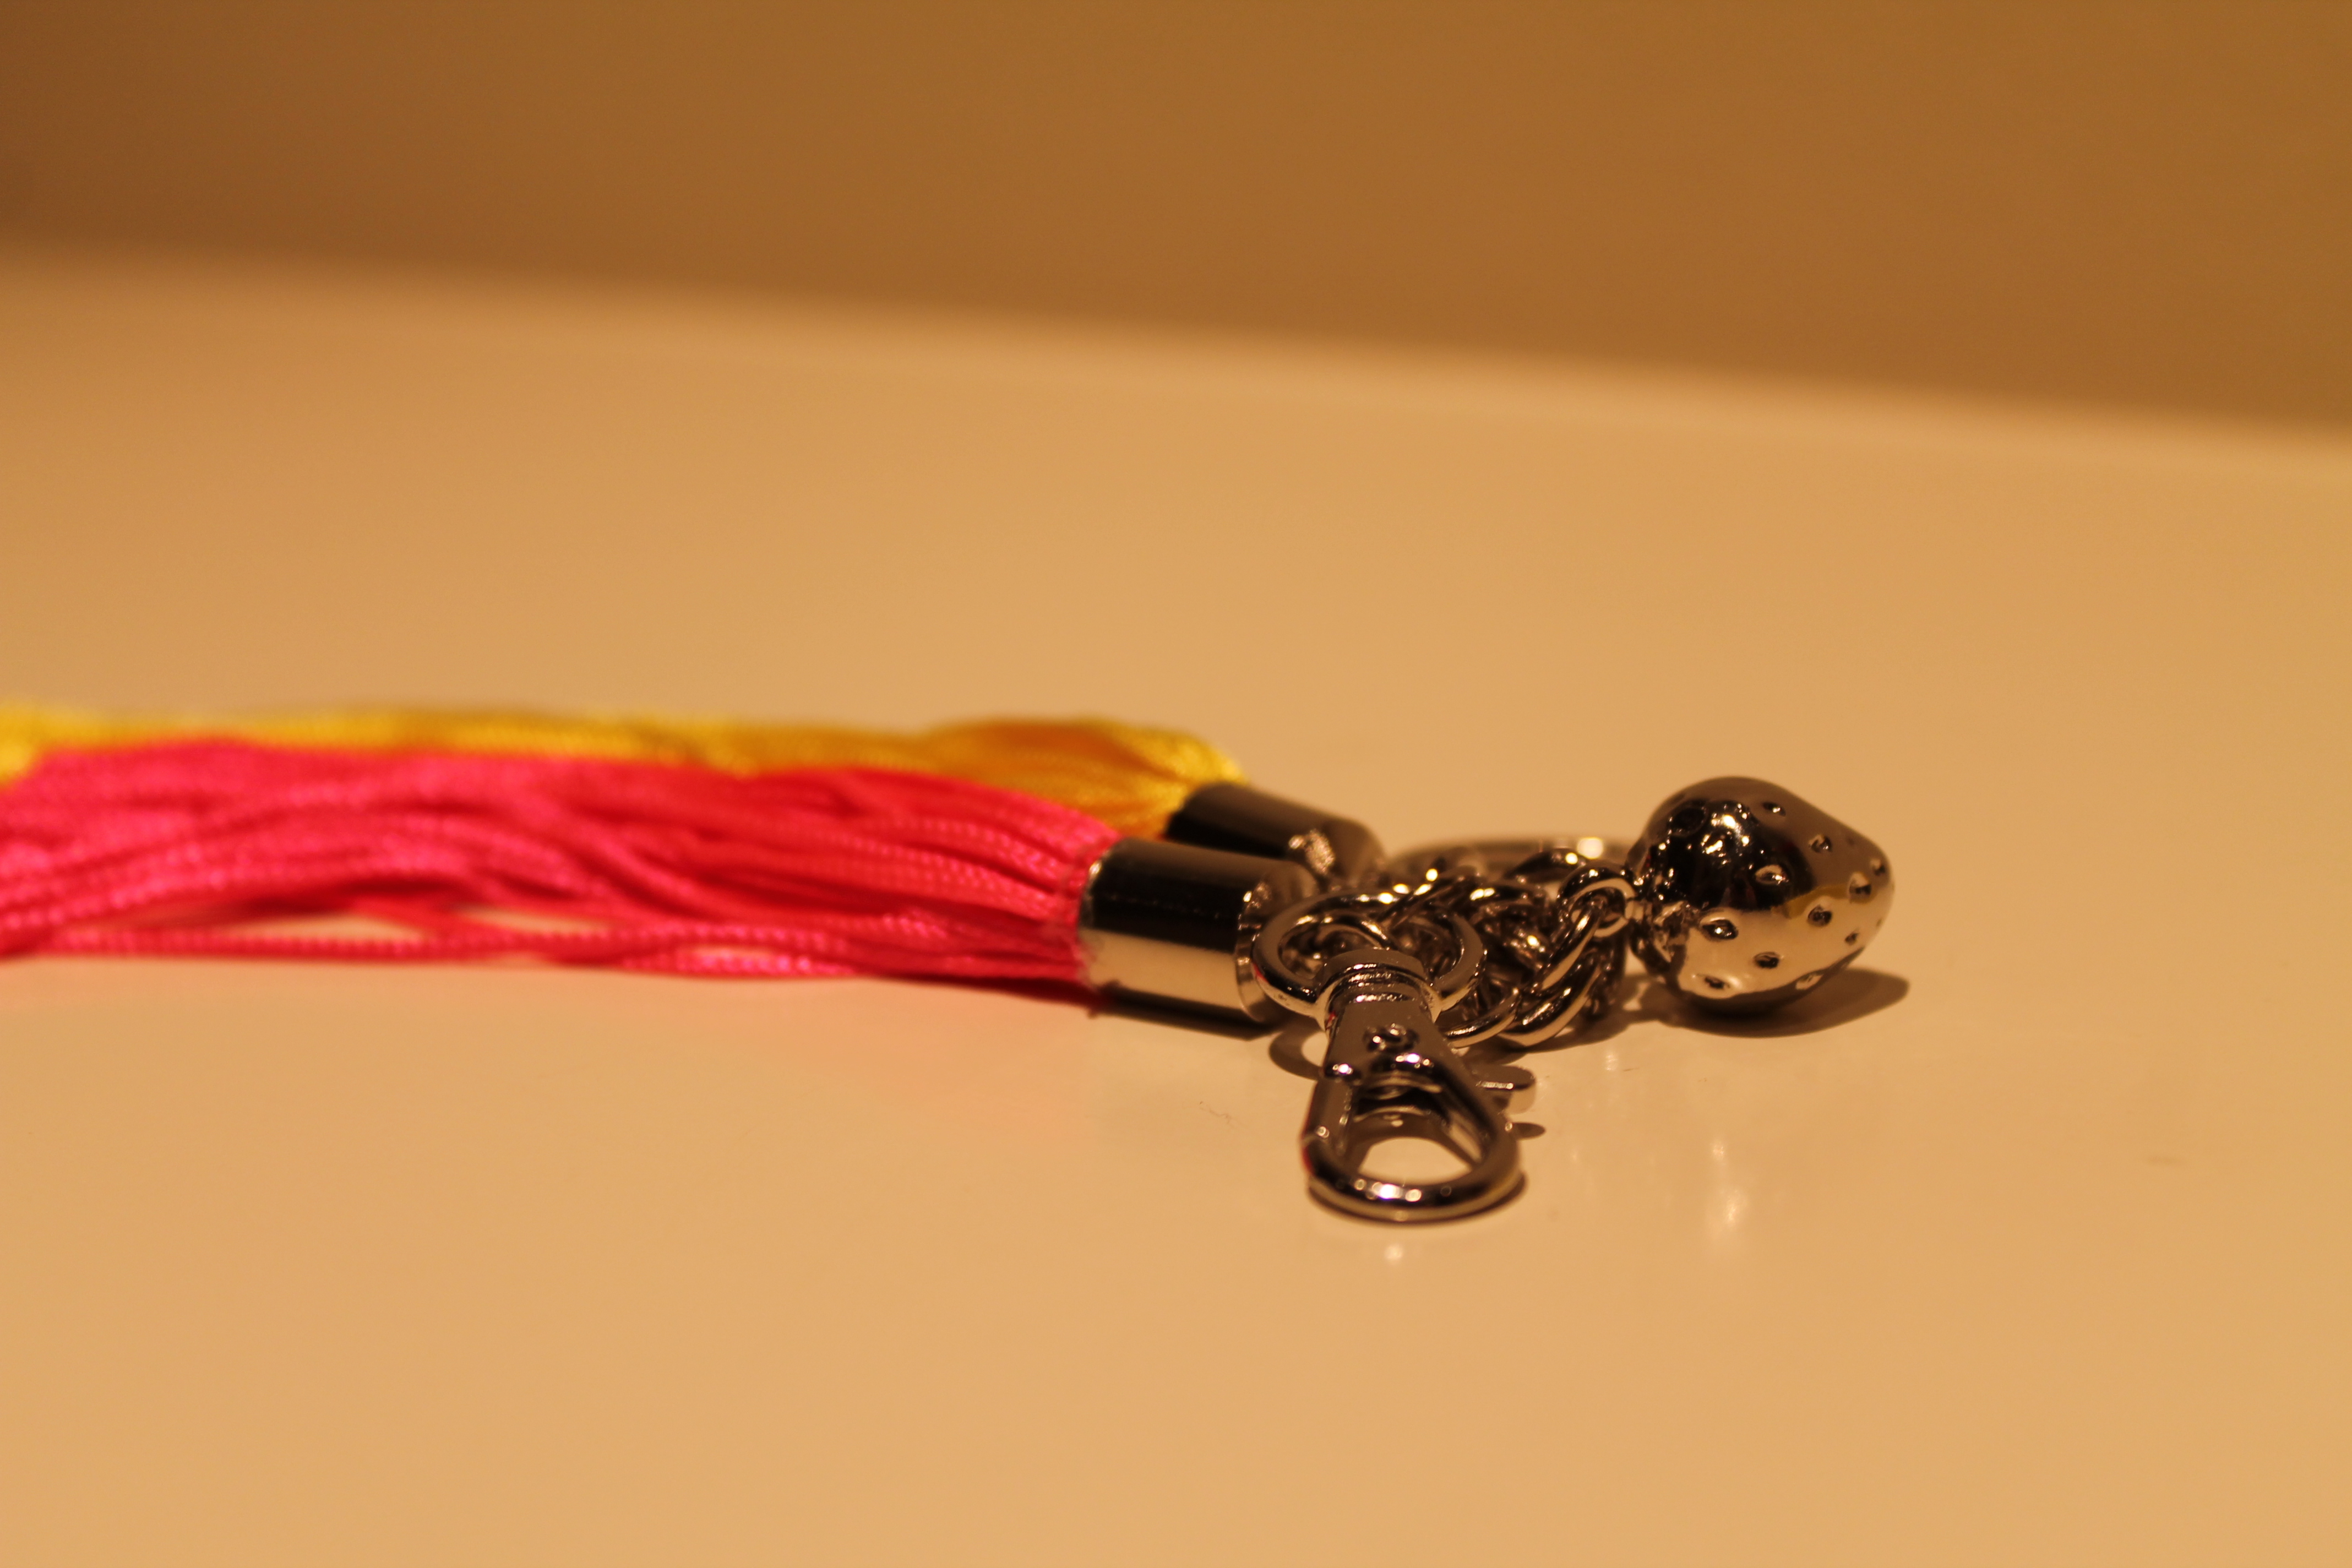
The four projects were a key chain, a bracelet, a necklace, and a t-shirt applique which I have yet to apply to anything. I need to find a T-shirt I don’t mind adding the applique to.
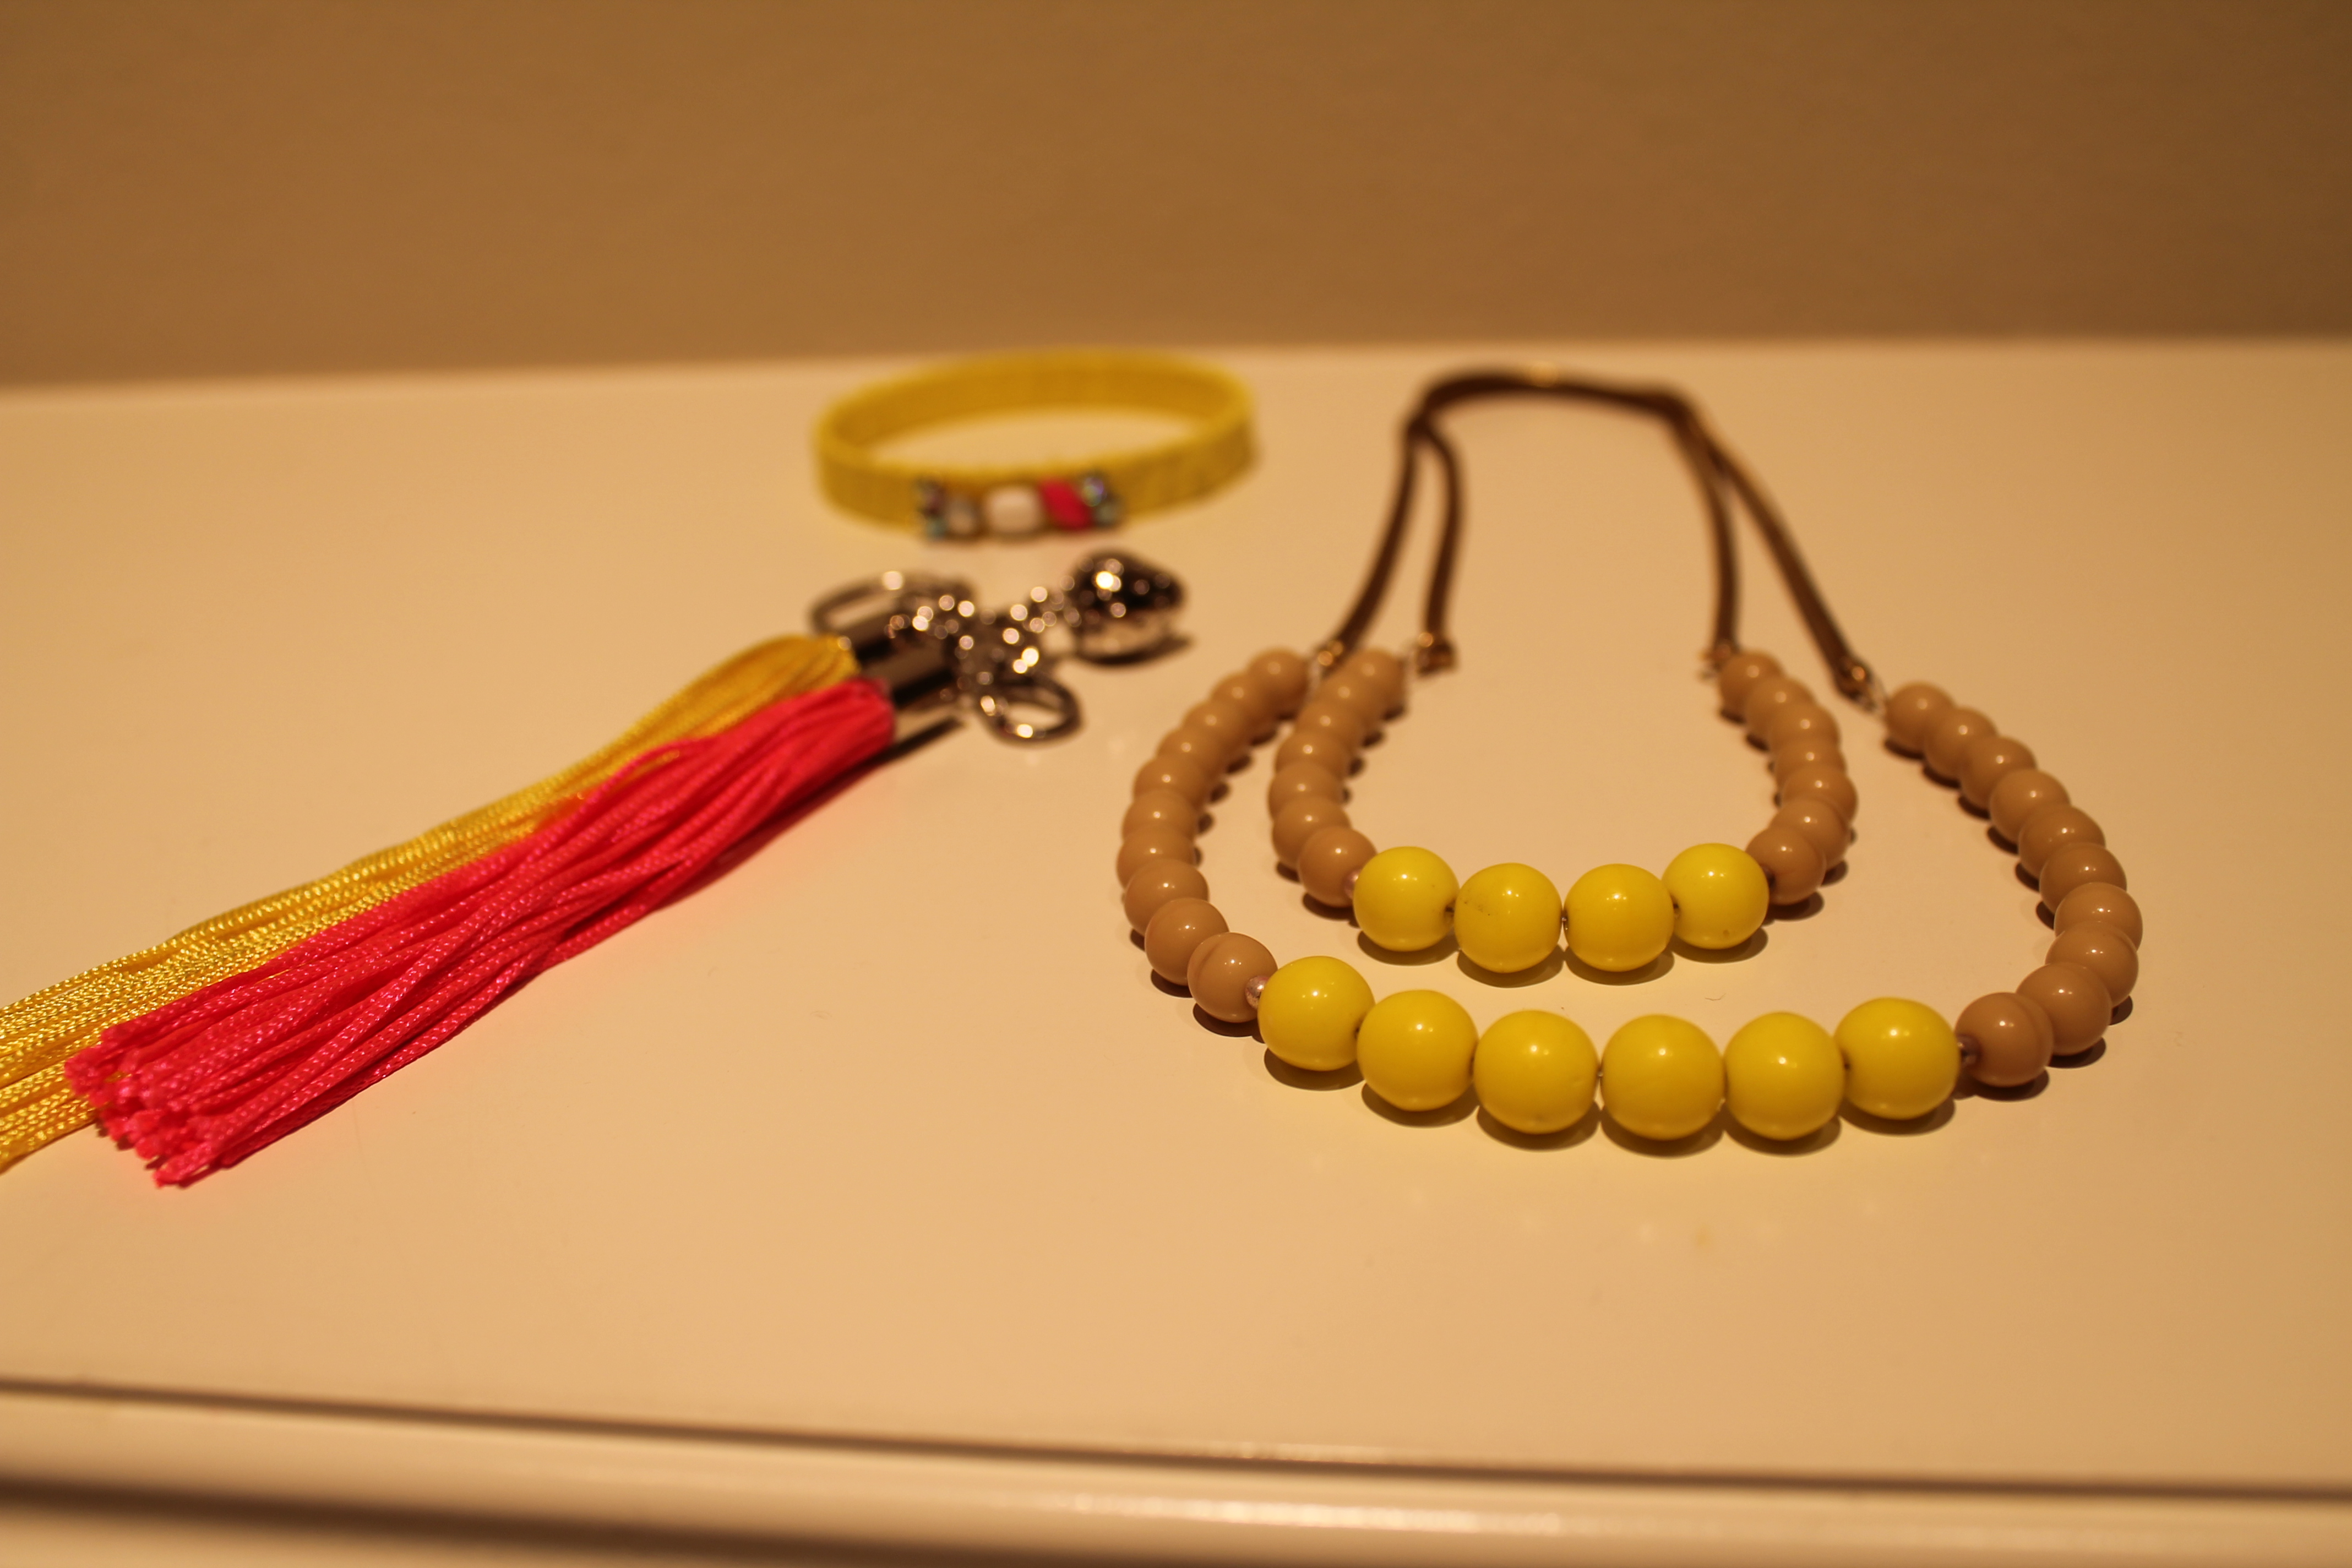
3 finished projects
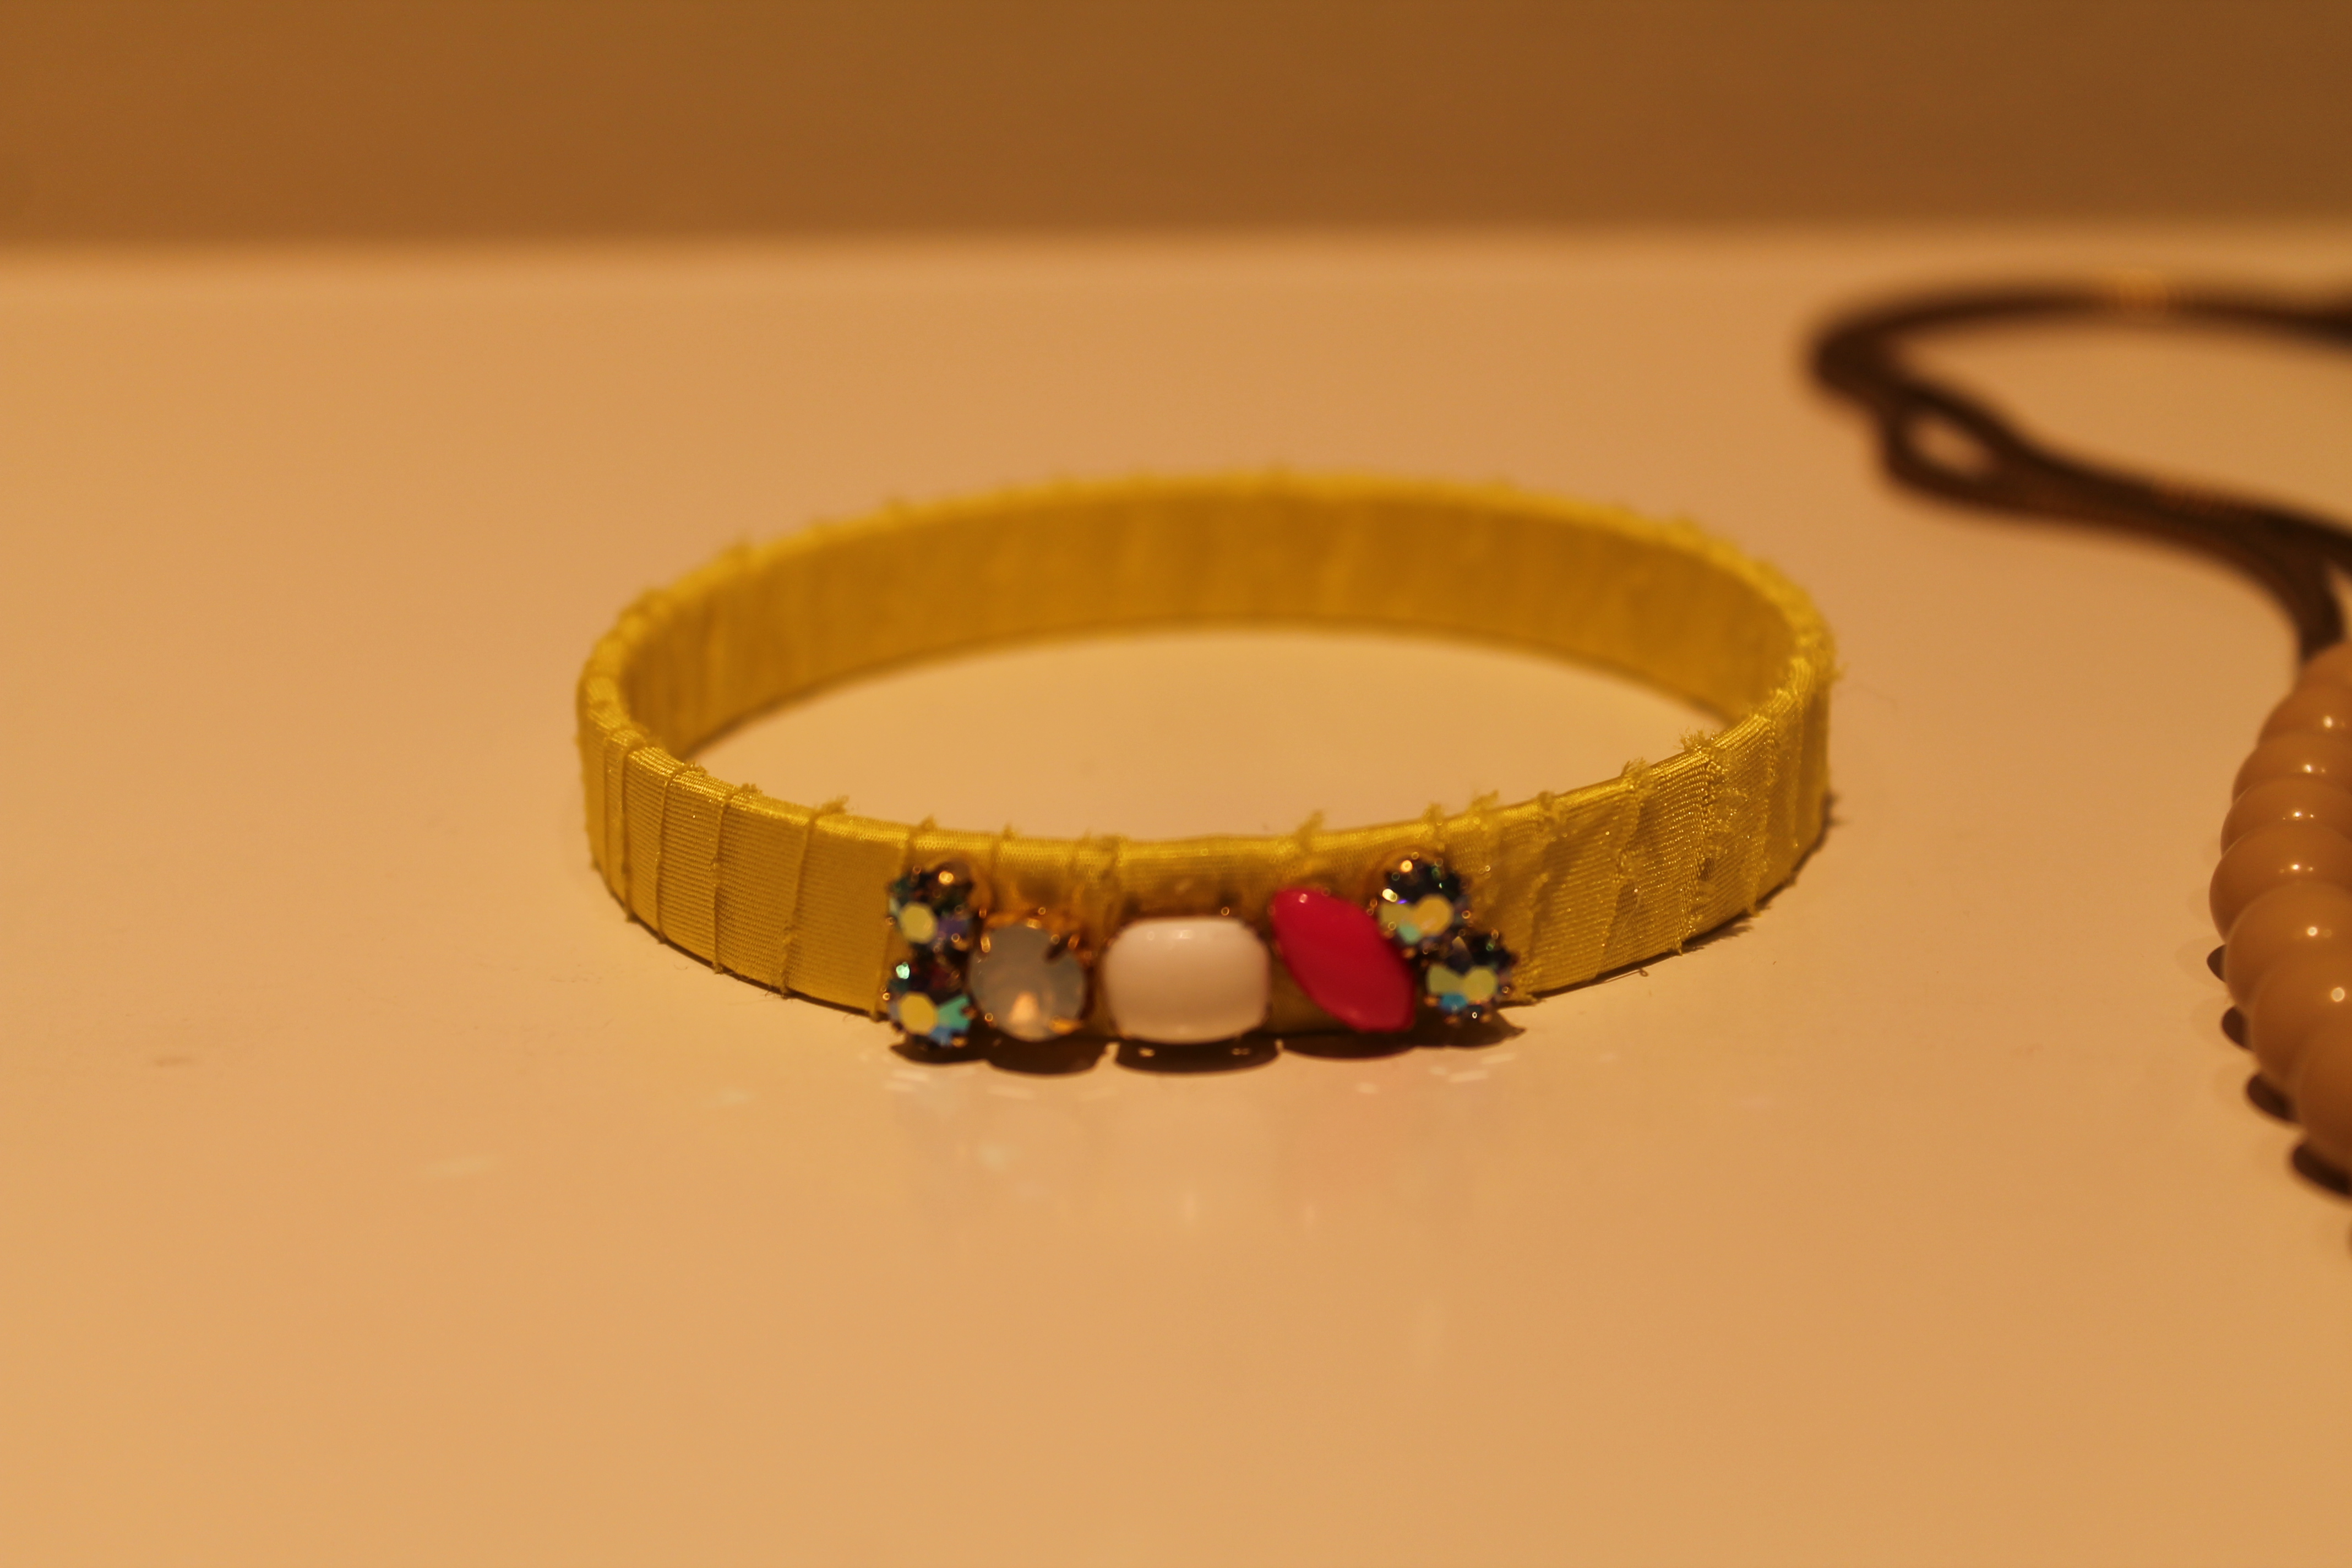
I already wore the necklace today with a yellow and tan sweater that matched perfectly. I think I might wear the bracelet tomorrow.
Reminds me of candy.The strawberry looks like a charm I had on a plastic necklace.
For anyone interested in learning more about “For the Makers” you can sign up here.
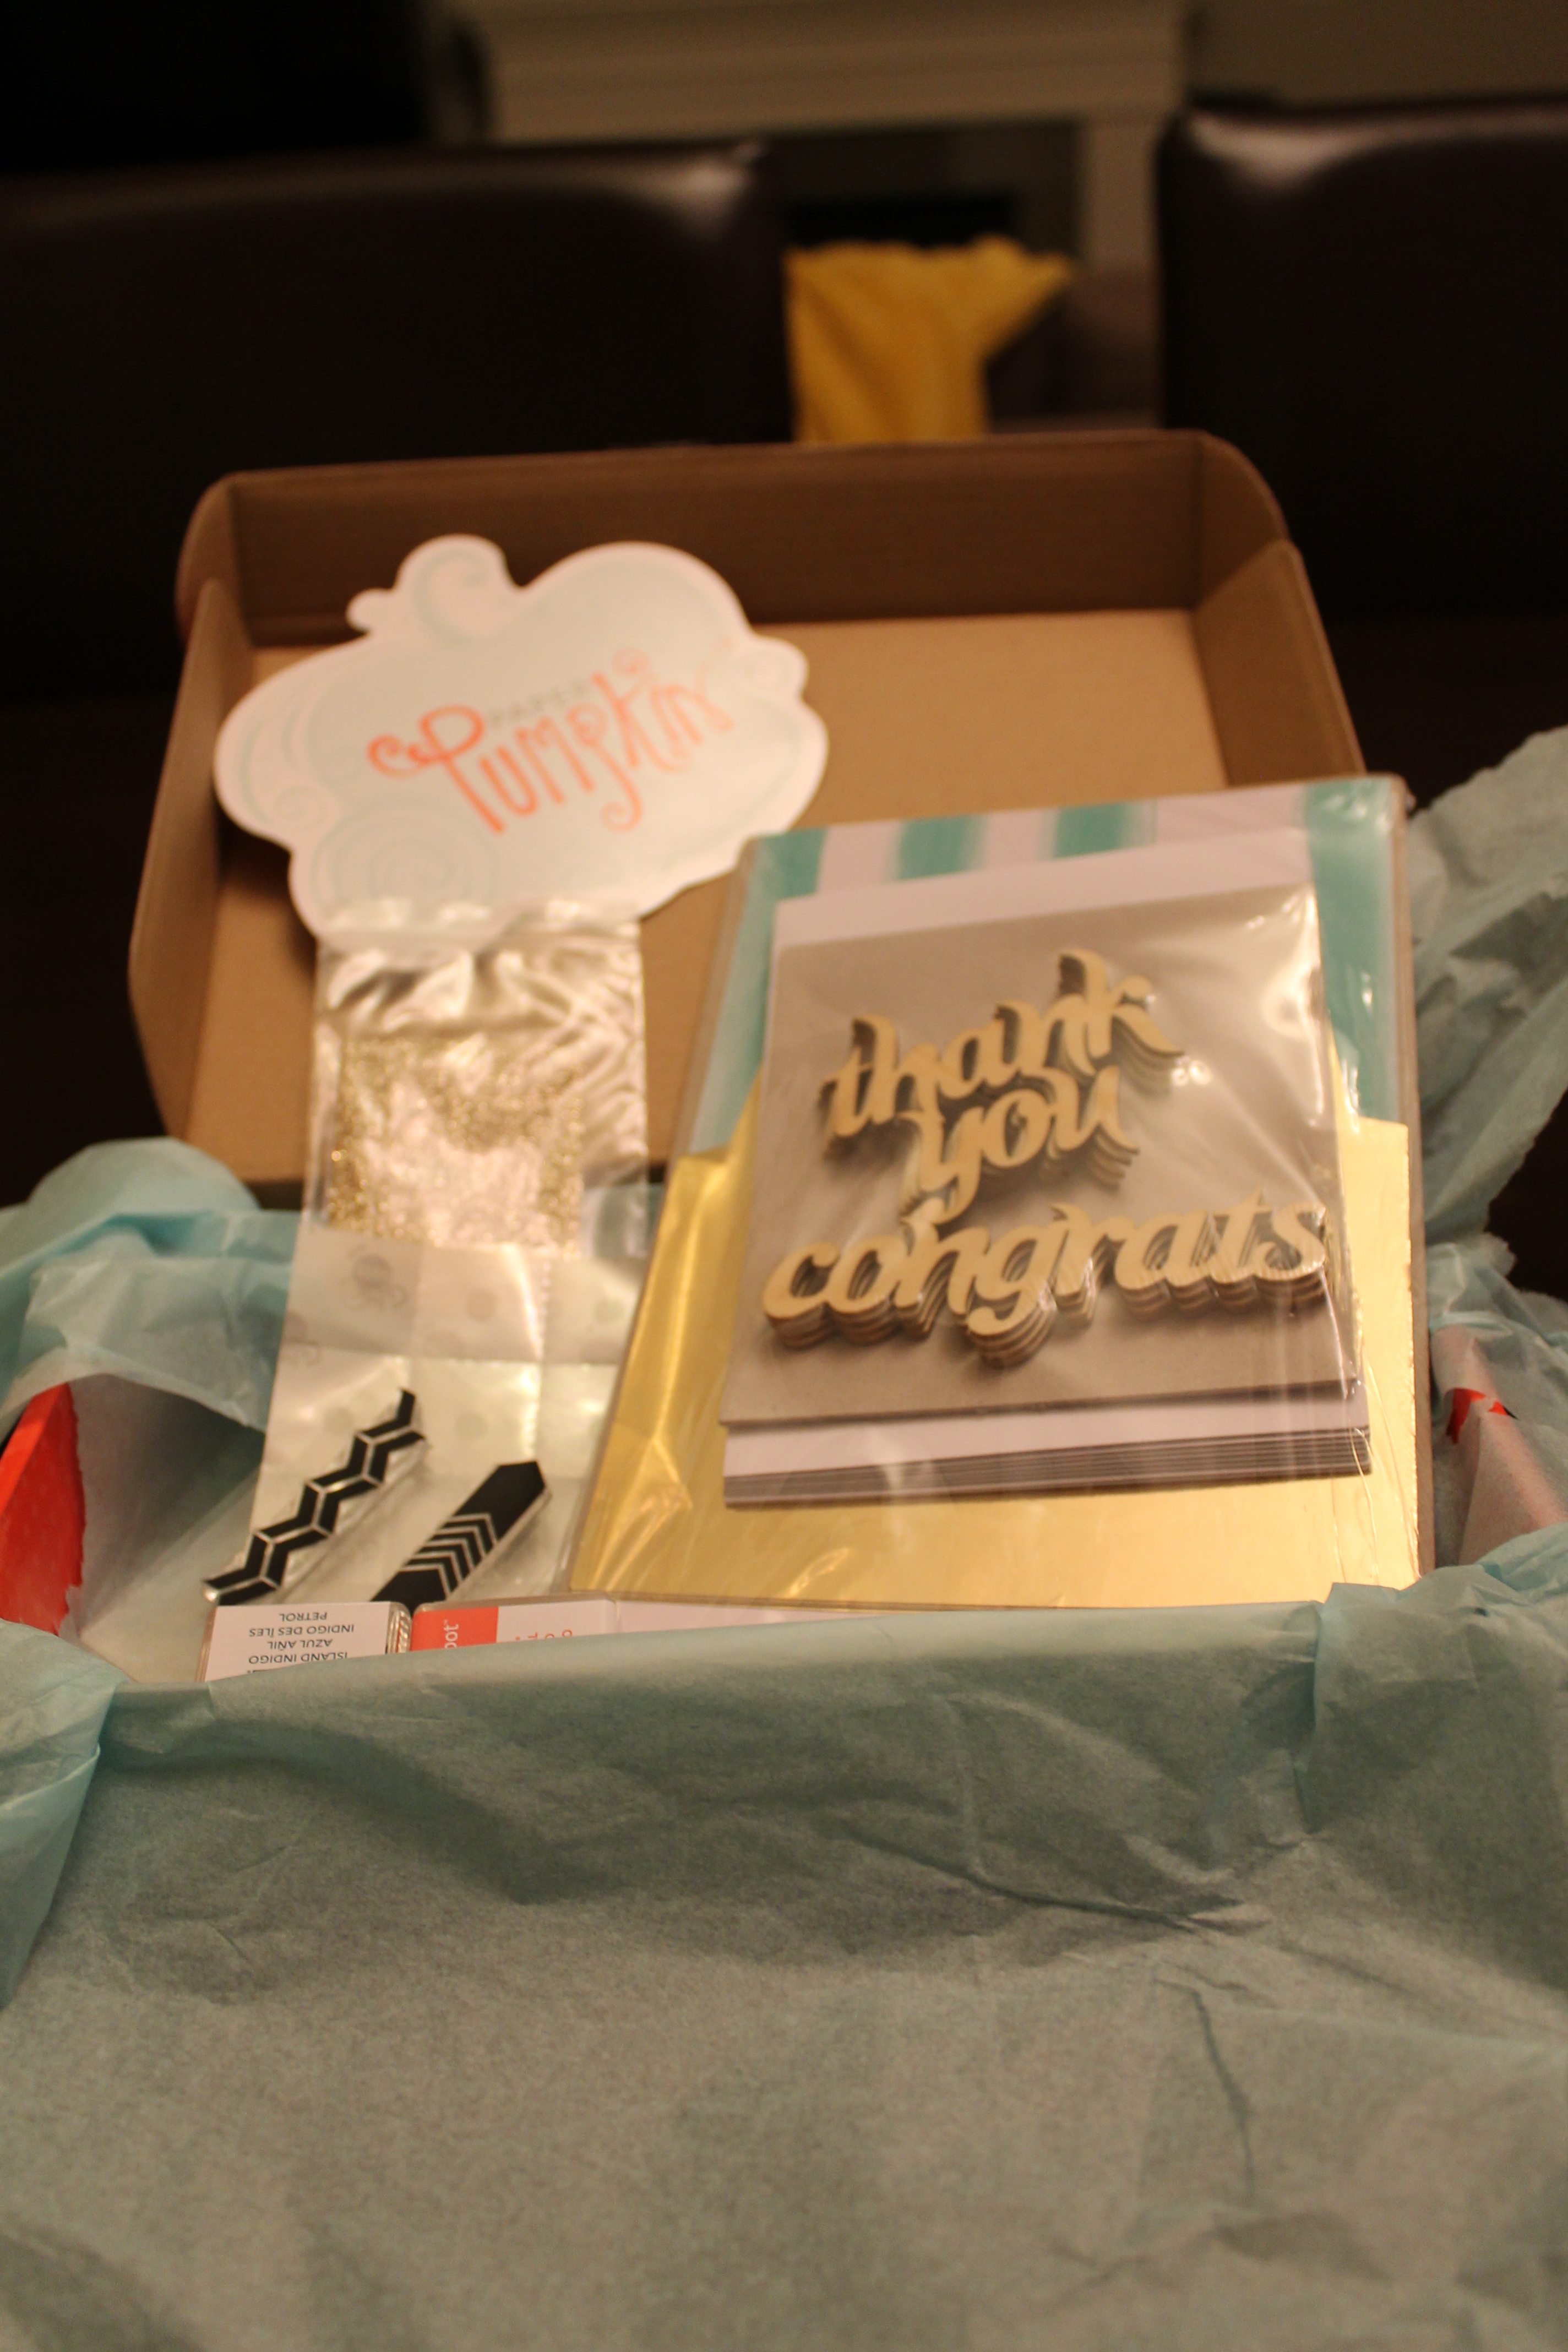
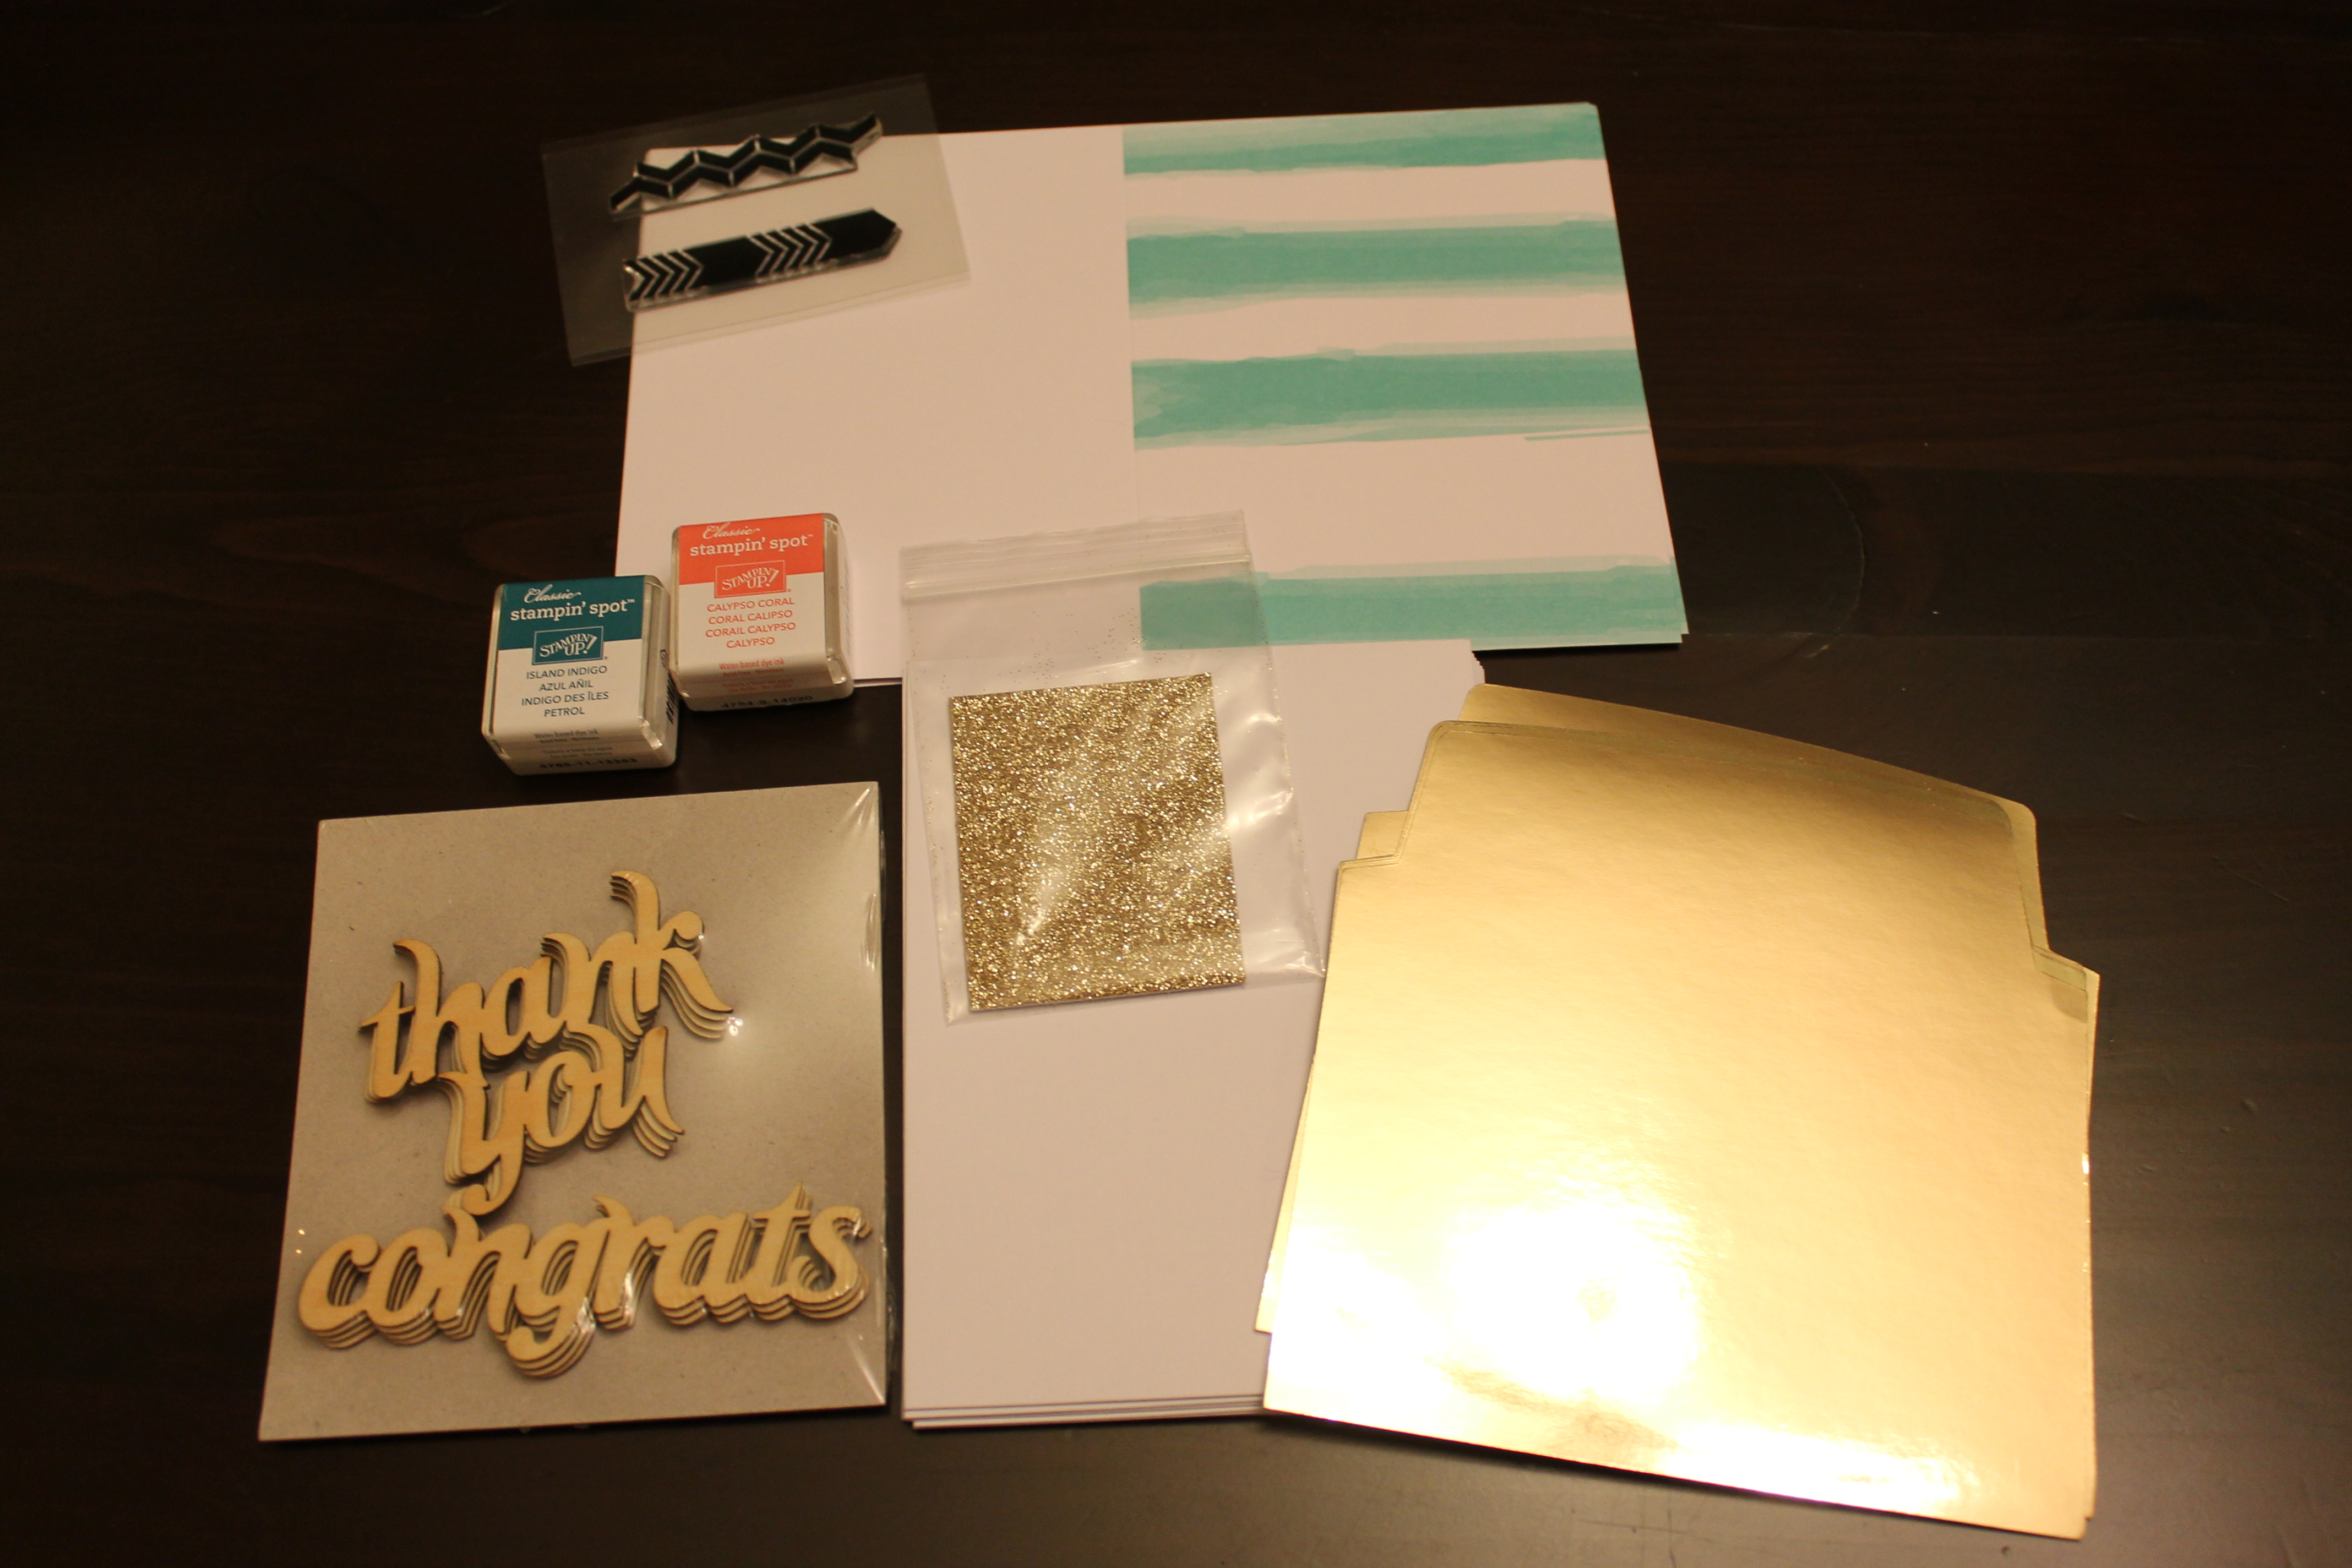
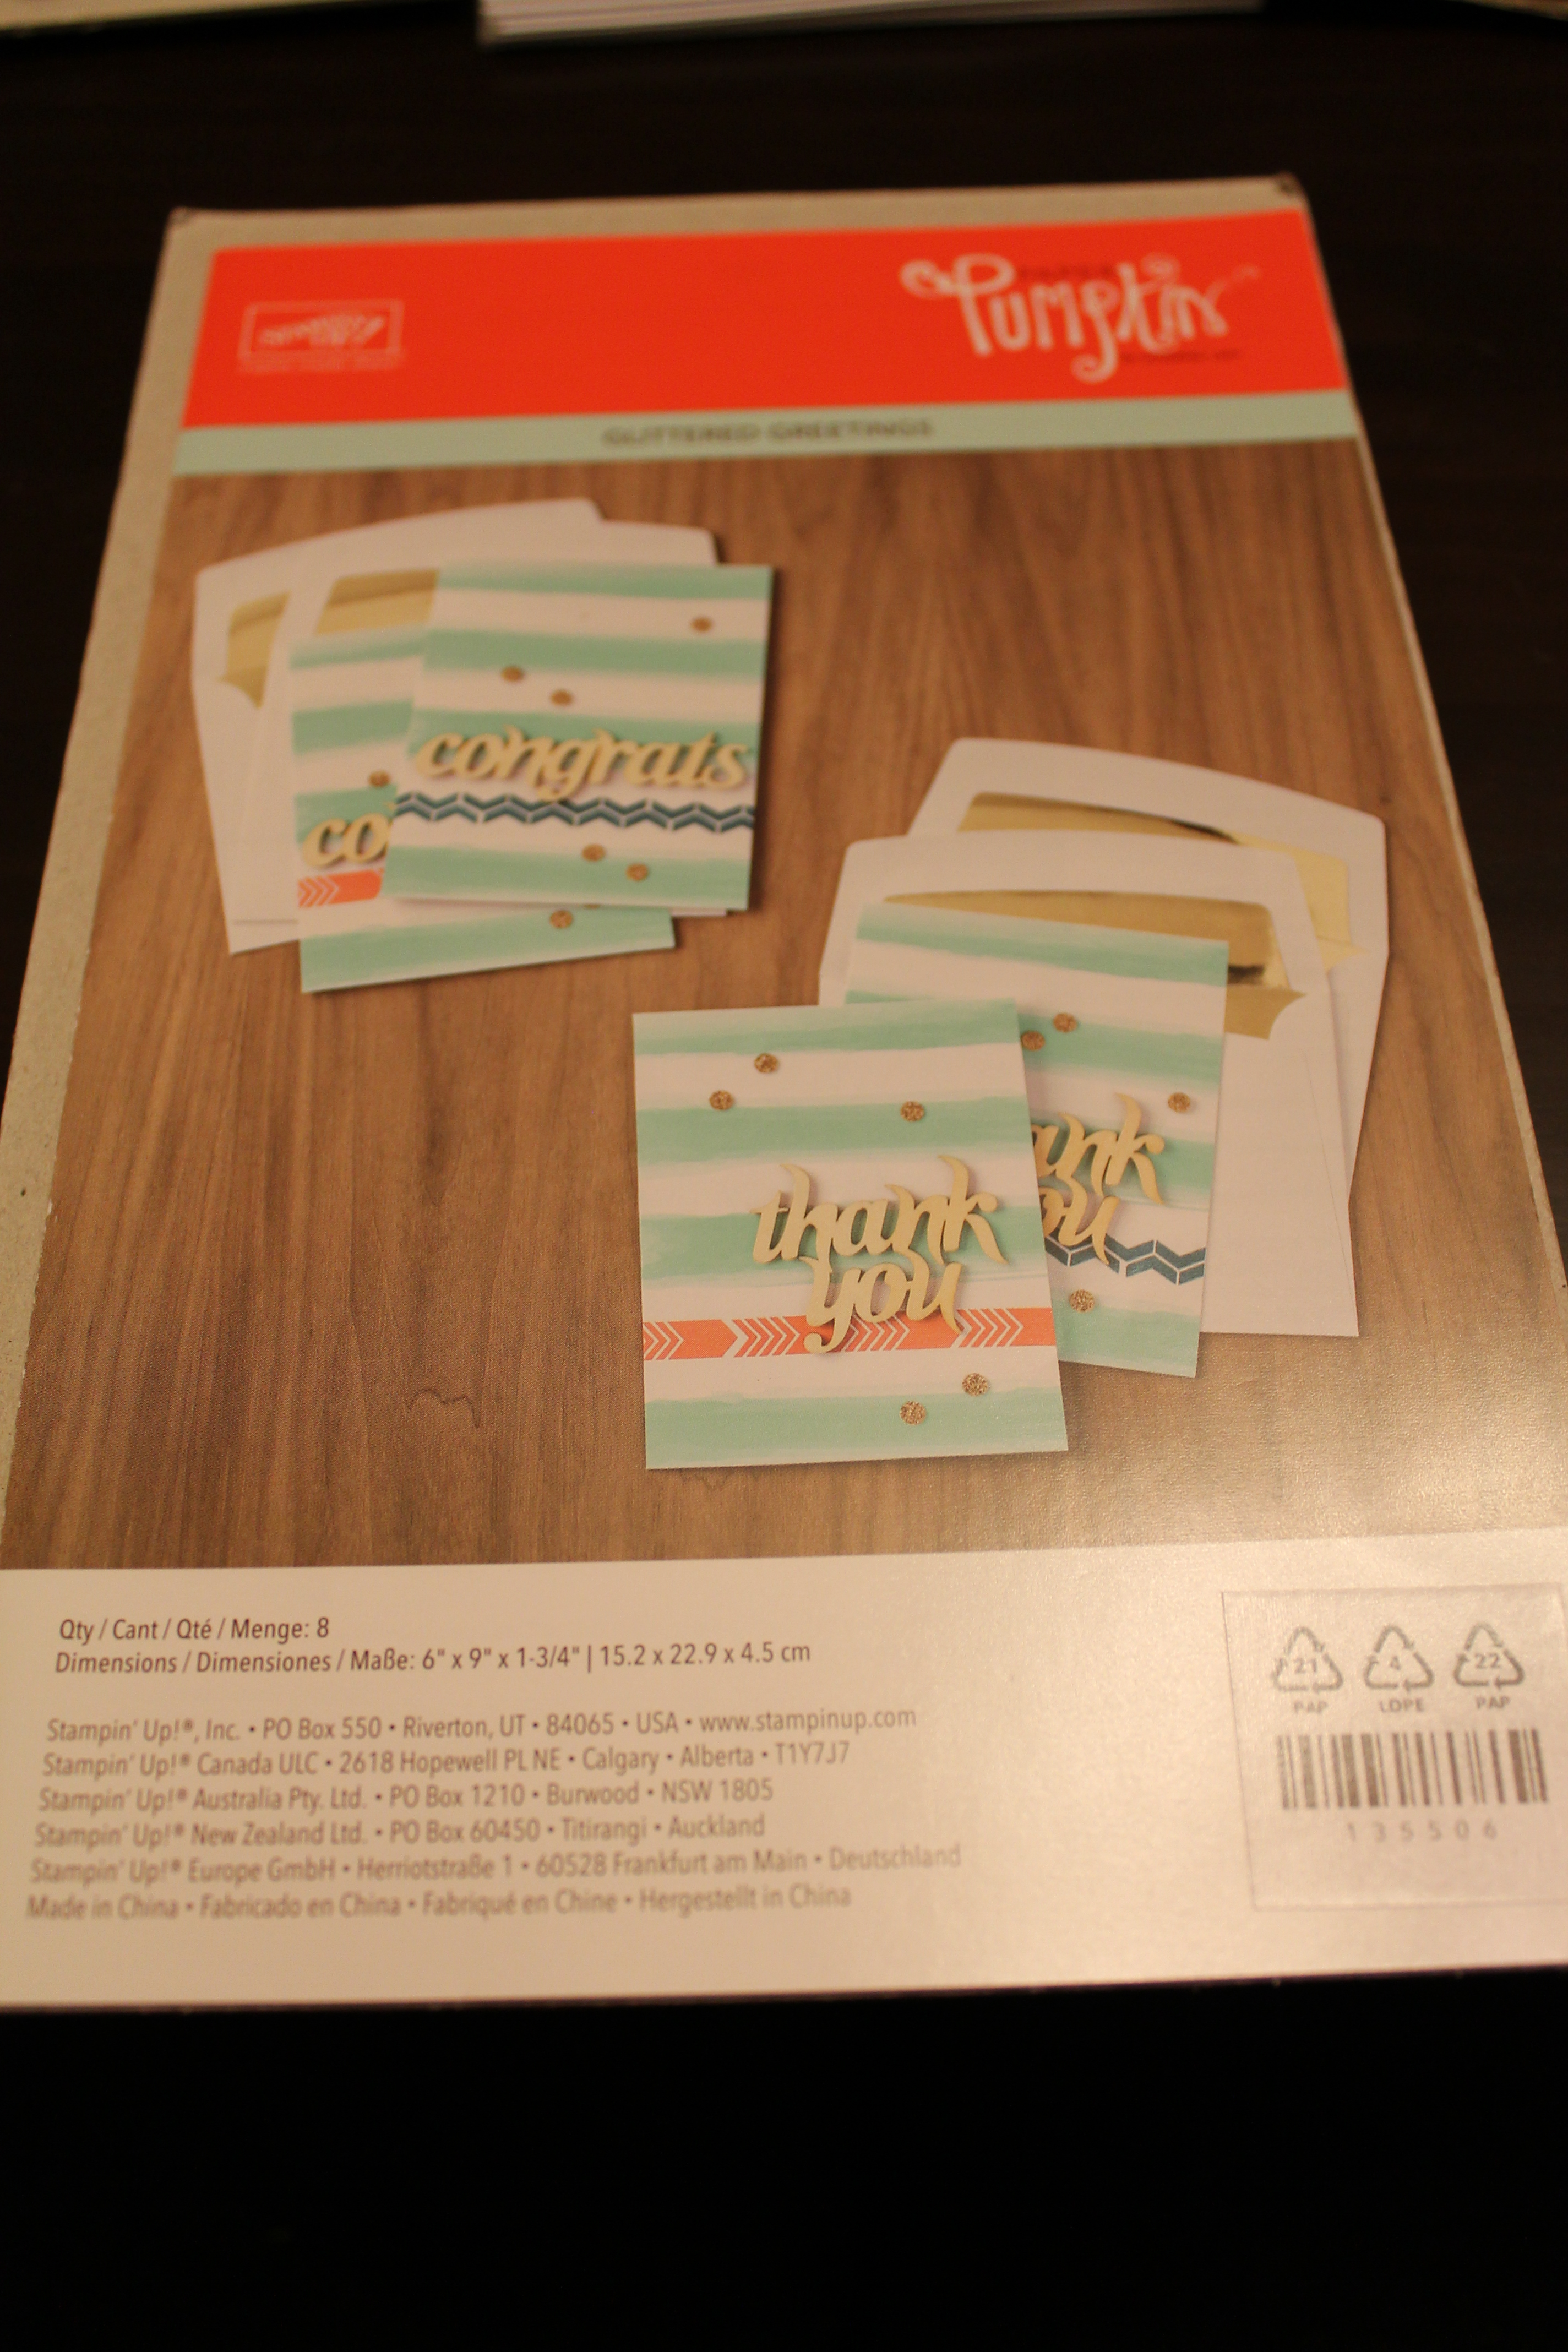
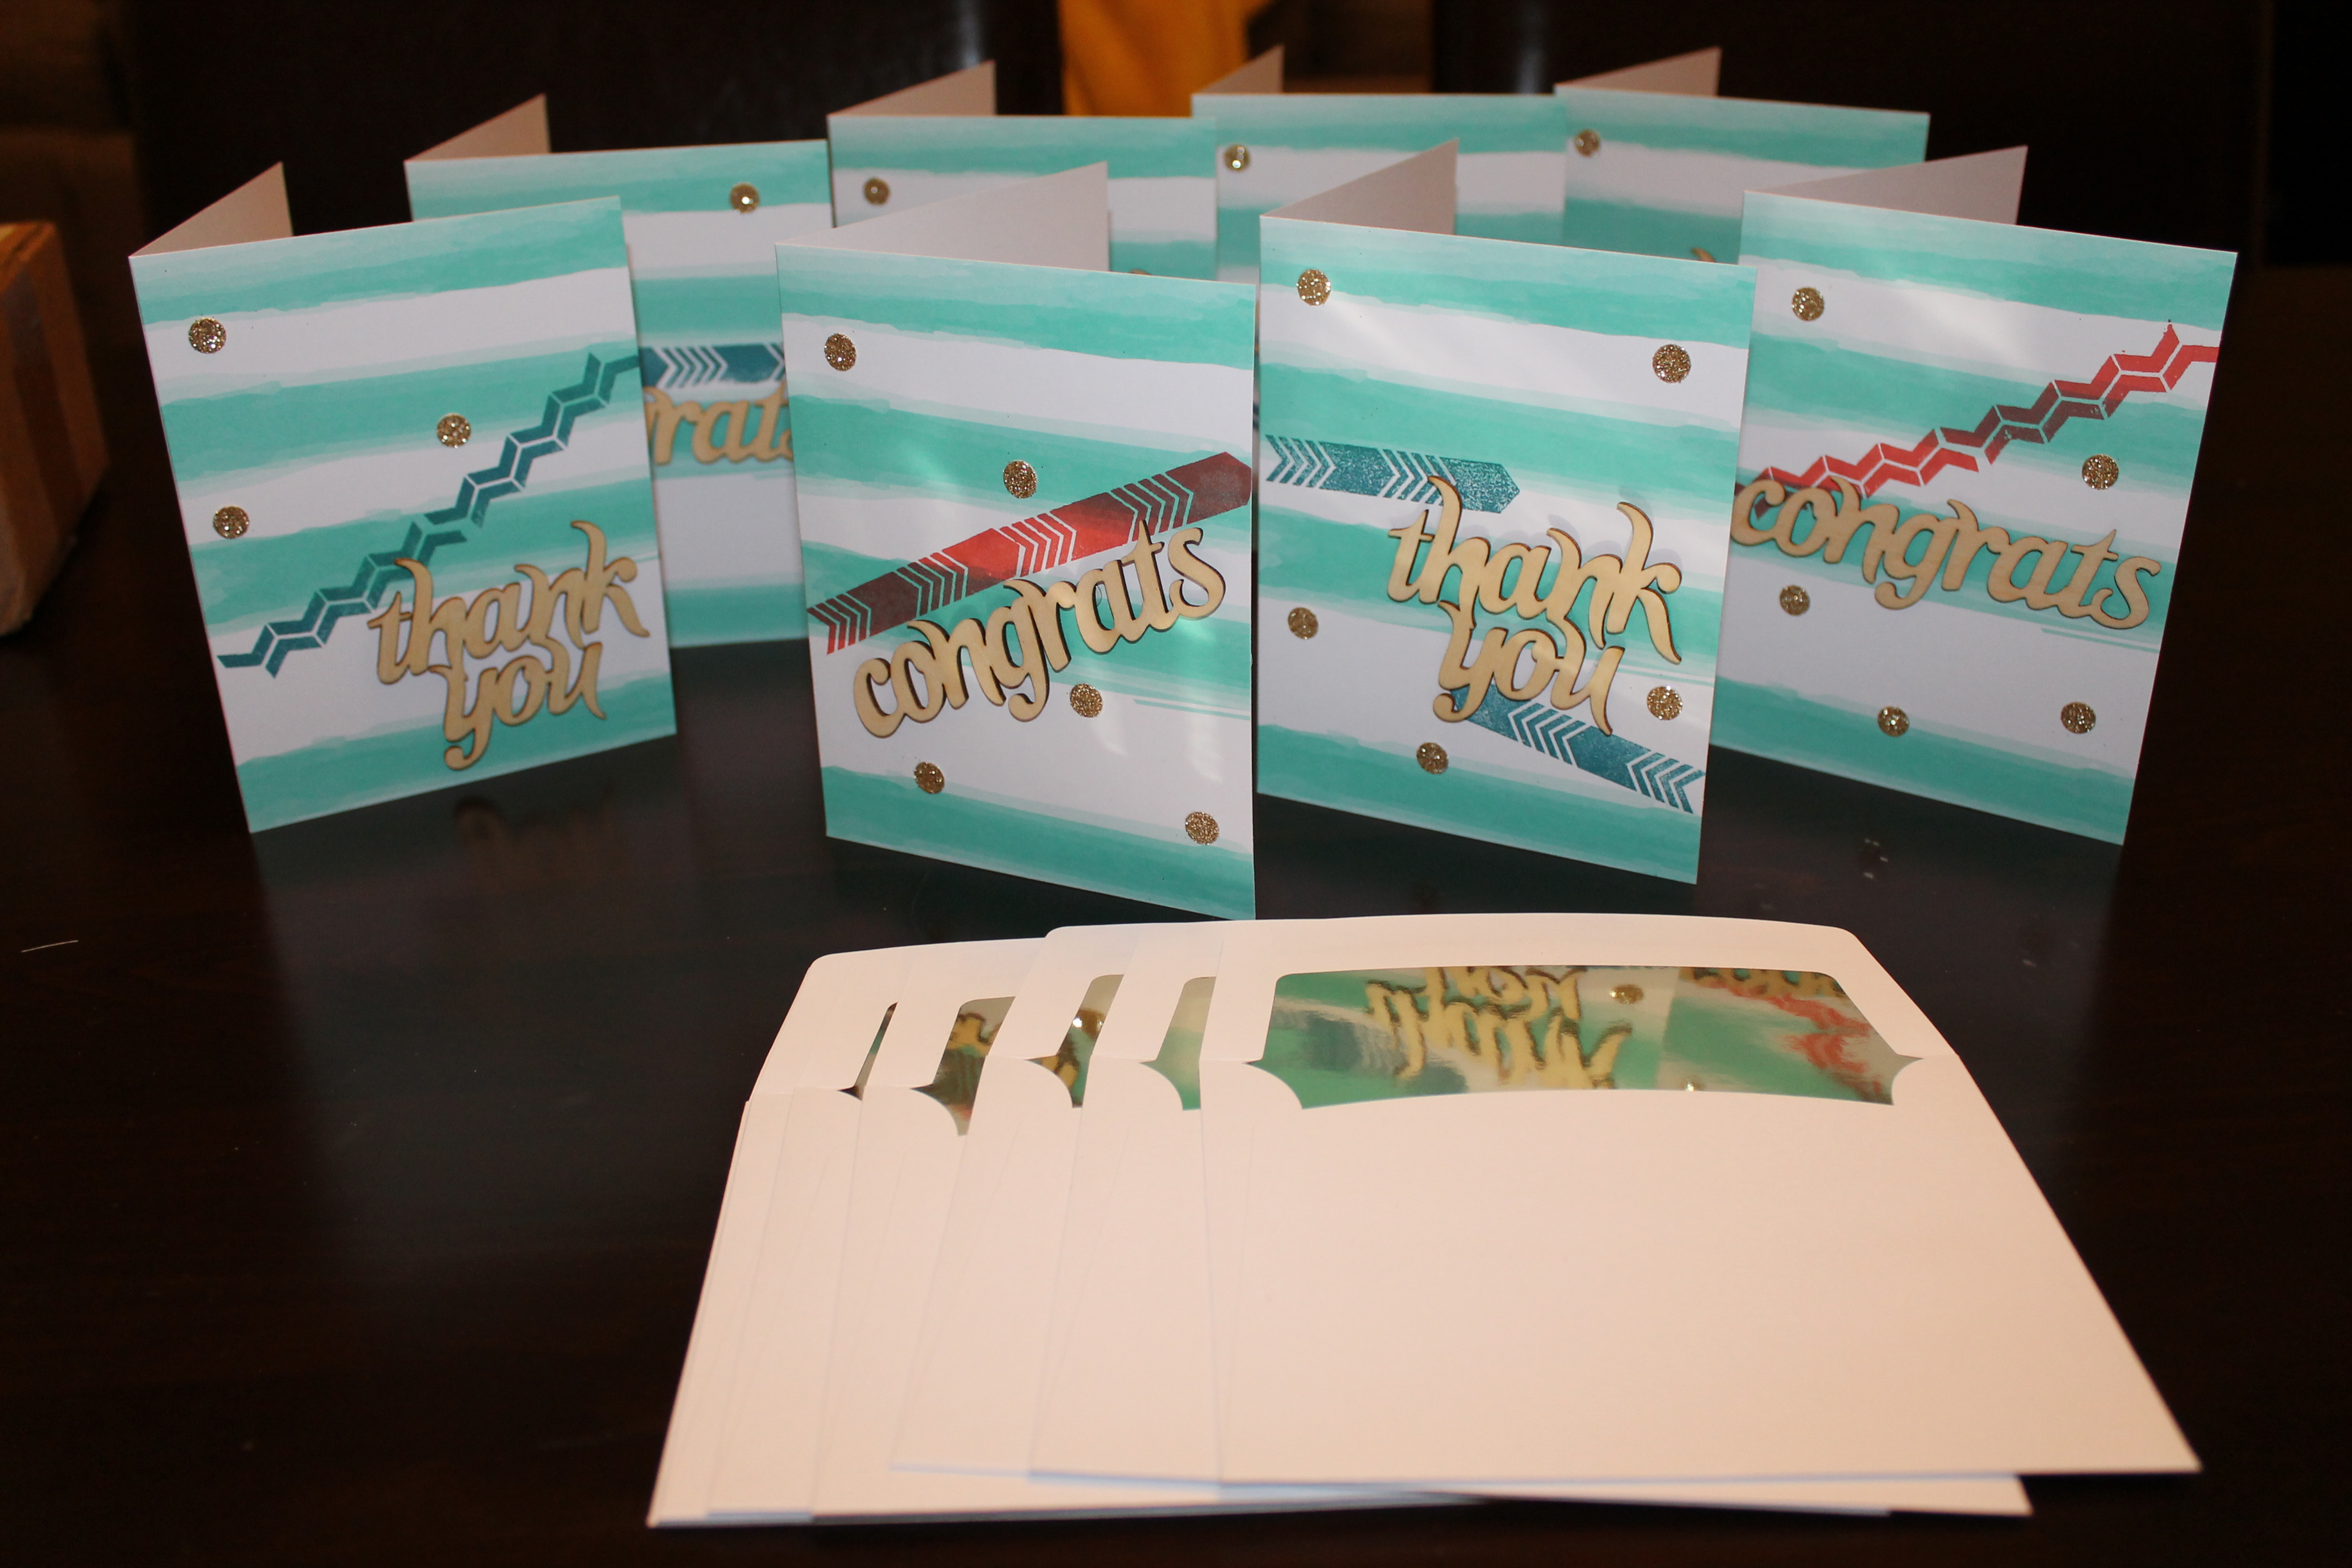
I finally had some time to sit down and do some of my craft boxes and started with Paper Pumpkin. For this month, it was a kit that made 8 cards in total. There were 4 congratulations cards and 4 thank you cards. They had a sort of 80’s vibe to them with the colors and gold glitter dots. It felt like something I would have made in my pre-teen years.
What came with the kit:
Sample of finished product
It took me maybe an hour to finish the whole project. I tried to make each one a little different, and also had fun adhering the gold envelope interiors. They made the plain envelopes seem so fancy.
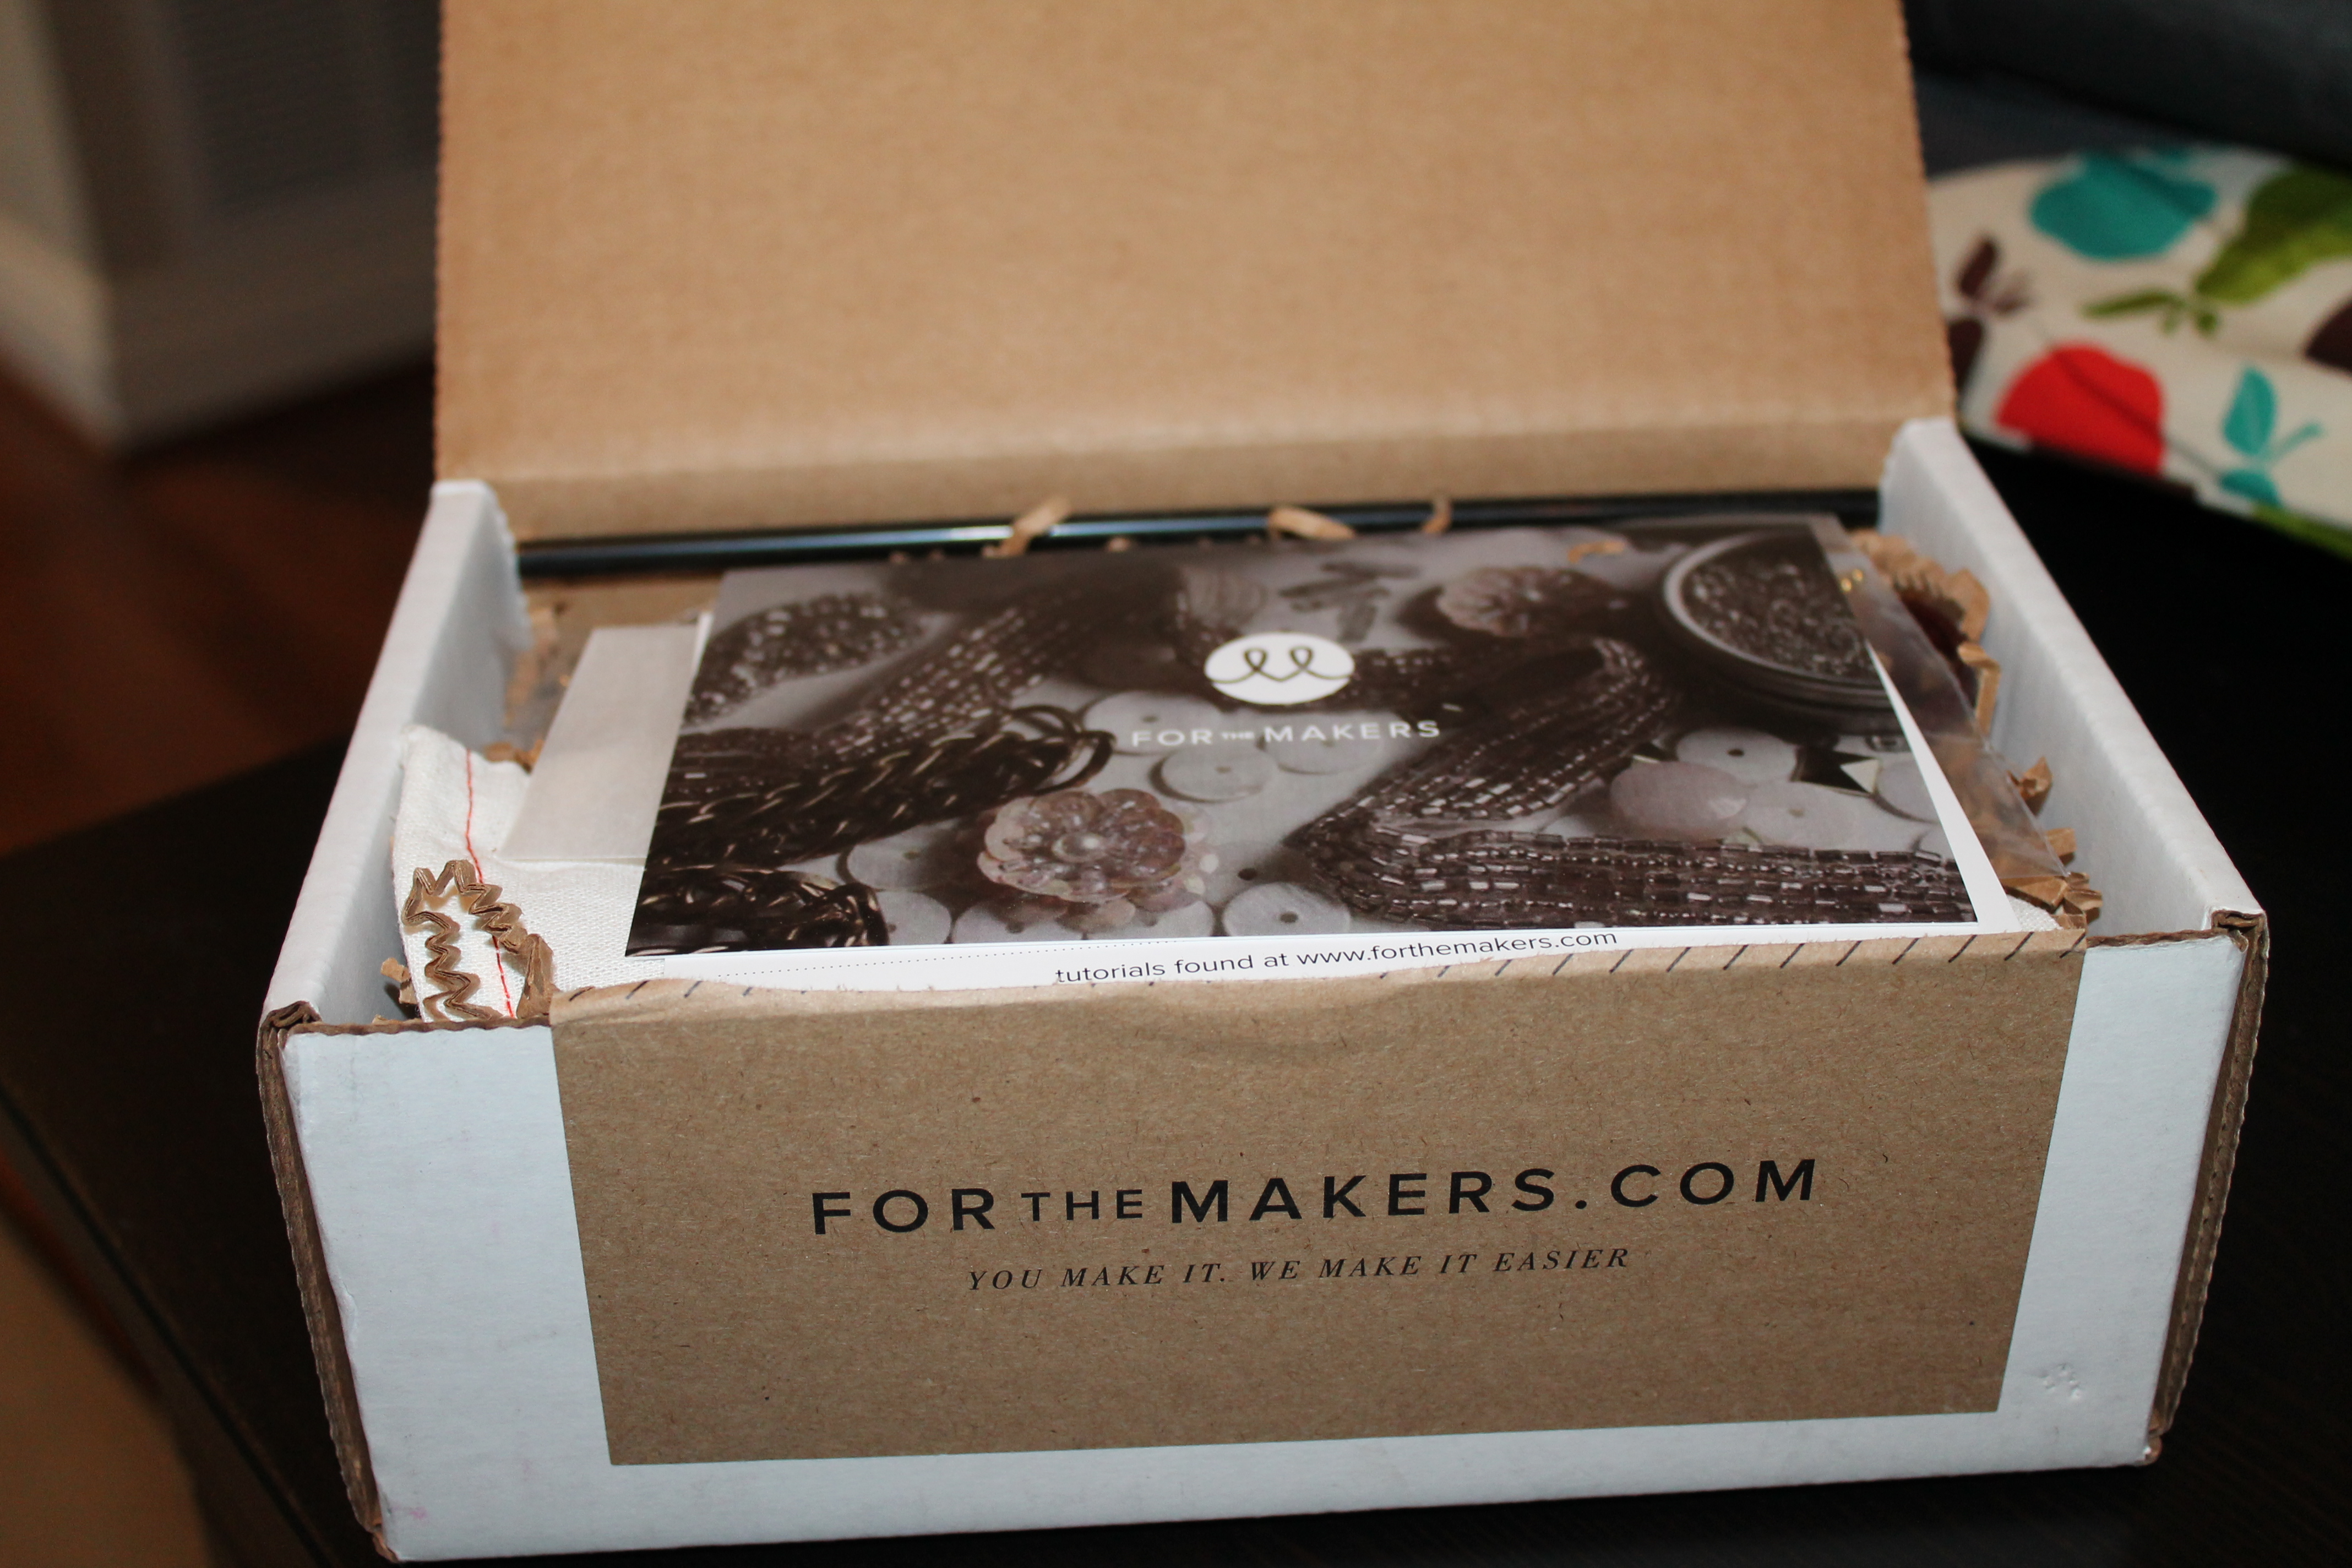
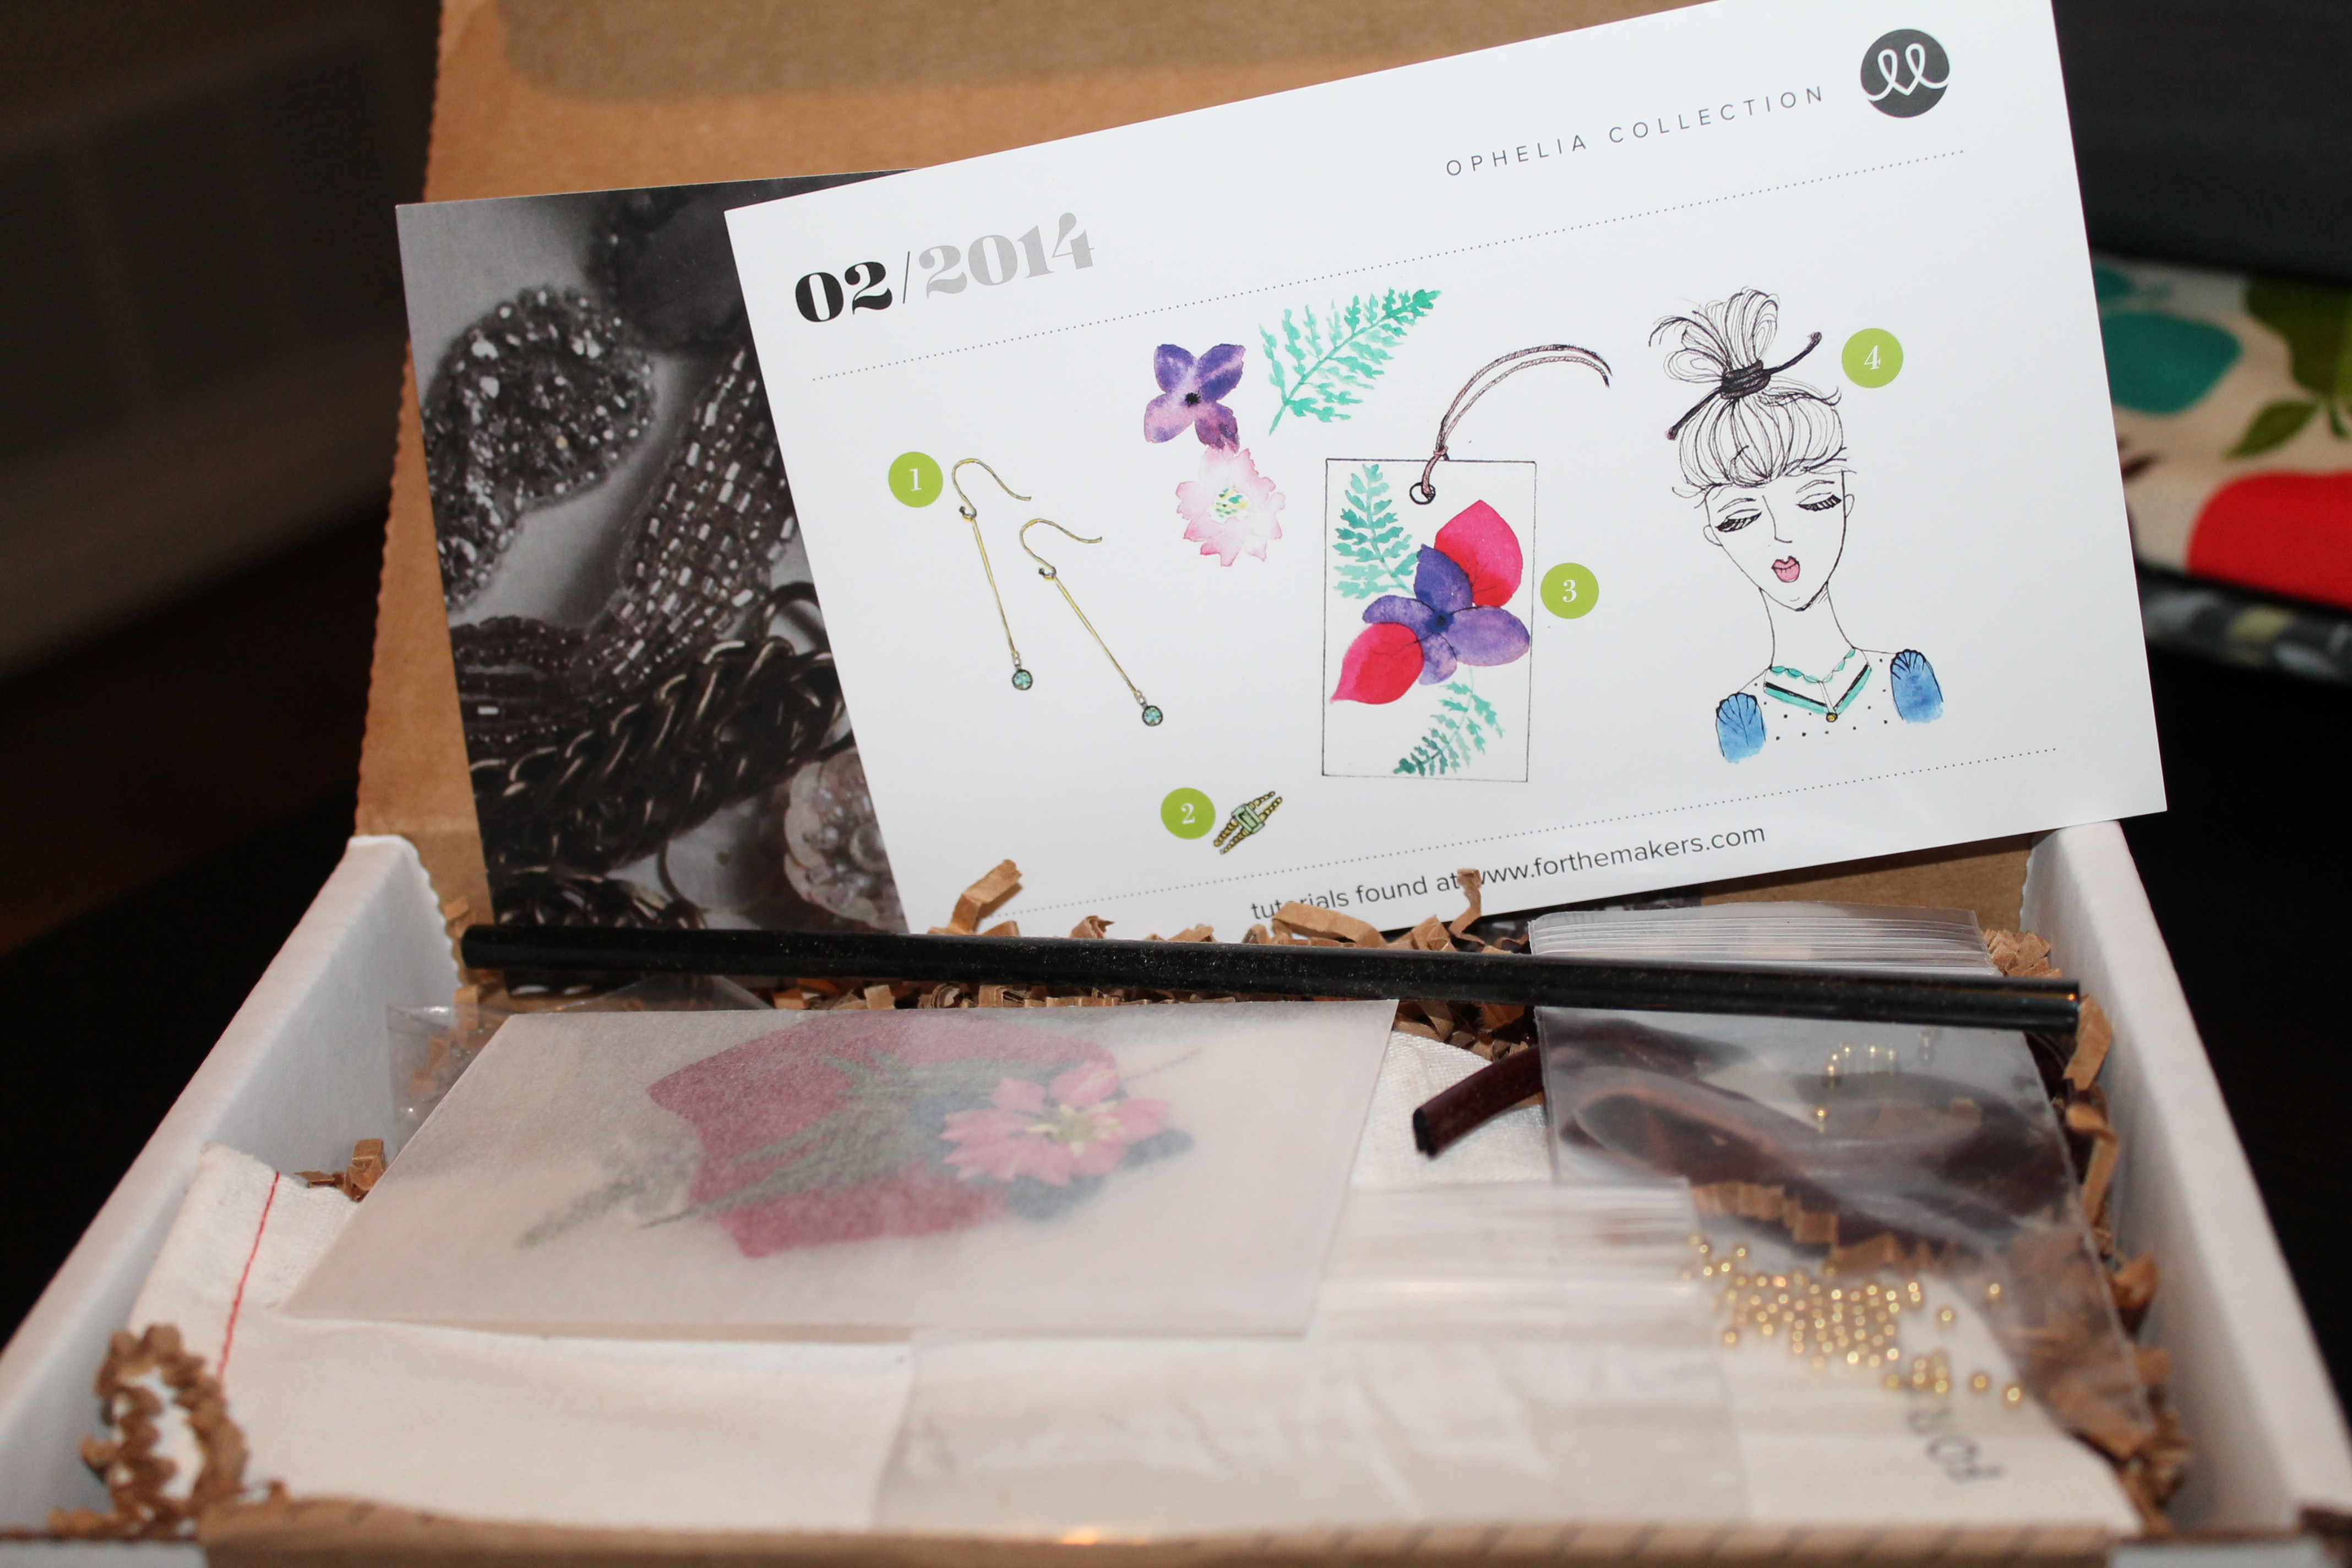
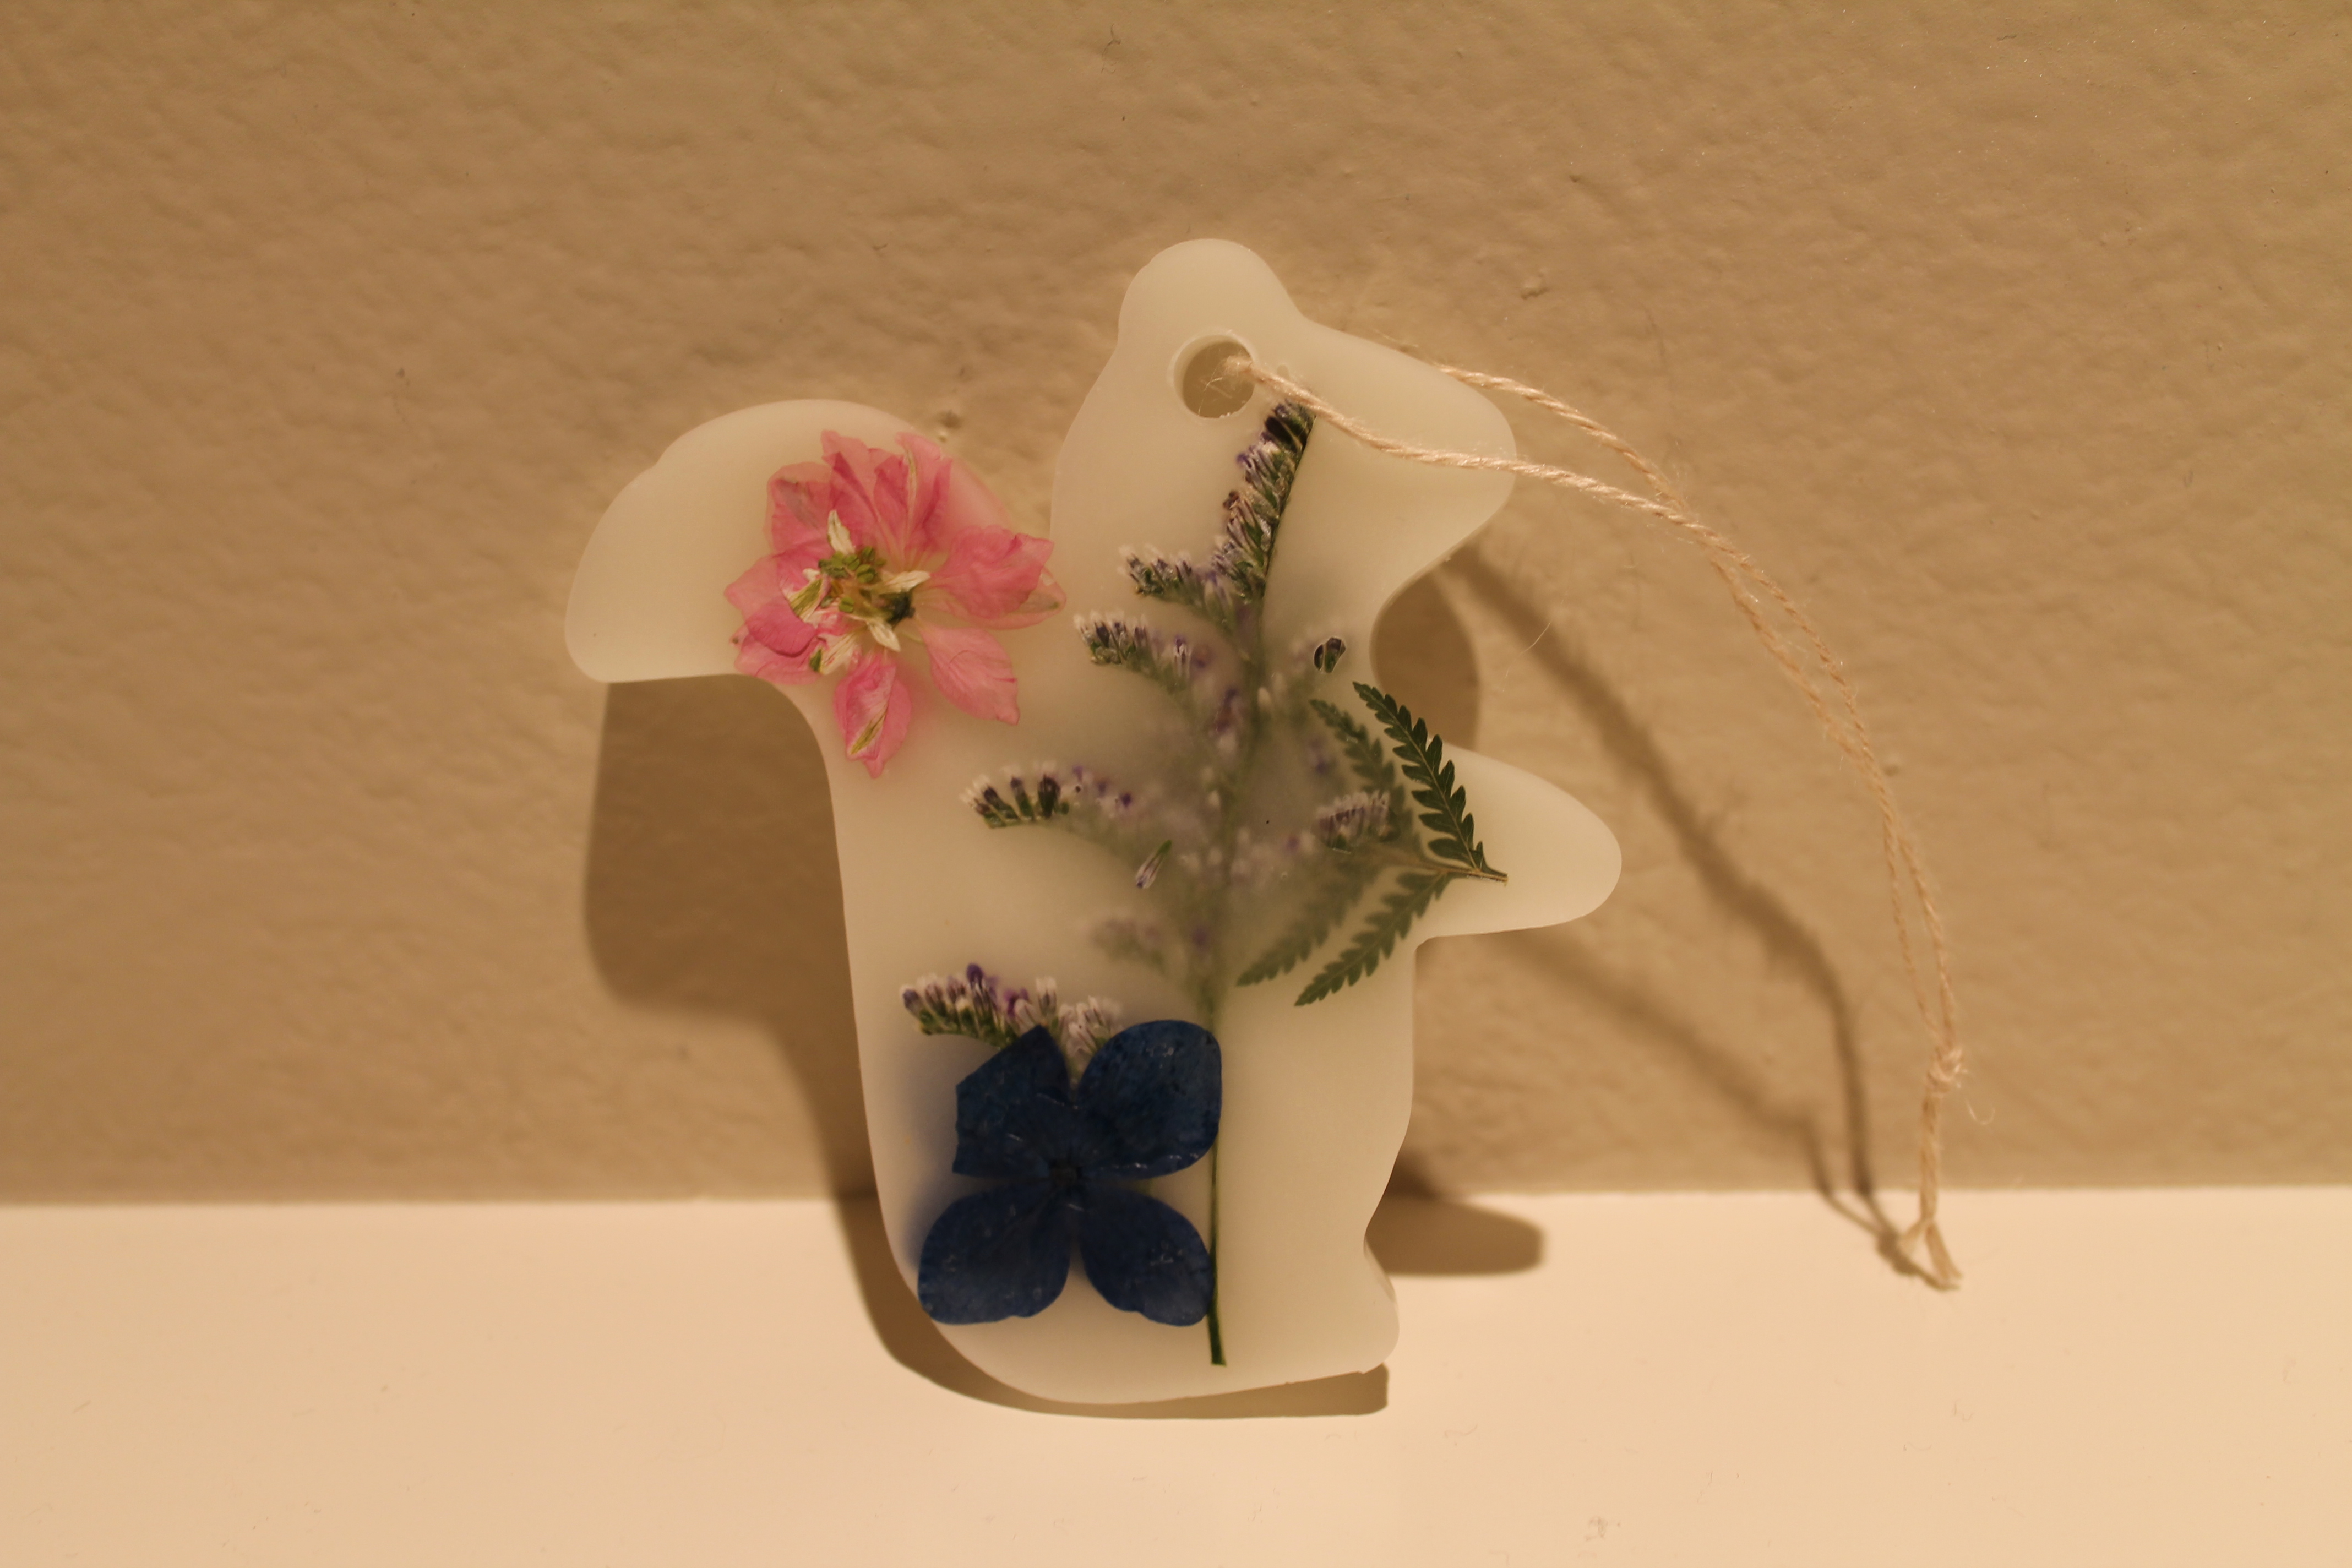
This month’s For the Makers box was called the Ophelia Collection. It consisted of two jewelry projects, a hair tie, and a beeswax sachet.
The jewelry and hair tie projects took me maybe 45 minutes to complete (mostly just trying to tie a knot for the tiny ring without the beads going everywhere.) The sachet was pretty fast as well but ended up partially ruining my melting pot I use for candle-making.
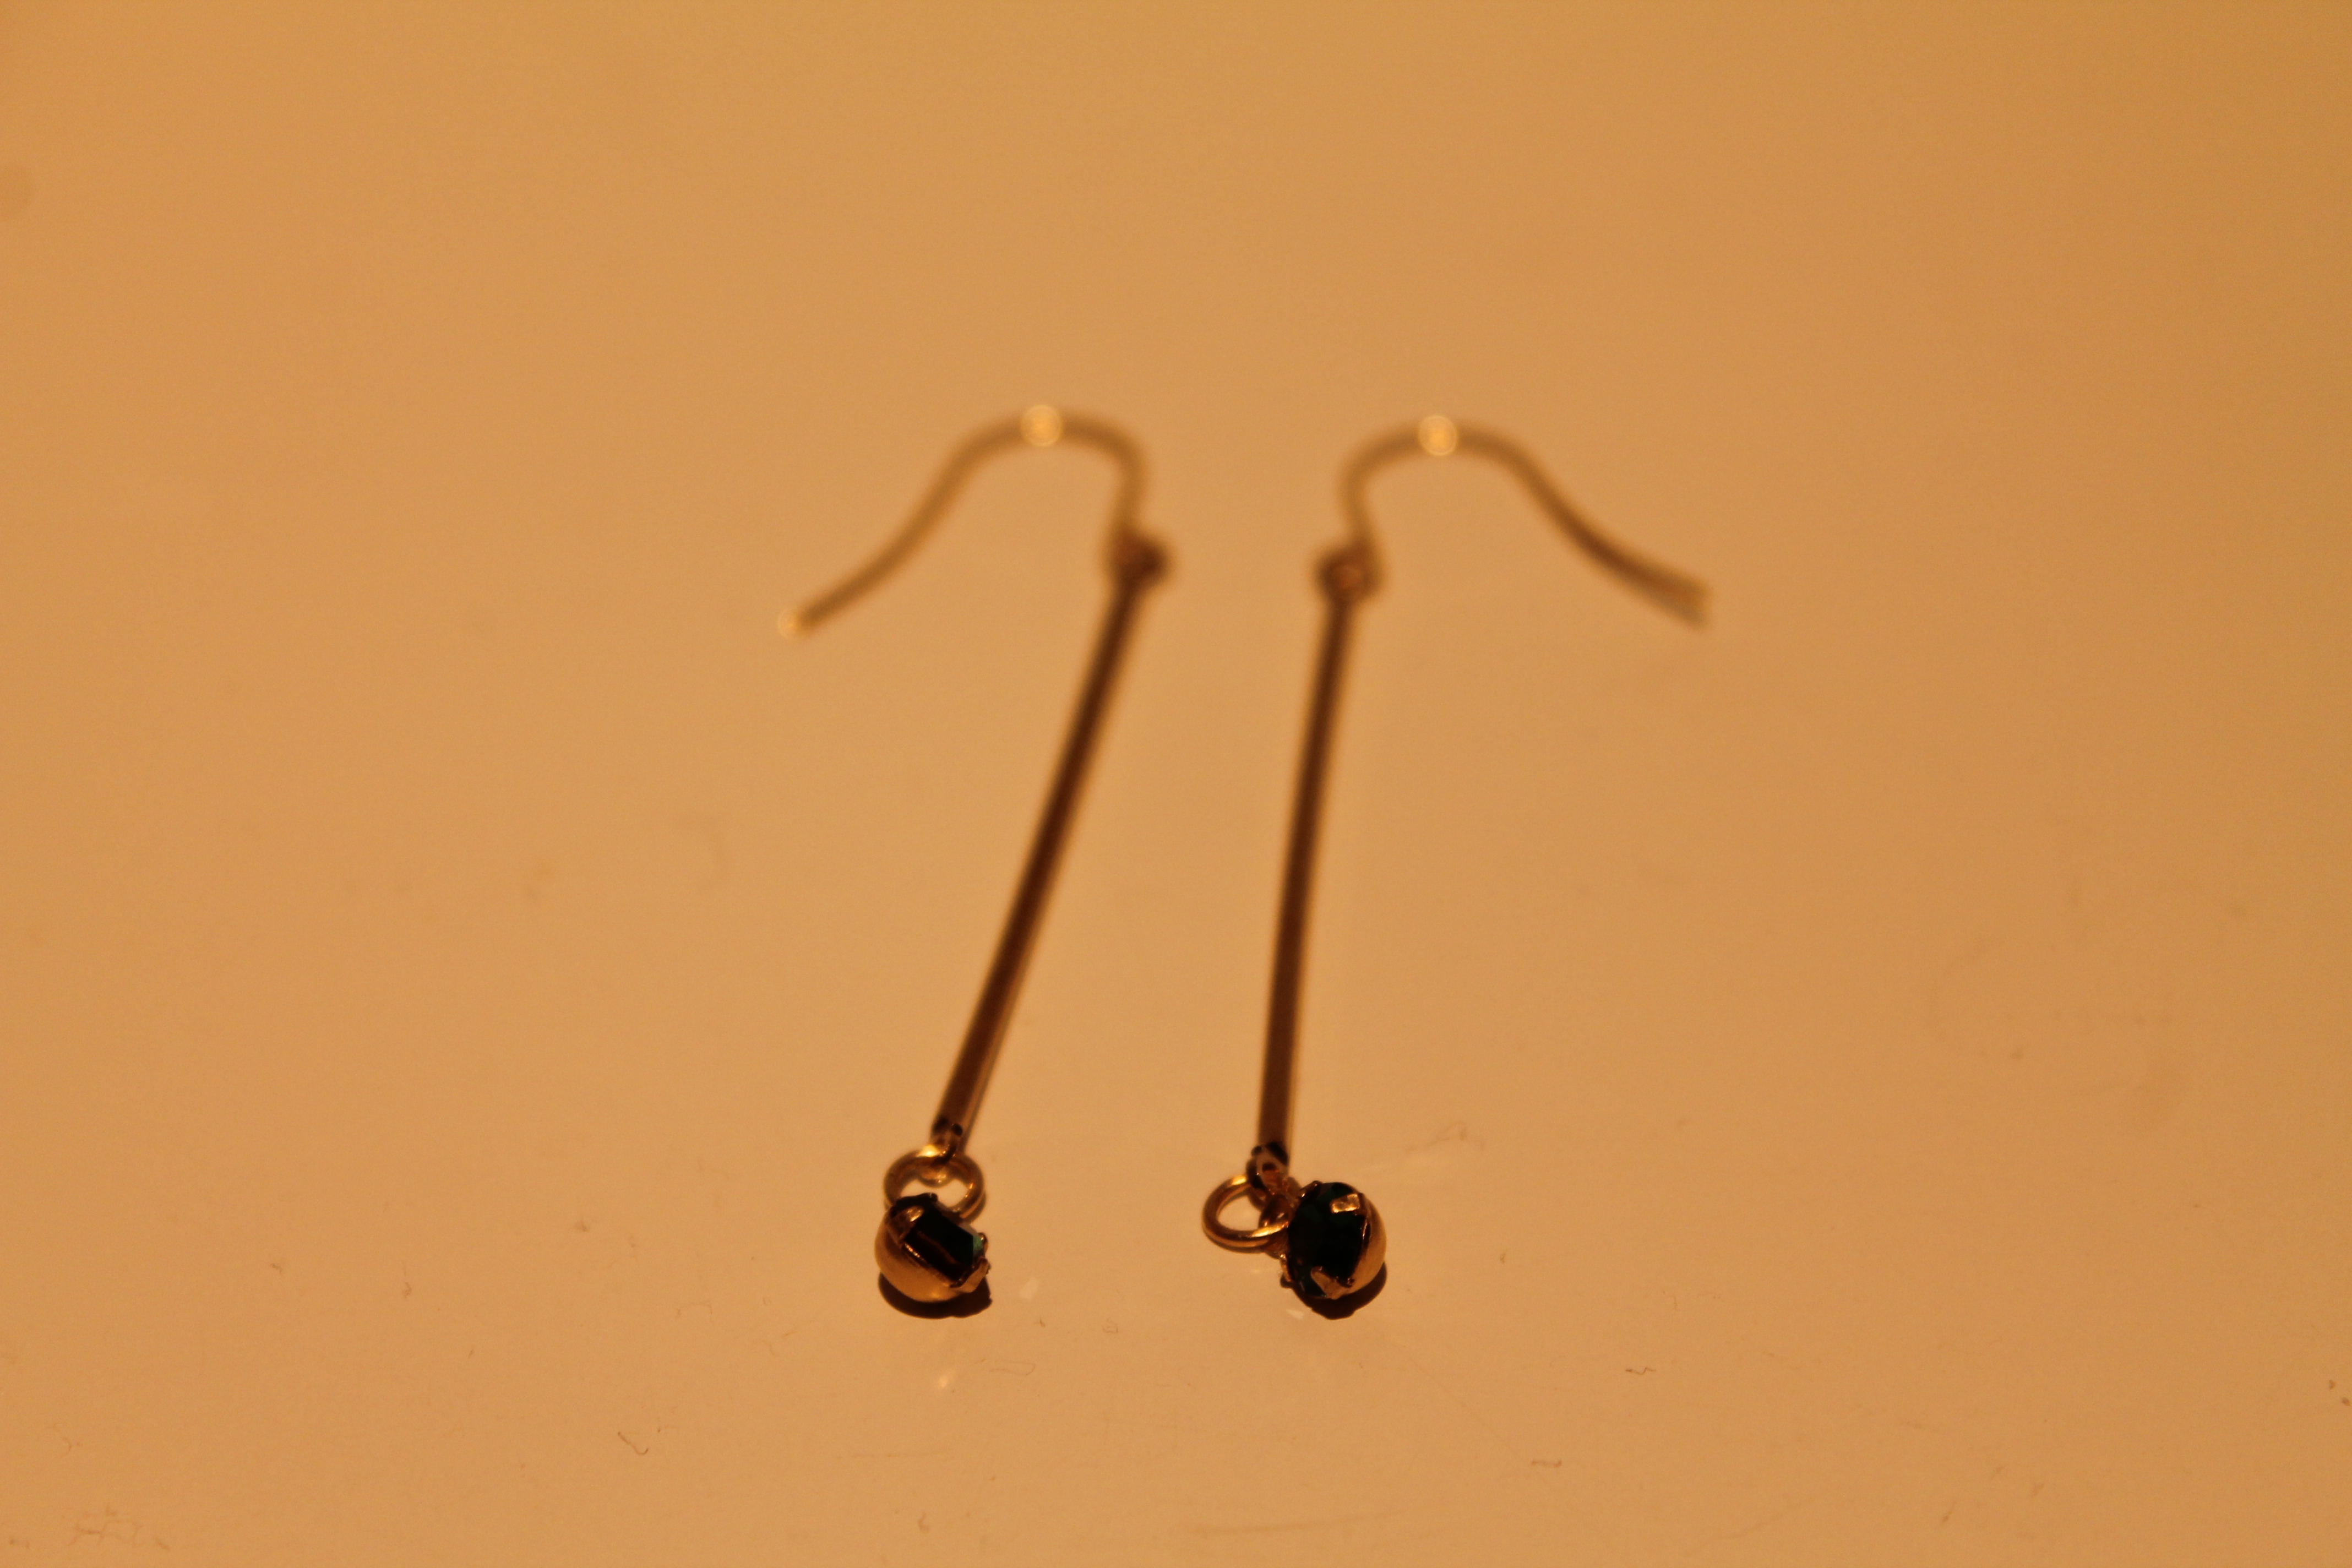
Finished Jewelry pieces
The first jewelry project was a pair of earrings with a small green jewel hanging at the end. The only thing you need to do is fasten the jewel in the setting then attach it to the findings. I struggled with one of the settings because the jewel wouldn’t sit flat.
The ring was simple to string together, but I could NOT get that knot to tie without a ton of frustration. Also, I used all of the beads and it is still pretty tight on my middle finger where I want to wear it. (It does not fit a size 7 as suggested.)
Hair Tie
This was just a regular hair holder, a length of cord, and a crimp bead that needed tightening. I doubt I’ll ever wear this in my hair because the crimp bead has rough edges and would likely catch and snag my hair. I already have fine hair to begin with so I don’t want to tear it.
Beeswax Sachet
This was an unexpected delight. I put off making this because it needed a bunch of supplies that were difficult to gather and I didn’t have a rectangular cookie cutter like they used. In fact the only metal cookie cutter I had was this squirrel shape. (Who knows.) But it ended up turning out really cute! Unfortunately the beeswax stuck to the sides of my melting container I use for candle-making and even boiling water in it several times and trying to rinse it out barely worked. There is still residue near the top. Who knew beeswax would stick so bad. Paraffin and soy come off cleanly.
Overall I was a little dissapointed in this kit because the jewelry projects were super simple and the supplies seemed really cheap for what I paid. The sachet turned out really cute but didn’t really make up for the cheap jewelry and hair accessory. I hope next month has some more involved projects.
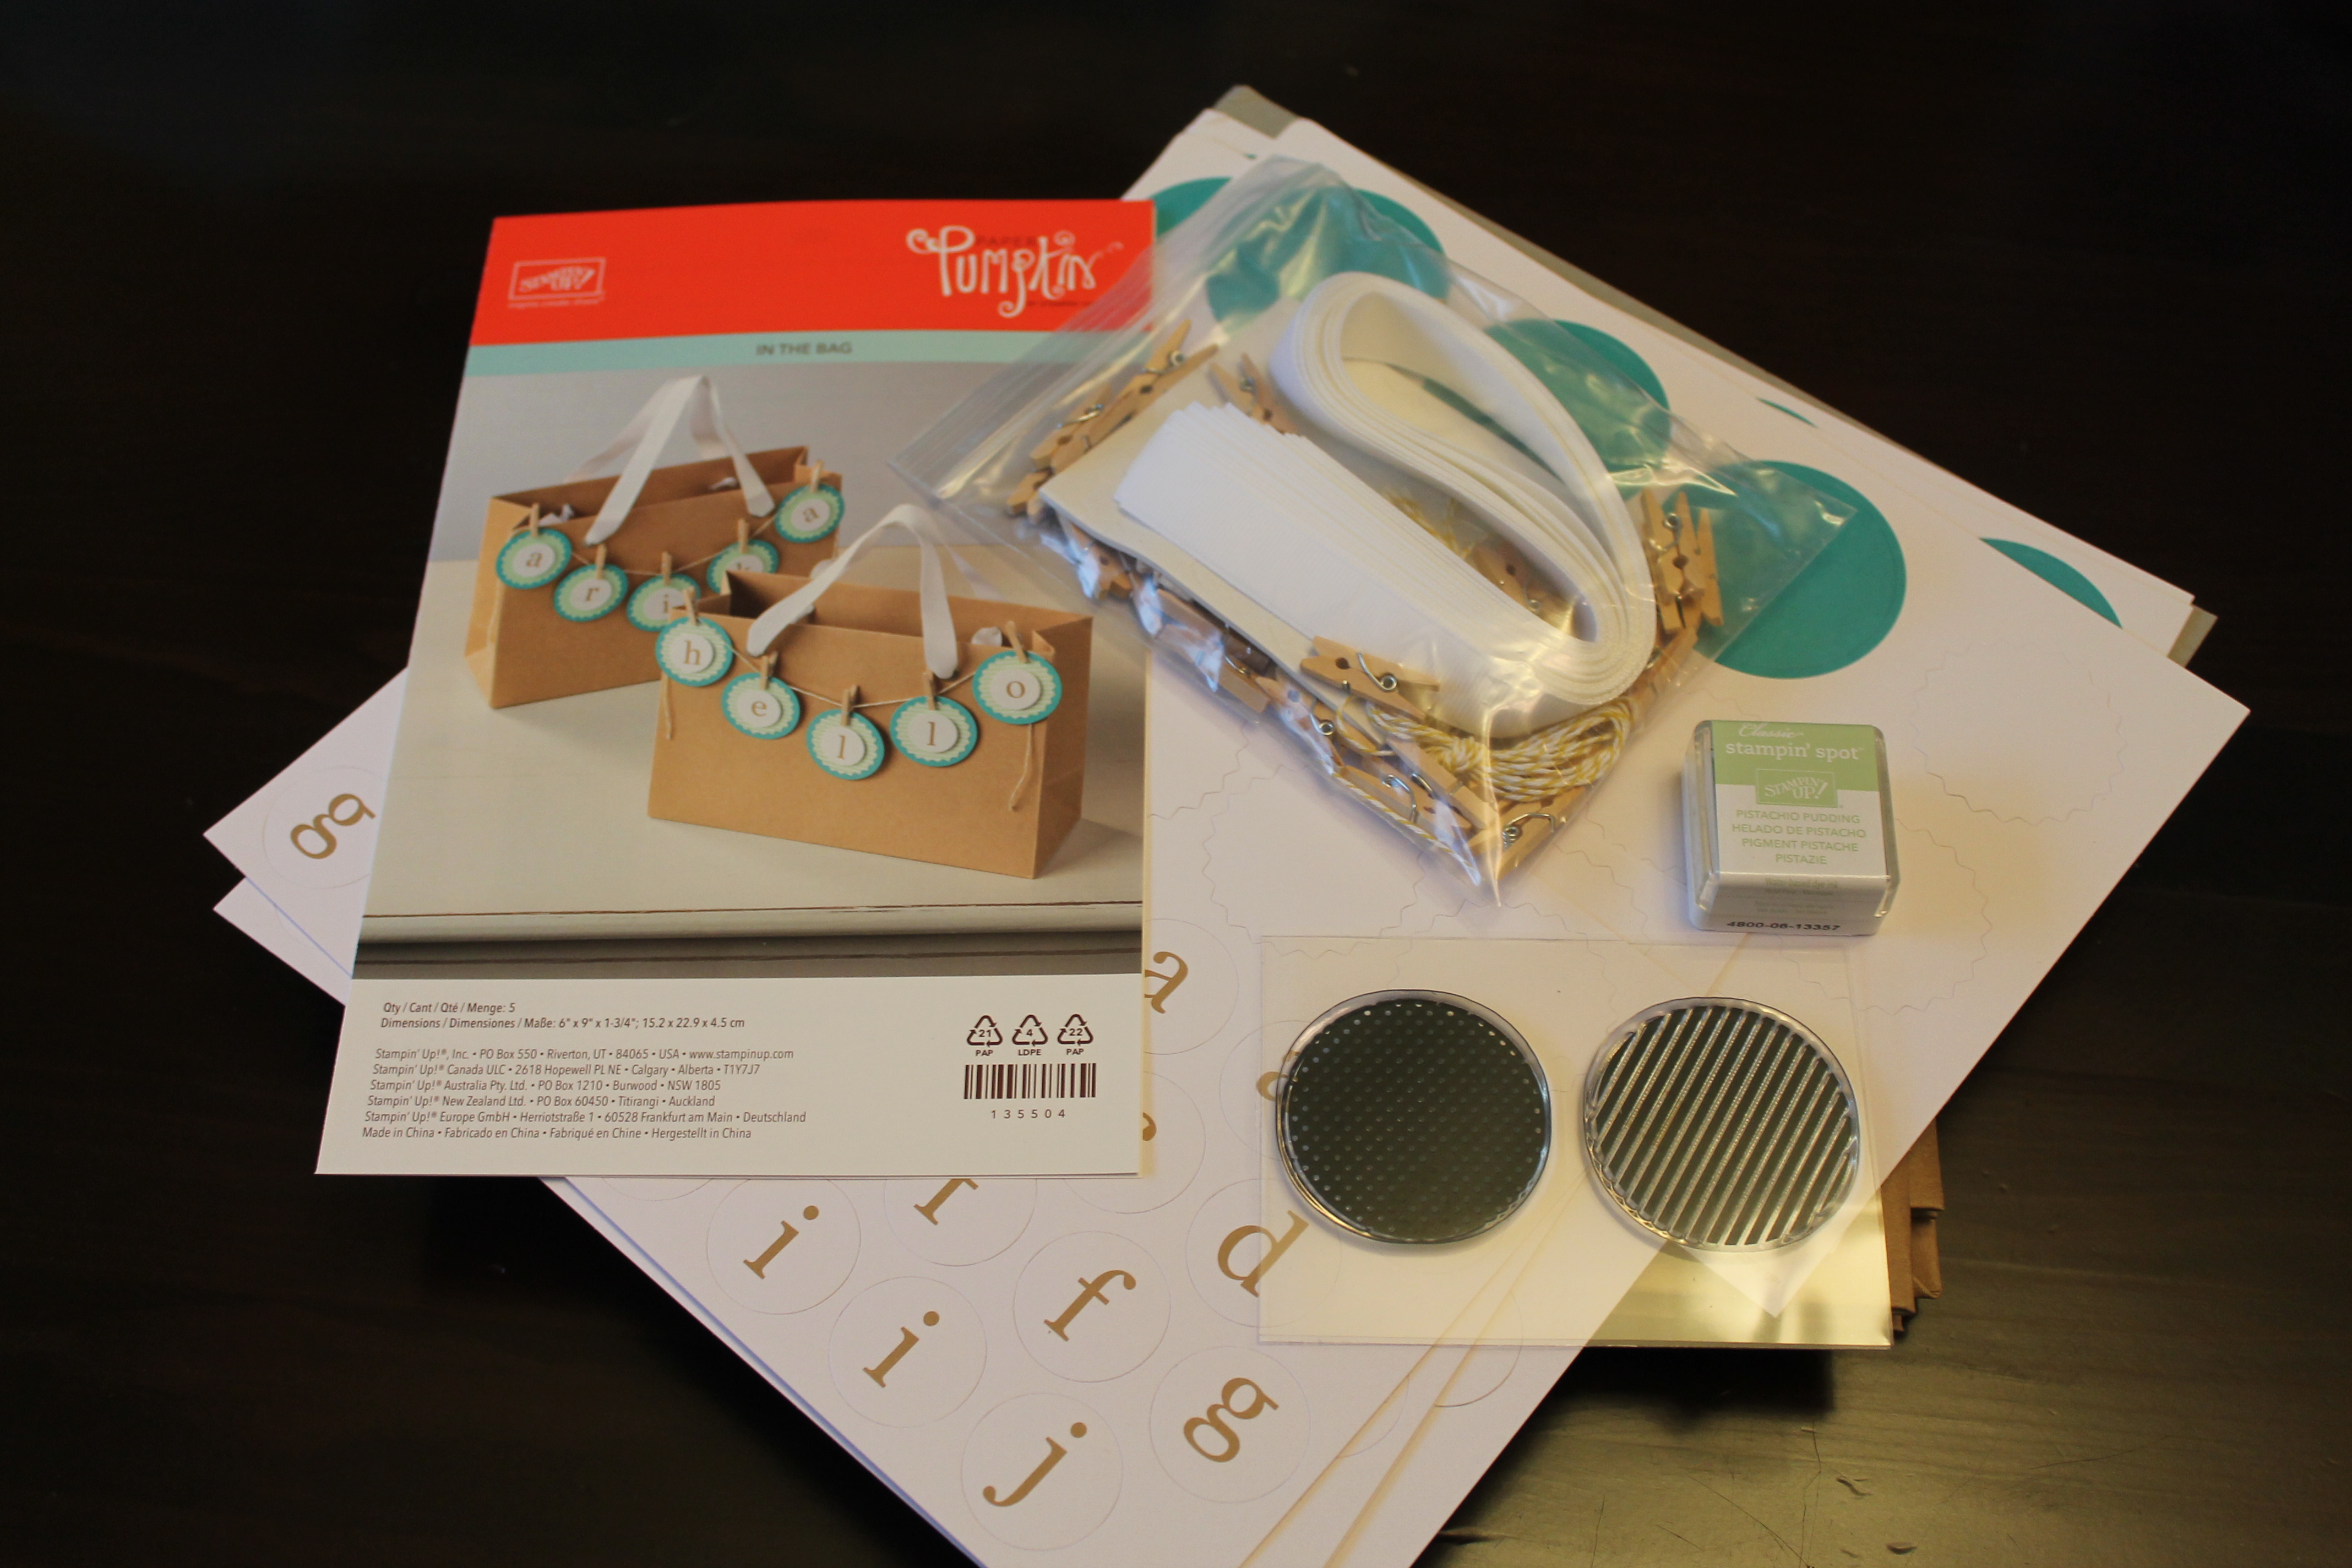
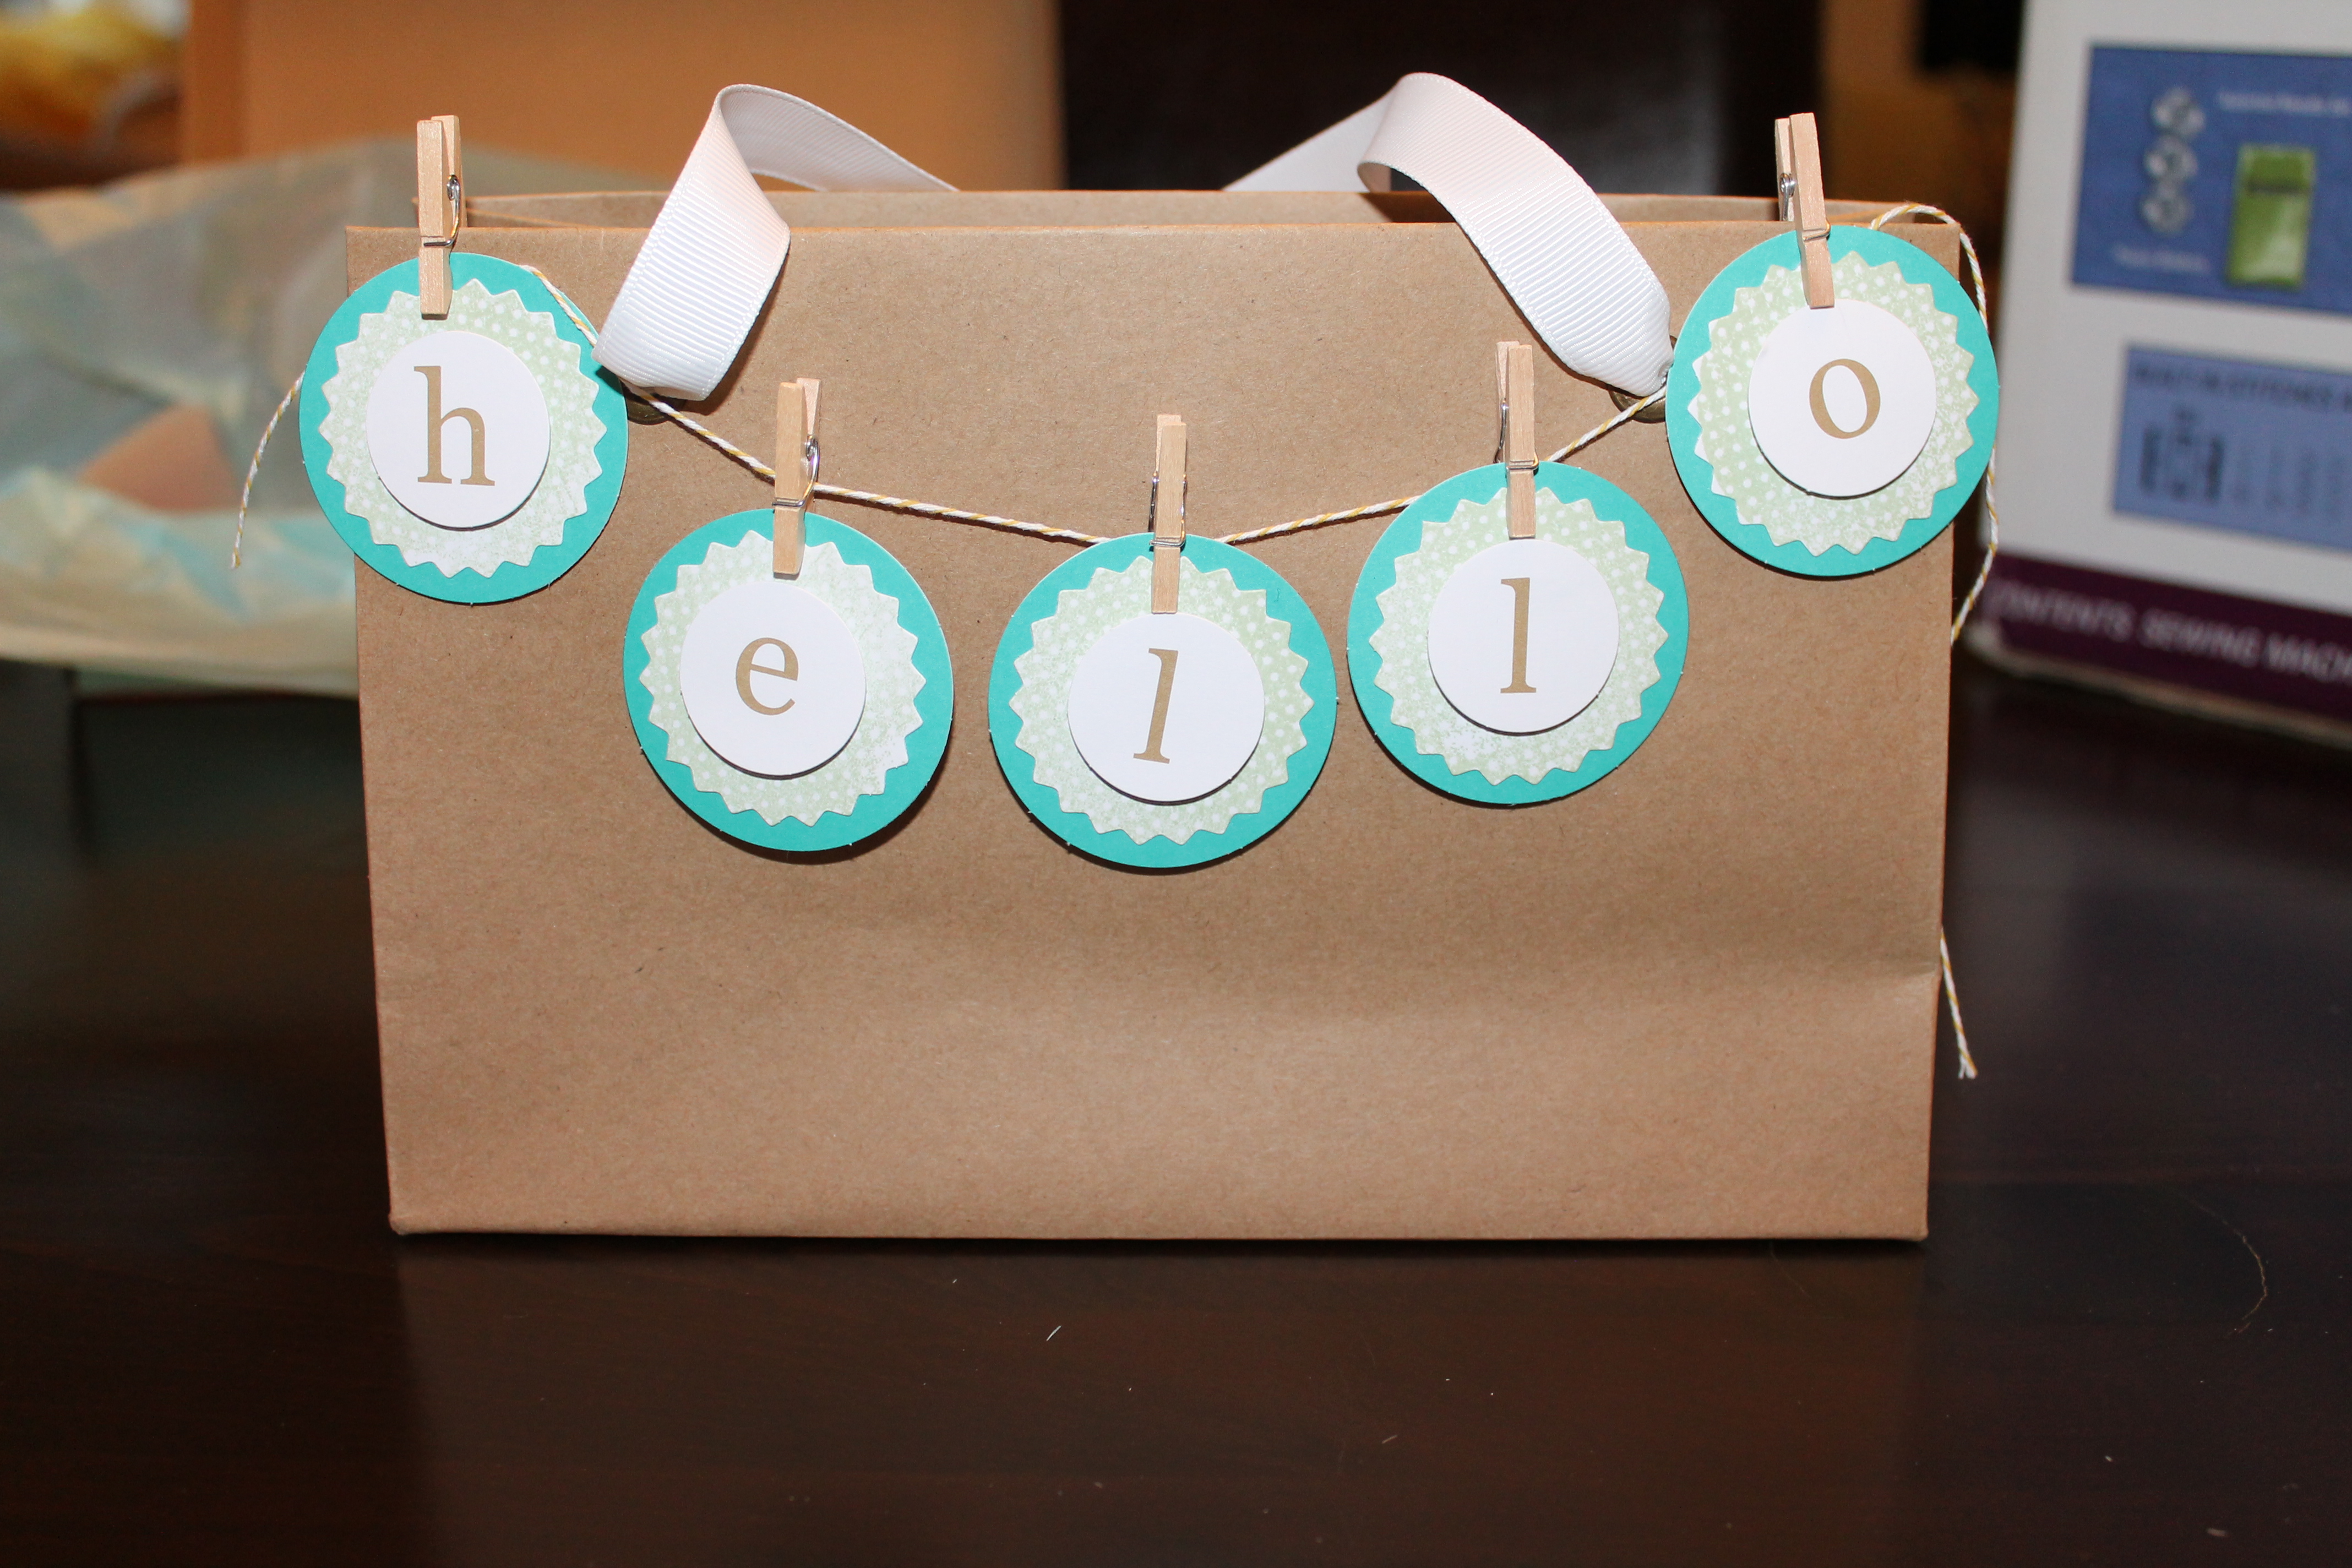
I enjoyed February’s Paper Pumpkin since it was a departure from just cards. This month it was supplies to make 5 gift bags with your choice of lettering. I only made 2 so far because I wasn’t sure what I’d want the others to say. (Maybe I’ll give a personalized gift to someone and will want to spell their name.)
What I got:
It came with two round texture stamps, an ink pad, tiny wooden clothespins, ribbon for the handles, 5 bags, cutout circles, raised stickers, and letters.
The Finished Product
I decided to go with “hello” since it was generic enough to give to anyone. I like the polka dot texture but did another with the stripe texture spelling out my husband’s name. (I figure I’ll probably give him a small gift at some point.)
Overall I think this month was probably worth the $20 subscription fee. I’ll see what the March kit brings.
I recently signed up for a new DIY subscription service called Darby Smart. For this subscription service, you have the option to sign up for a monthly box for $19 a month, or opt for a prepaid 6 month subscription or 12 month subscription at the same rate. The project is different each month and the type of craft varies.
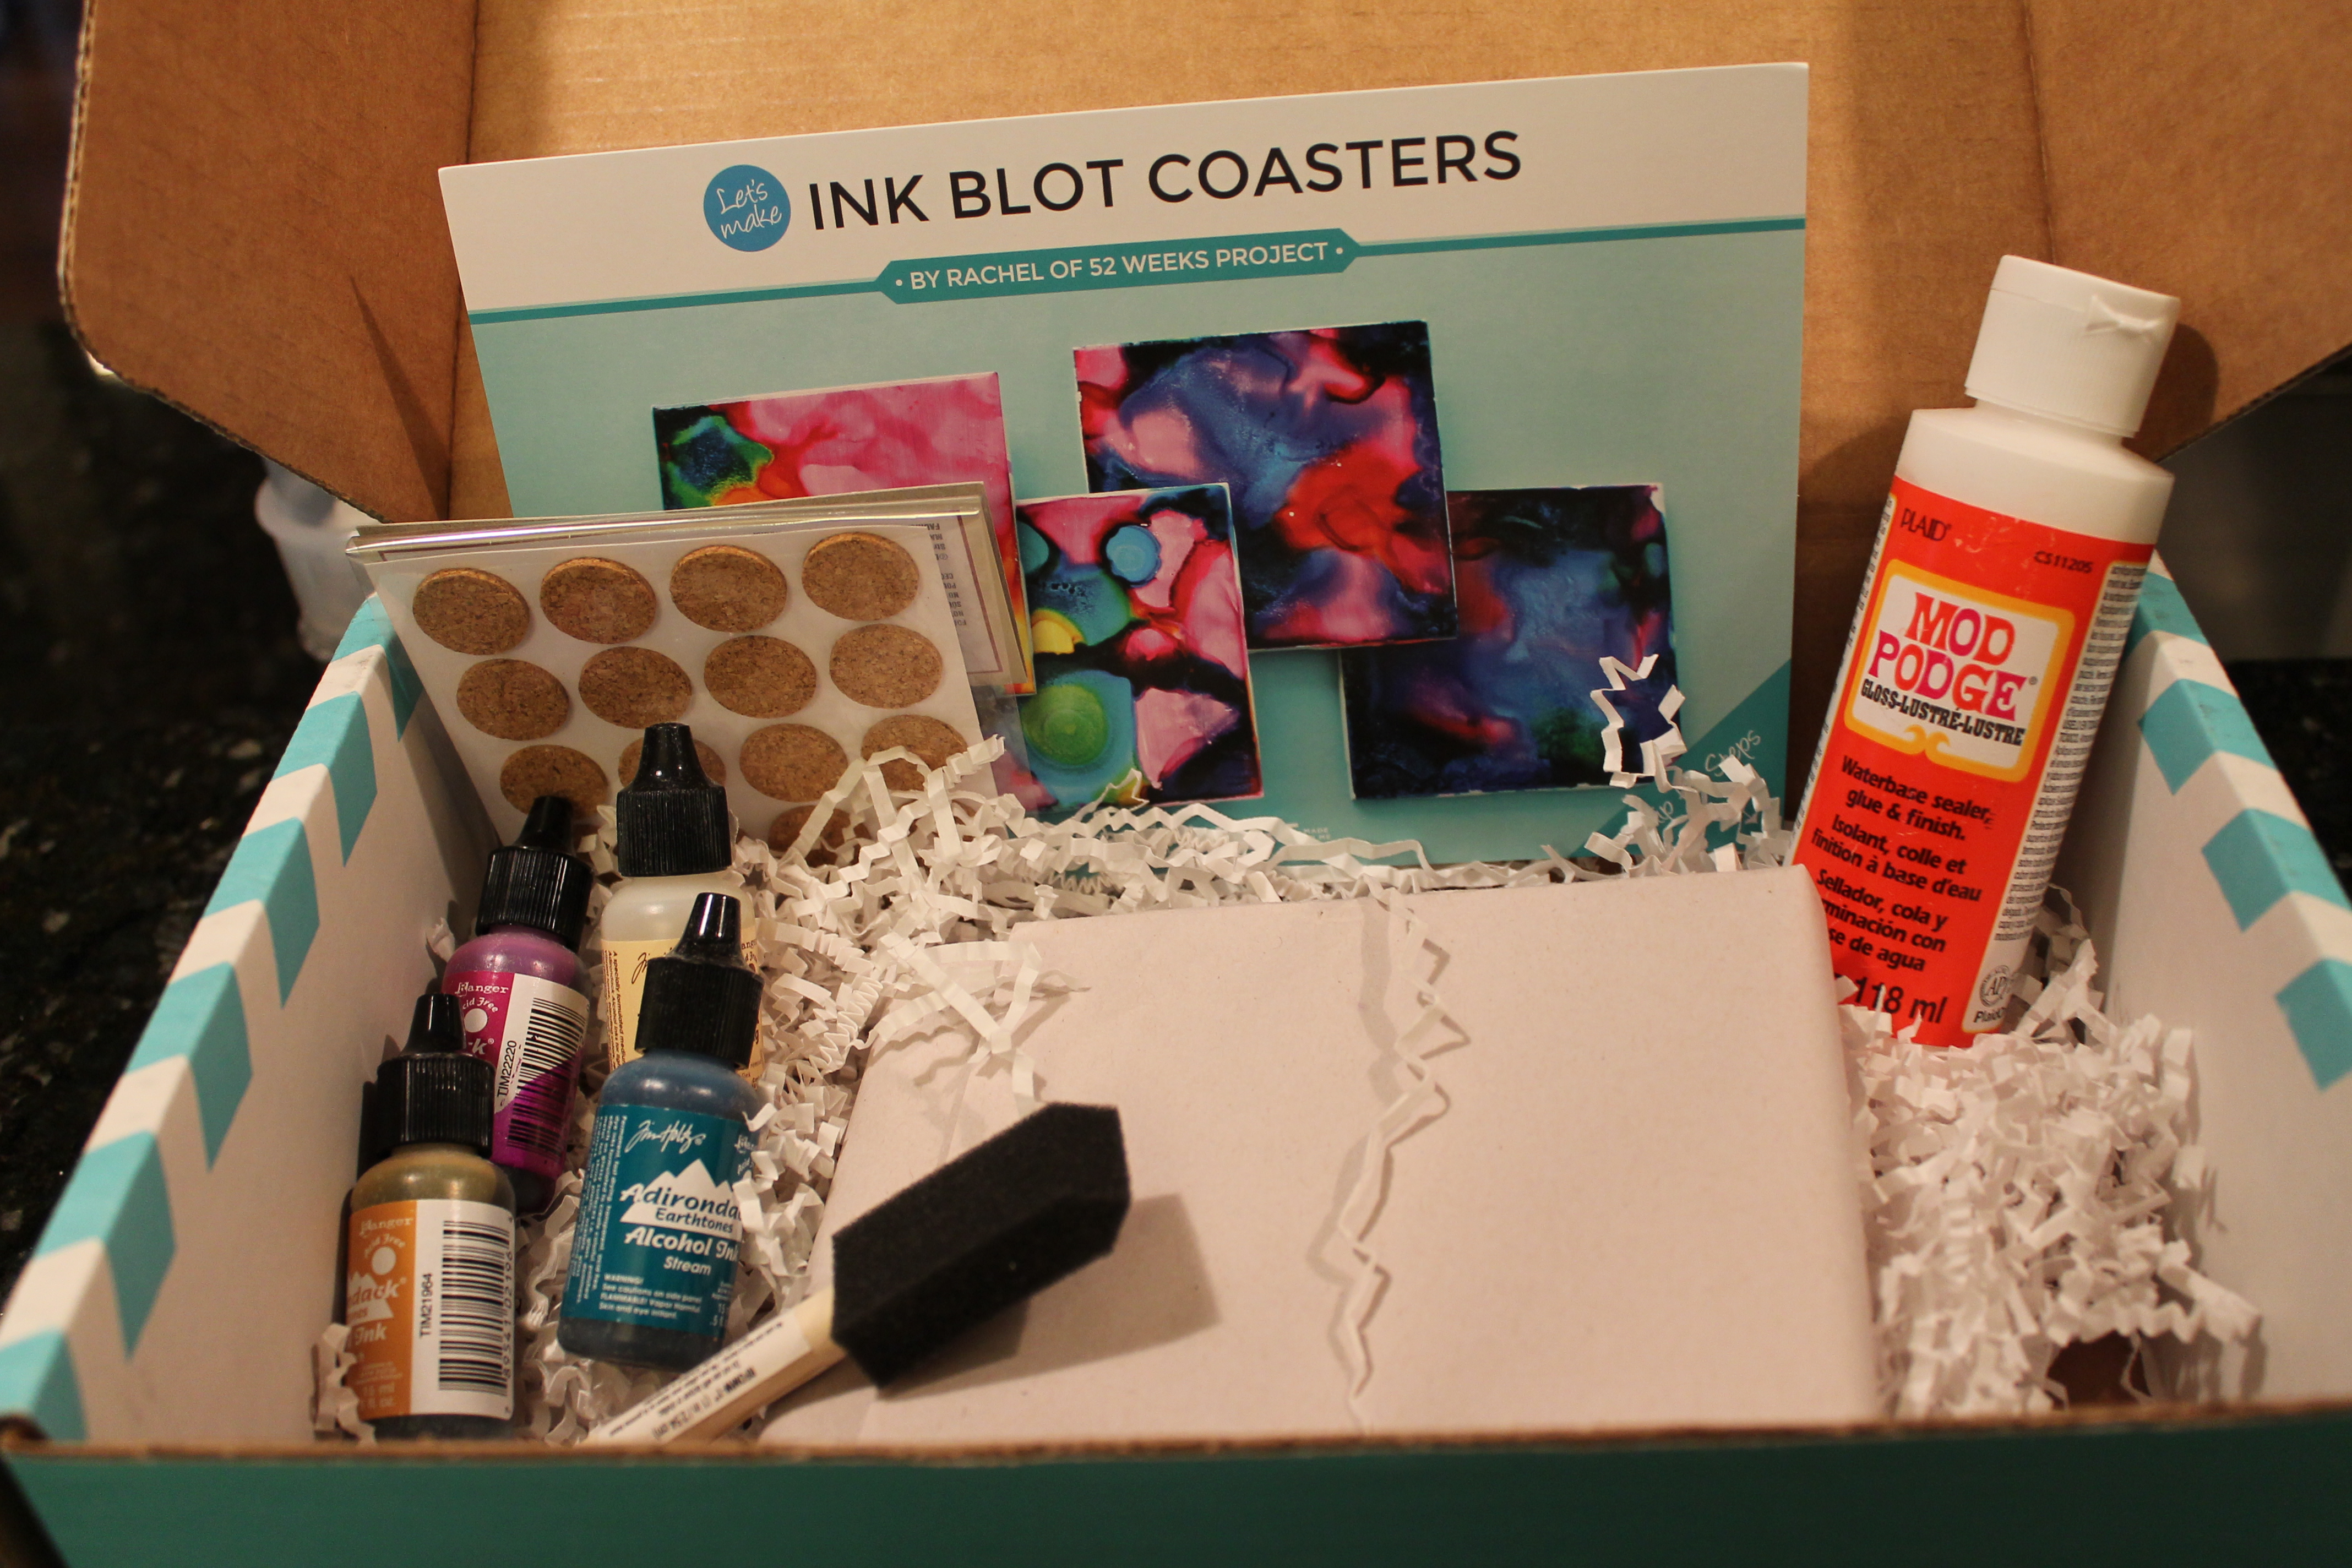
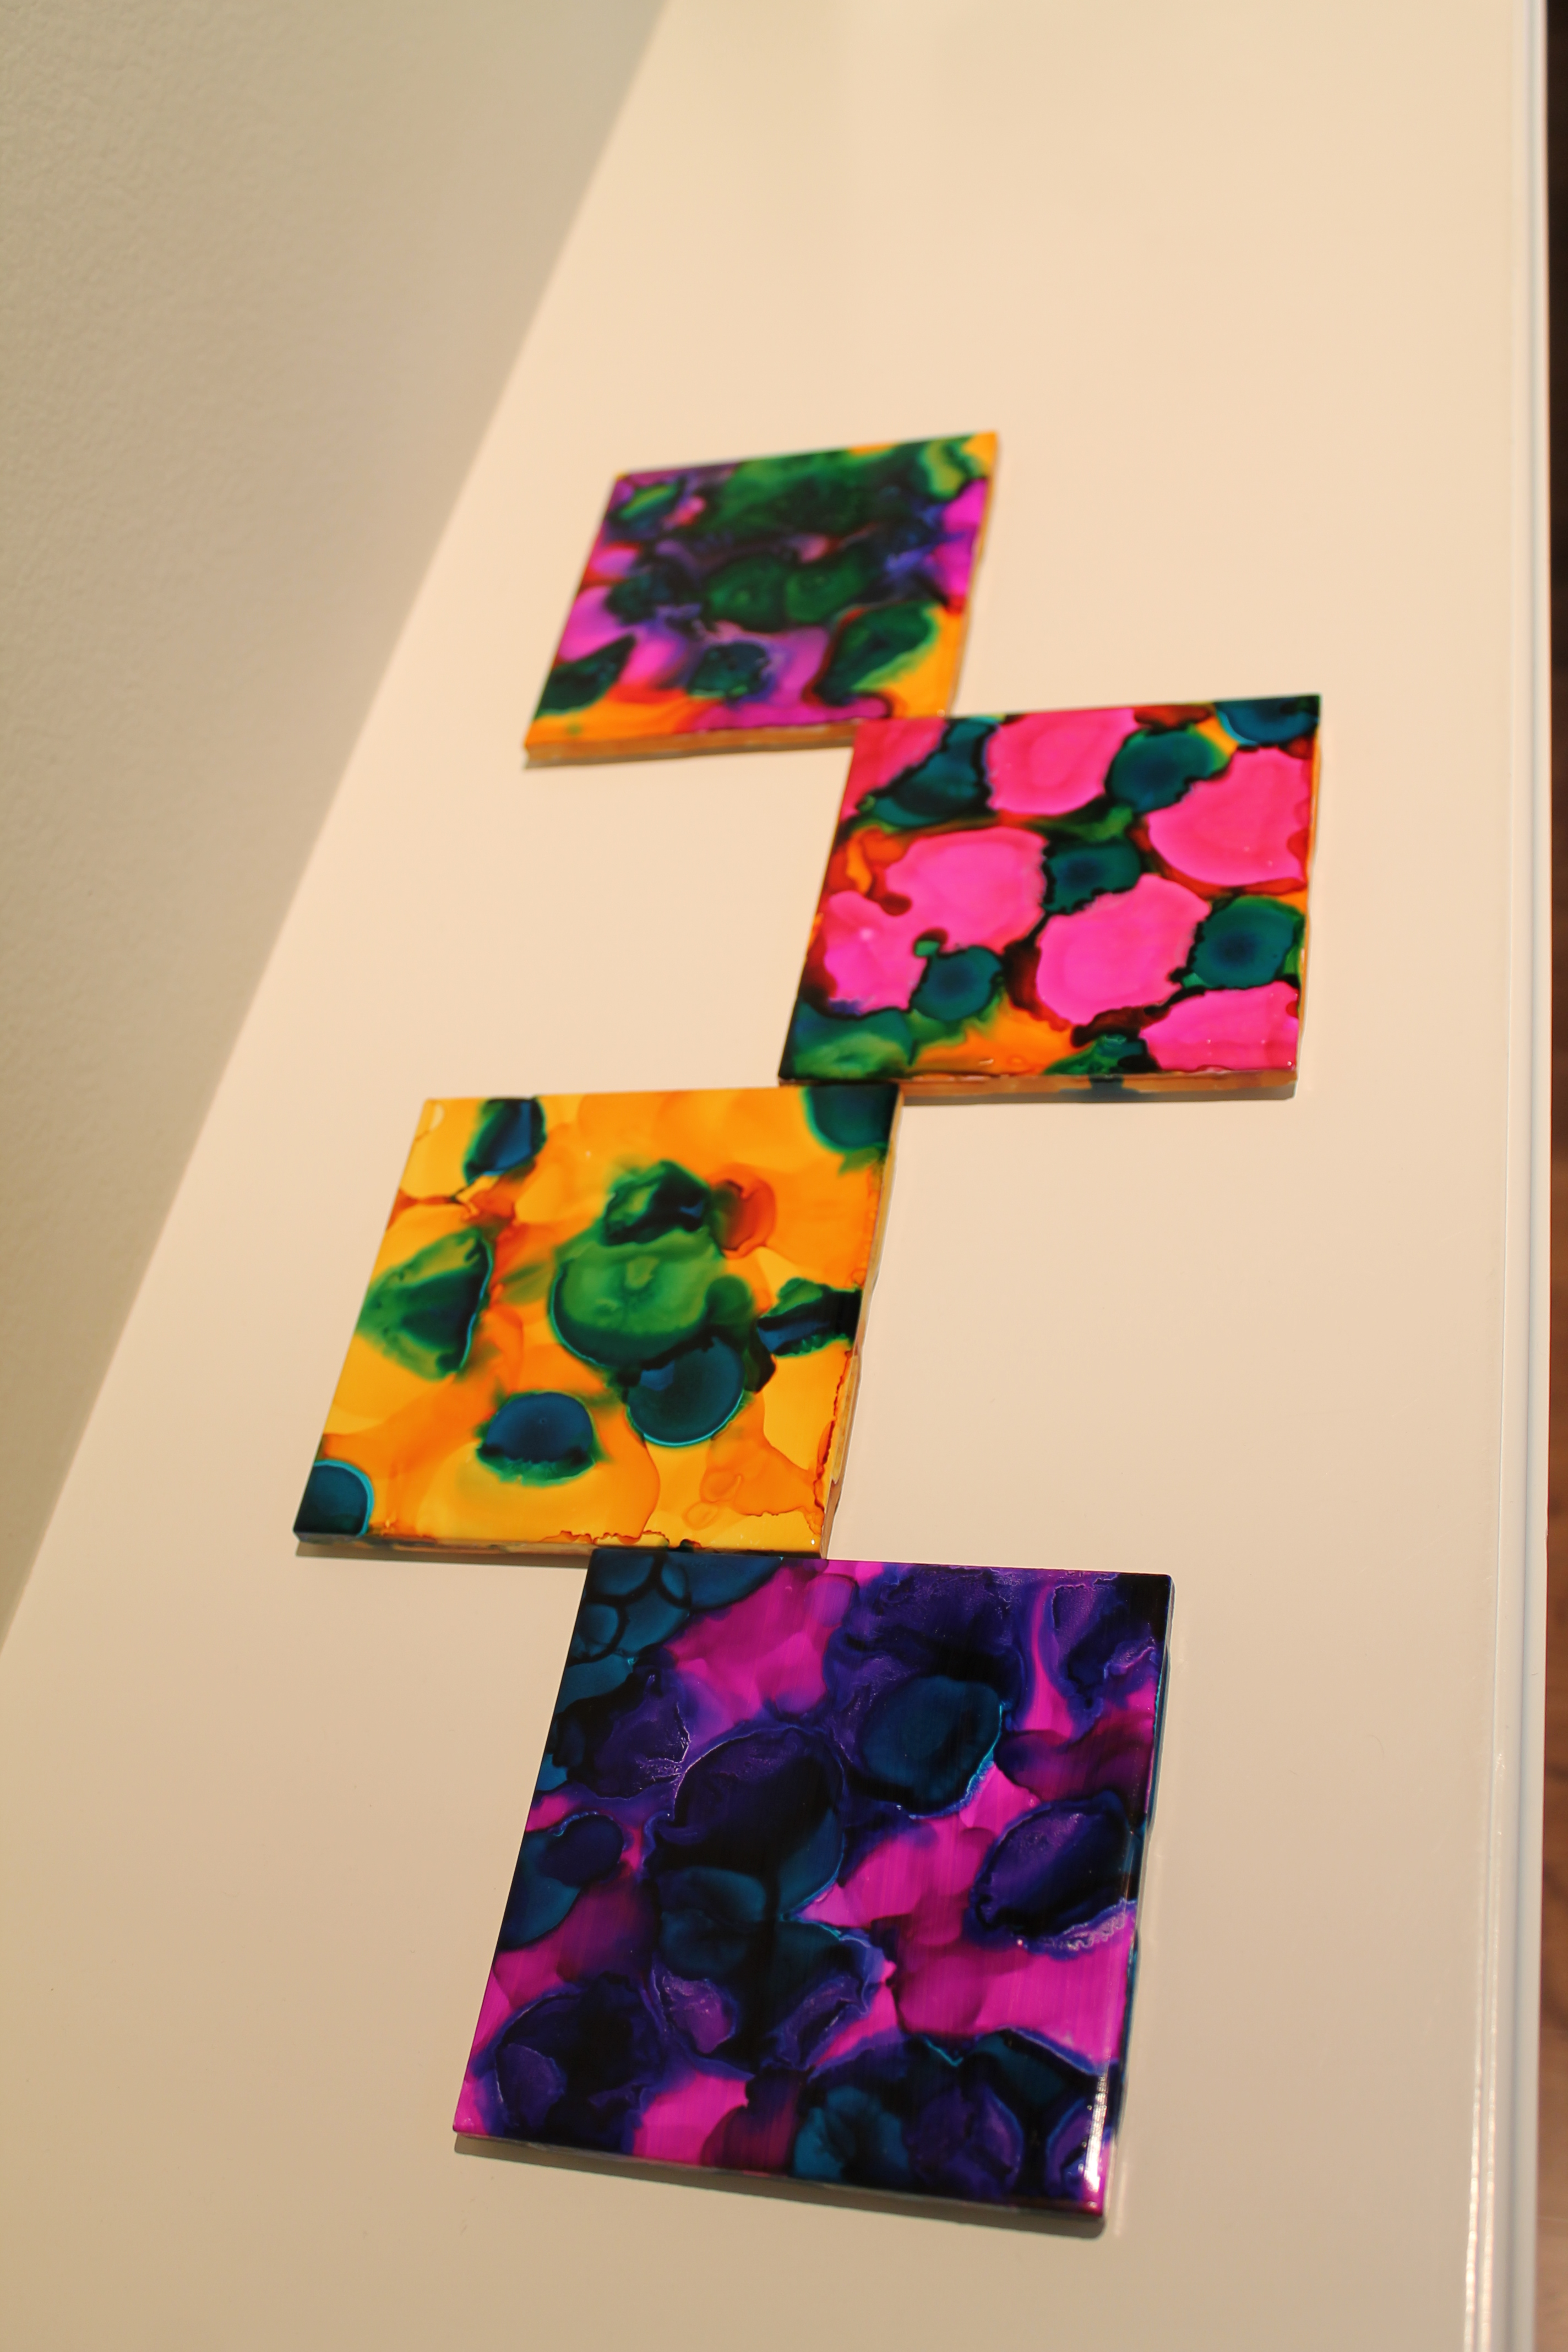
This month I got my first box, and it was an ink blot coaster kit.
The kit contained the tiles, cork stickers for the bottoms, a prep fluid for the tiles, 3 colors of ink, a sponge brush, and some mod podge sealant.
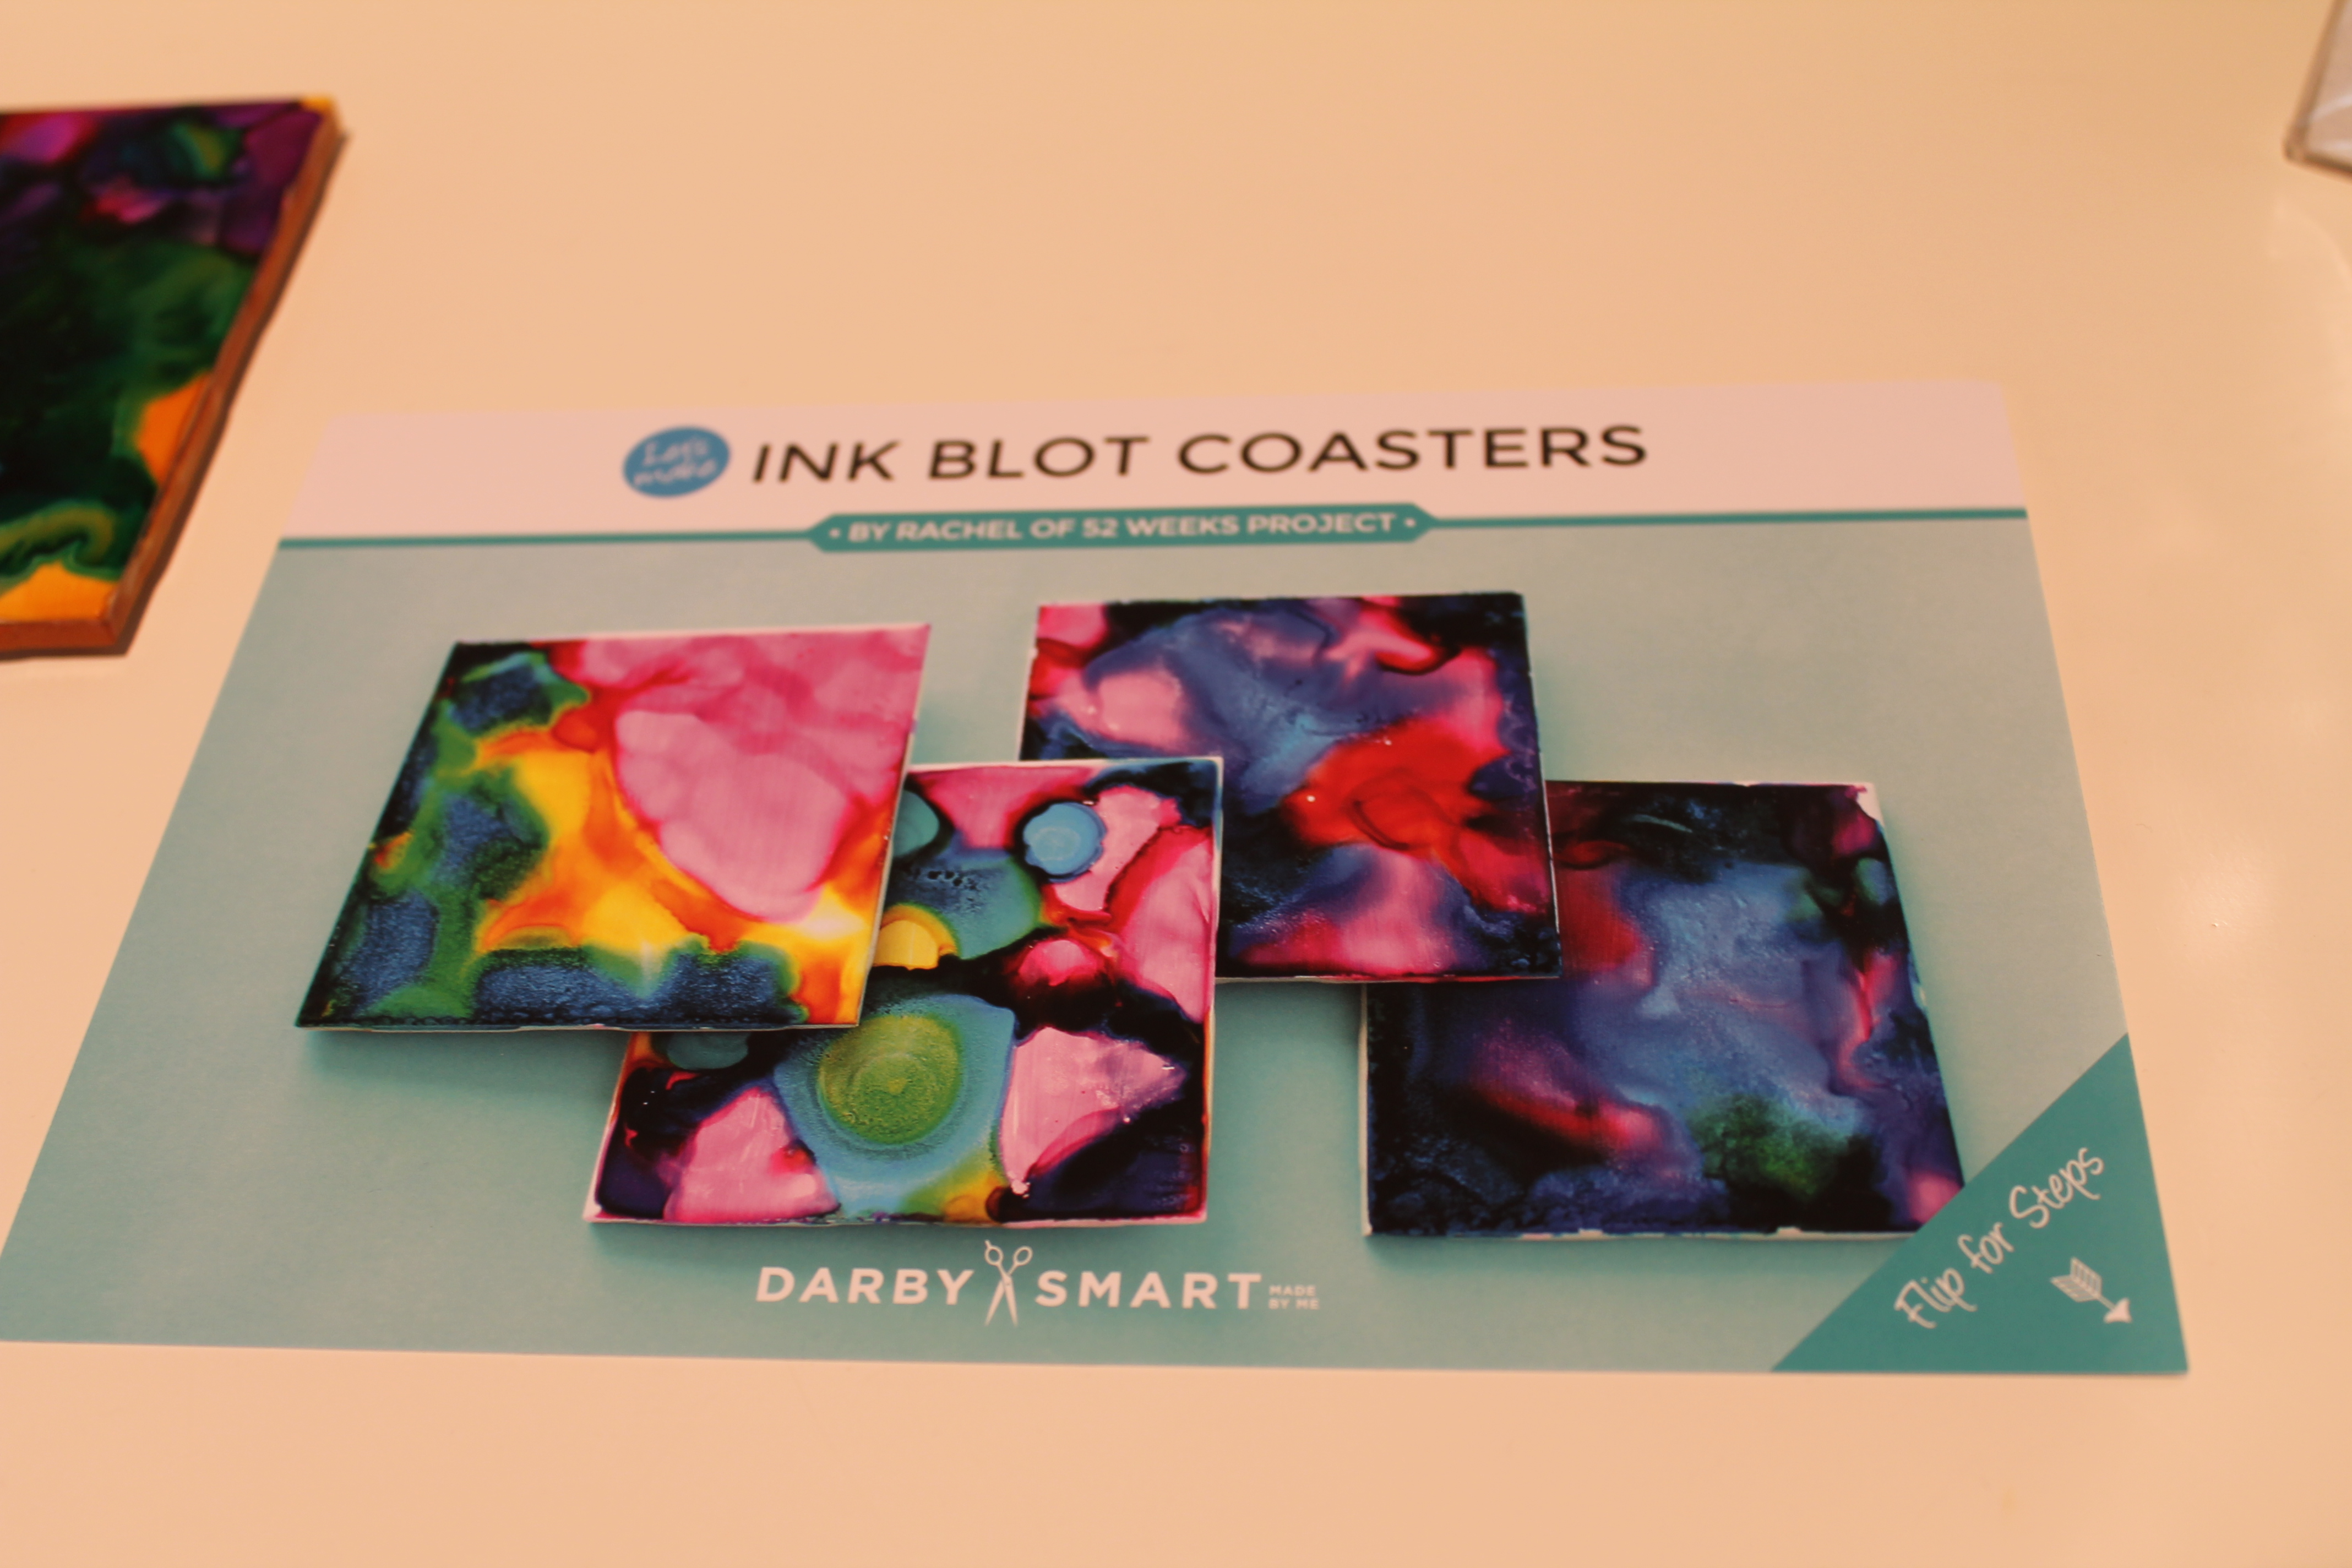
The whole project took me about an hour, but I gave it some more time to dry. If you don’t like the way your tile turns out on the first try you can wash it off with soap and water and try again. I did this with the first two tiles because they got a bit streaky. My one suggestion to anyone trying this project would be to wear plastic gloves during the inking phase. I got ink all over my hands and neither soap and water nor nail polish remover could get it off. I’m sure it will eventually wear off.
Here are my finished projects:
I enjoyed the first project and can’t wait to see what next month will be.
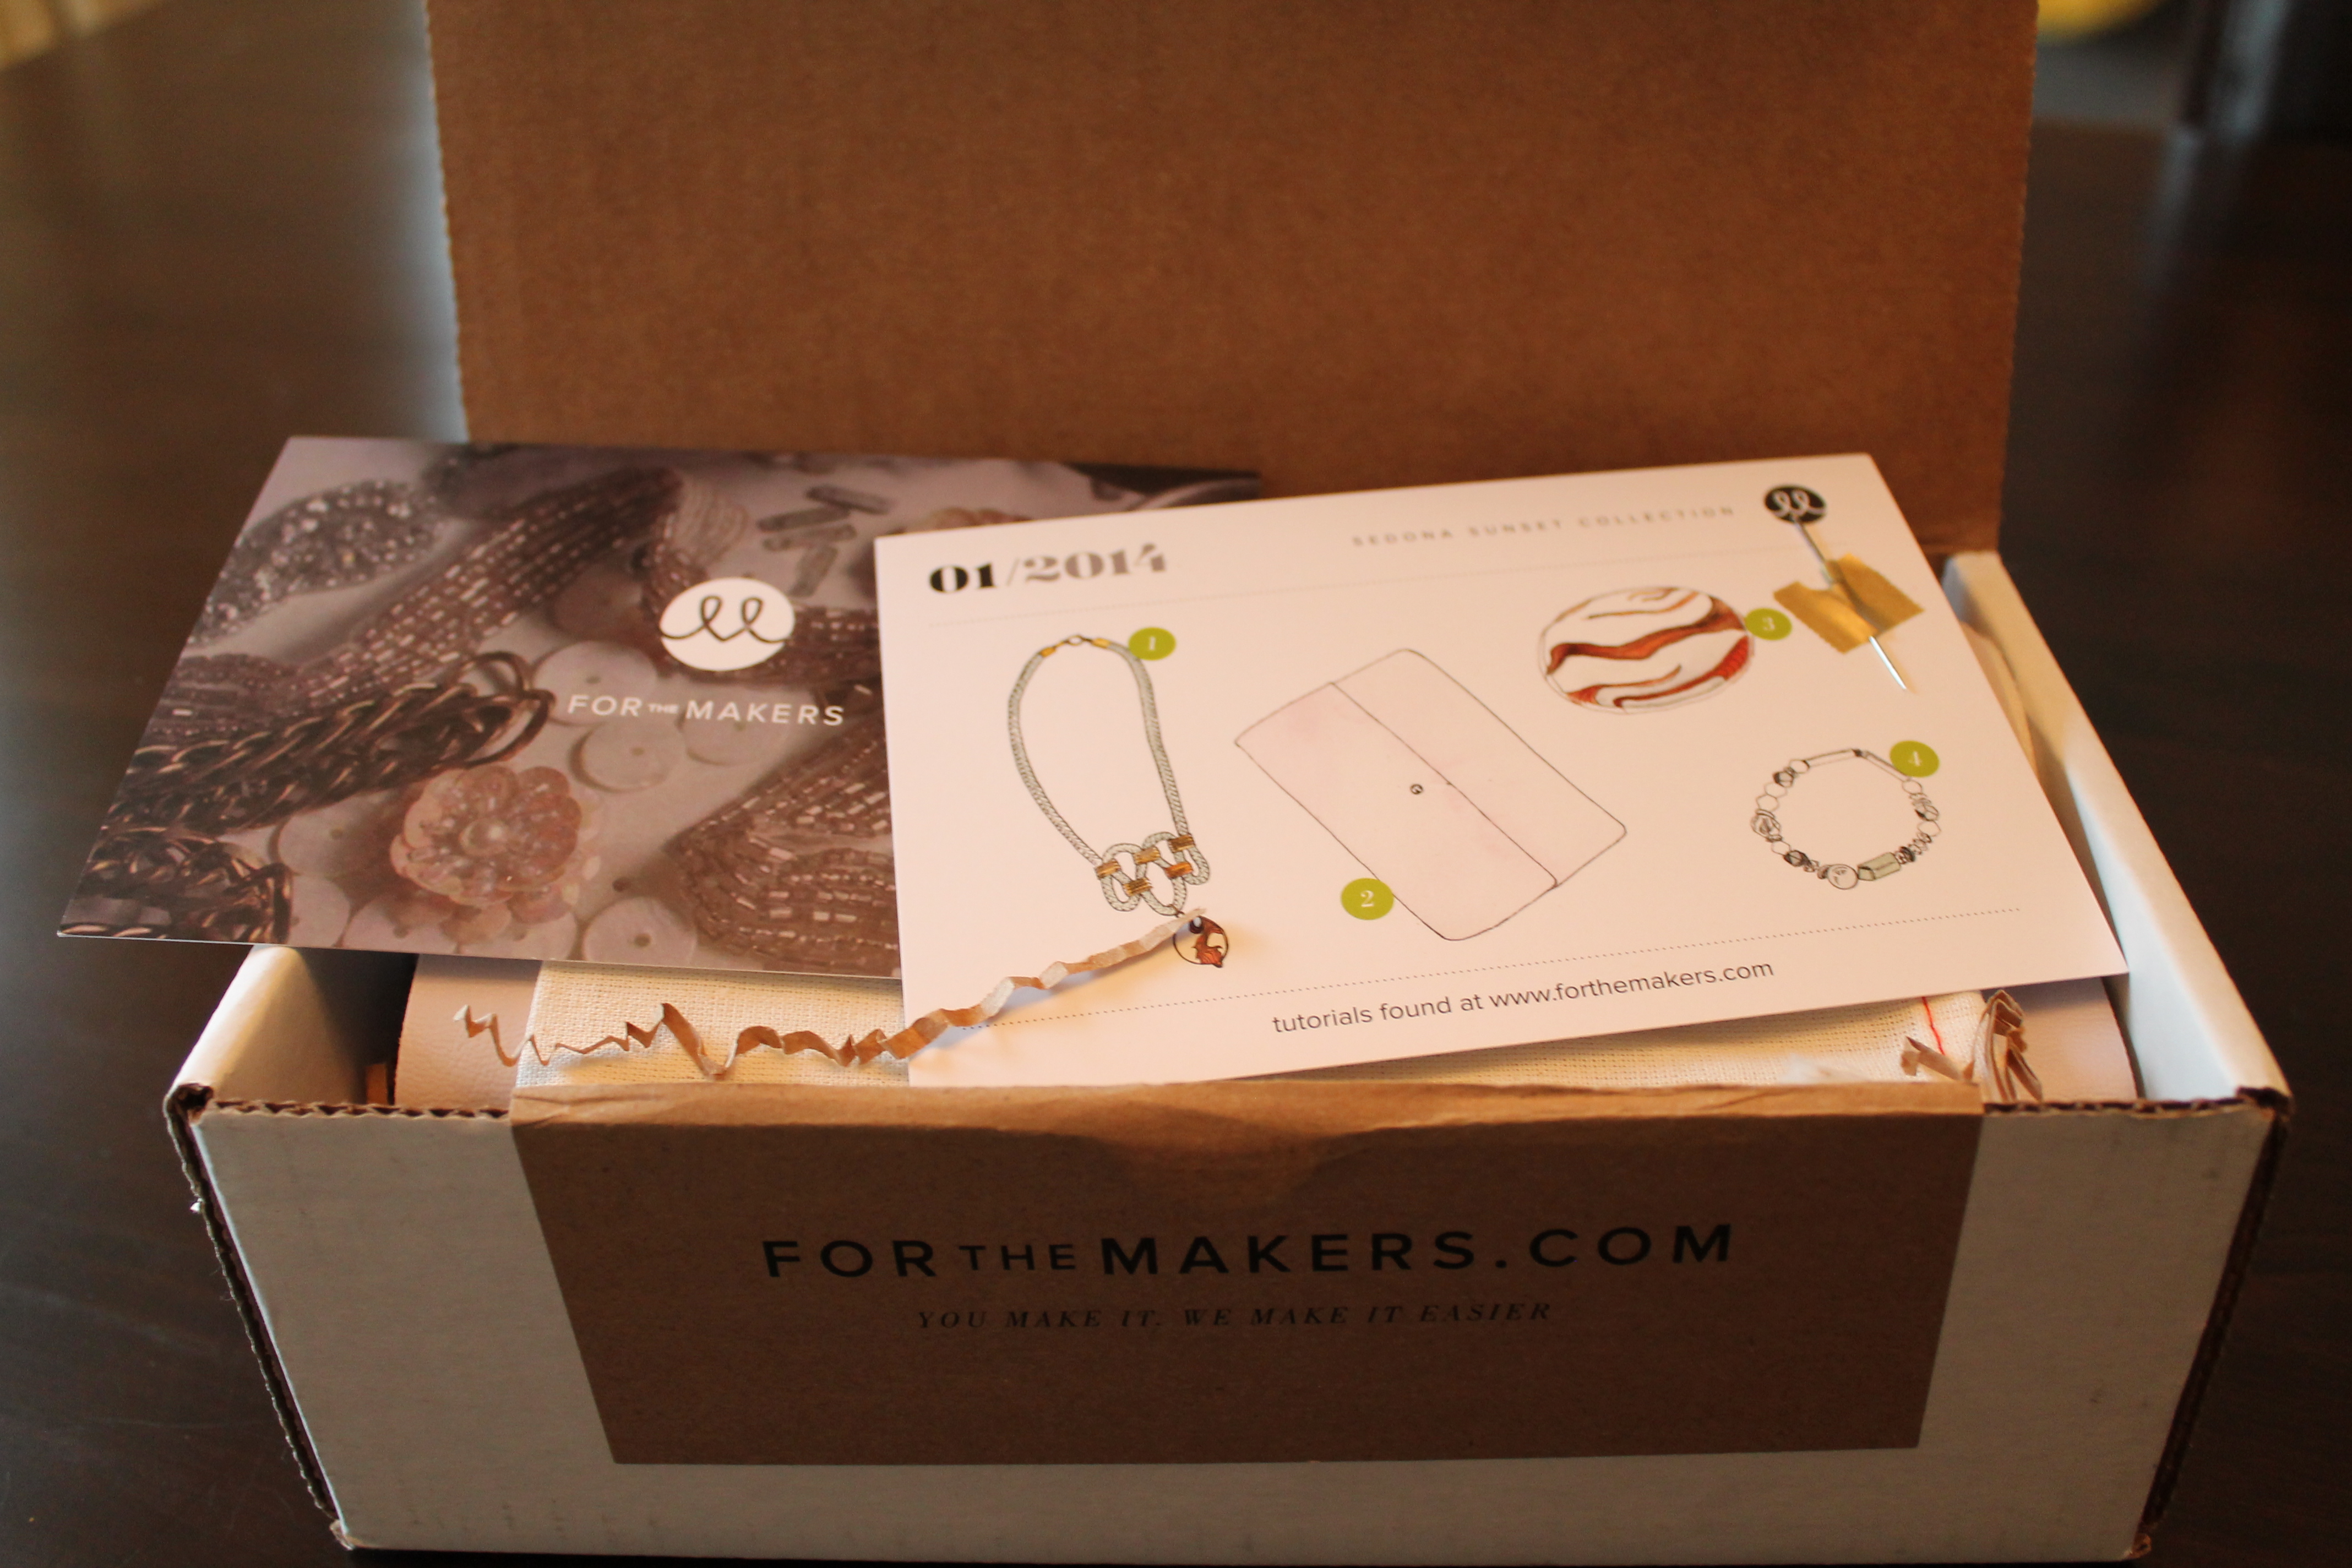
This month’s For the Makers box arrived on the same day as Paper Pumpkin and I was really happy they got here in time for the weekend. I ended up spending Sunday morning doing crafts. Here’s what came in this month’s box.
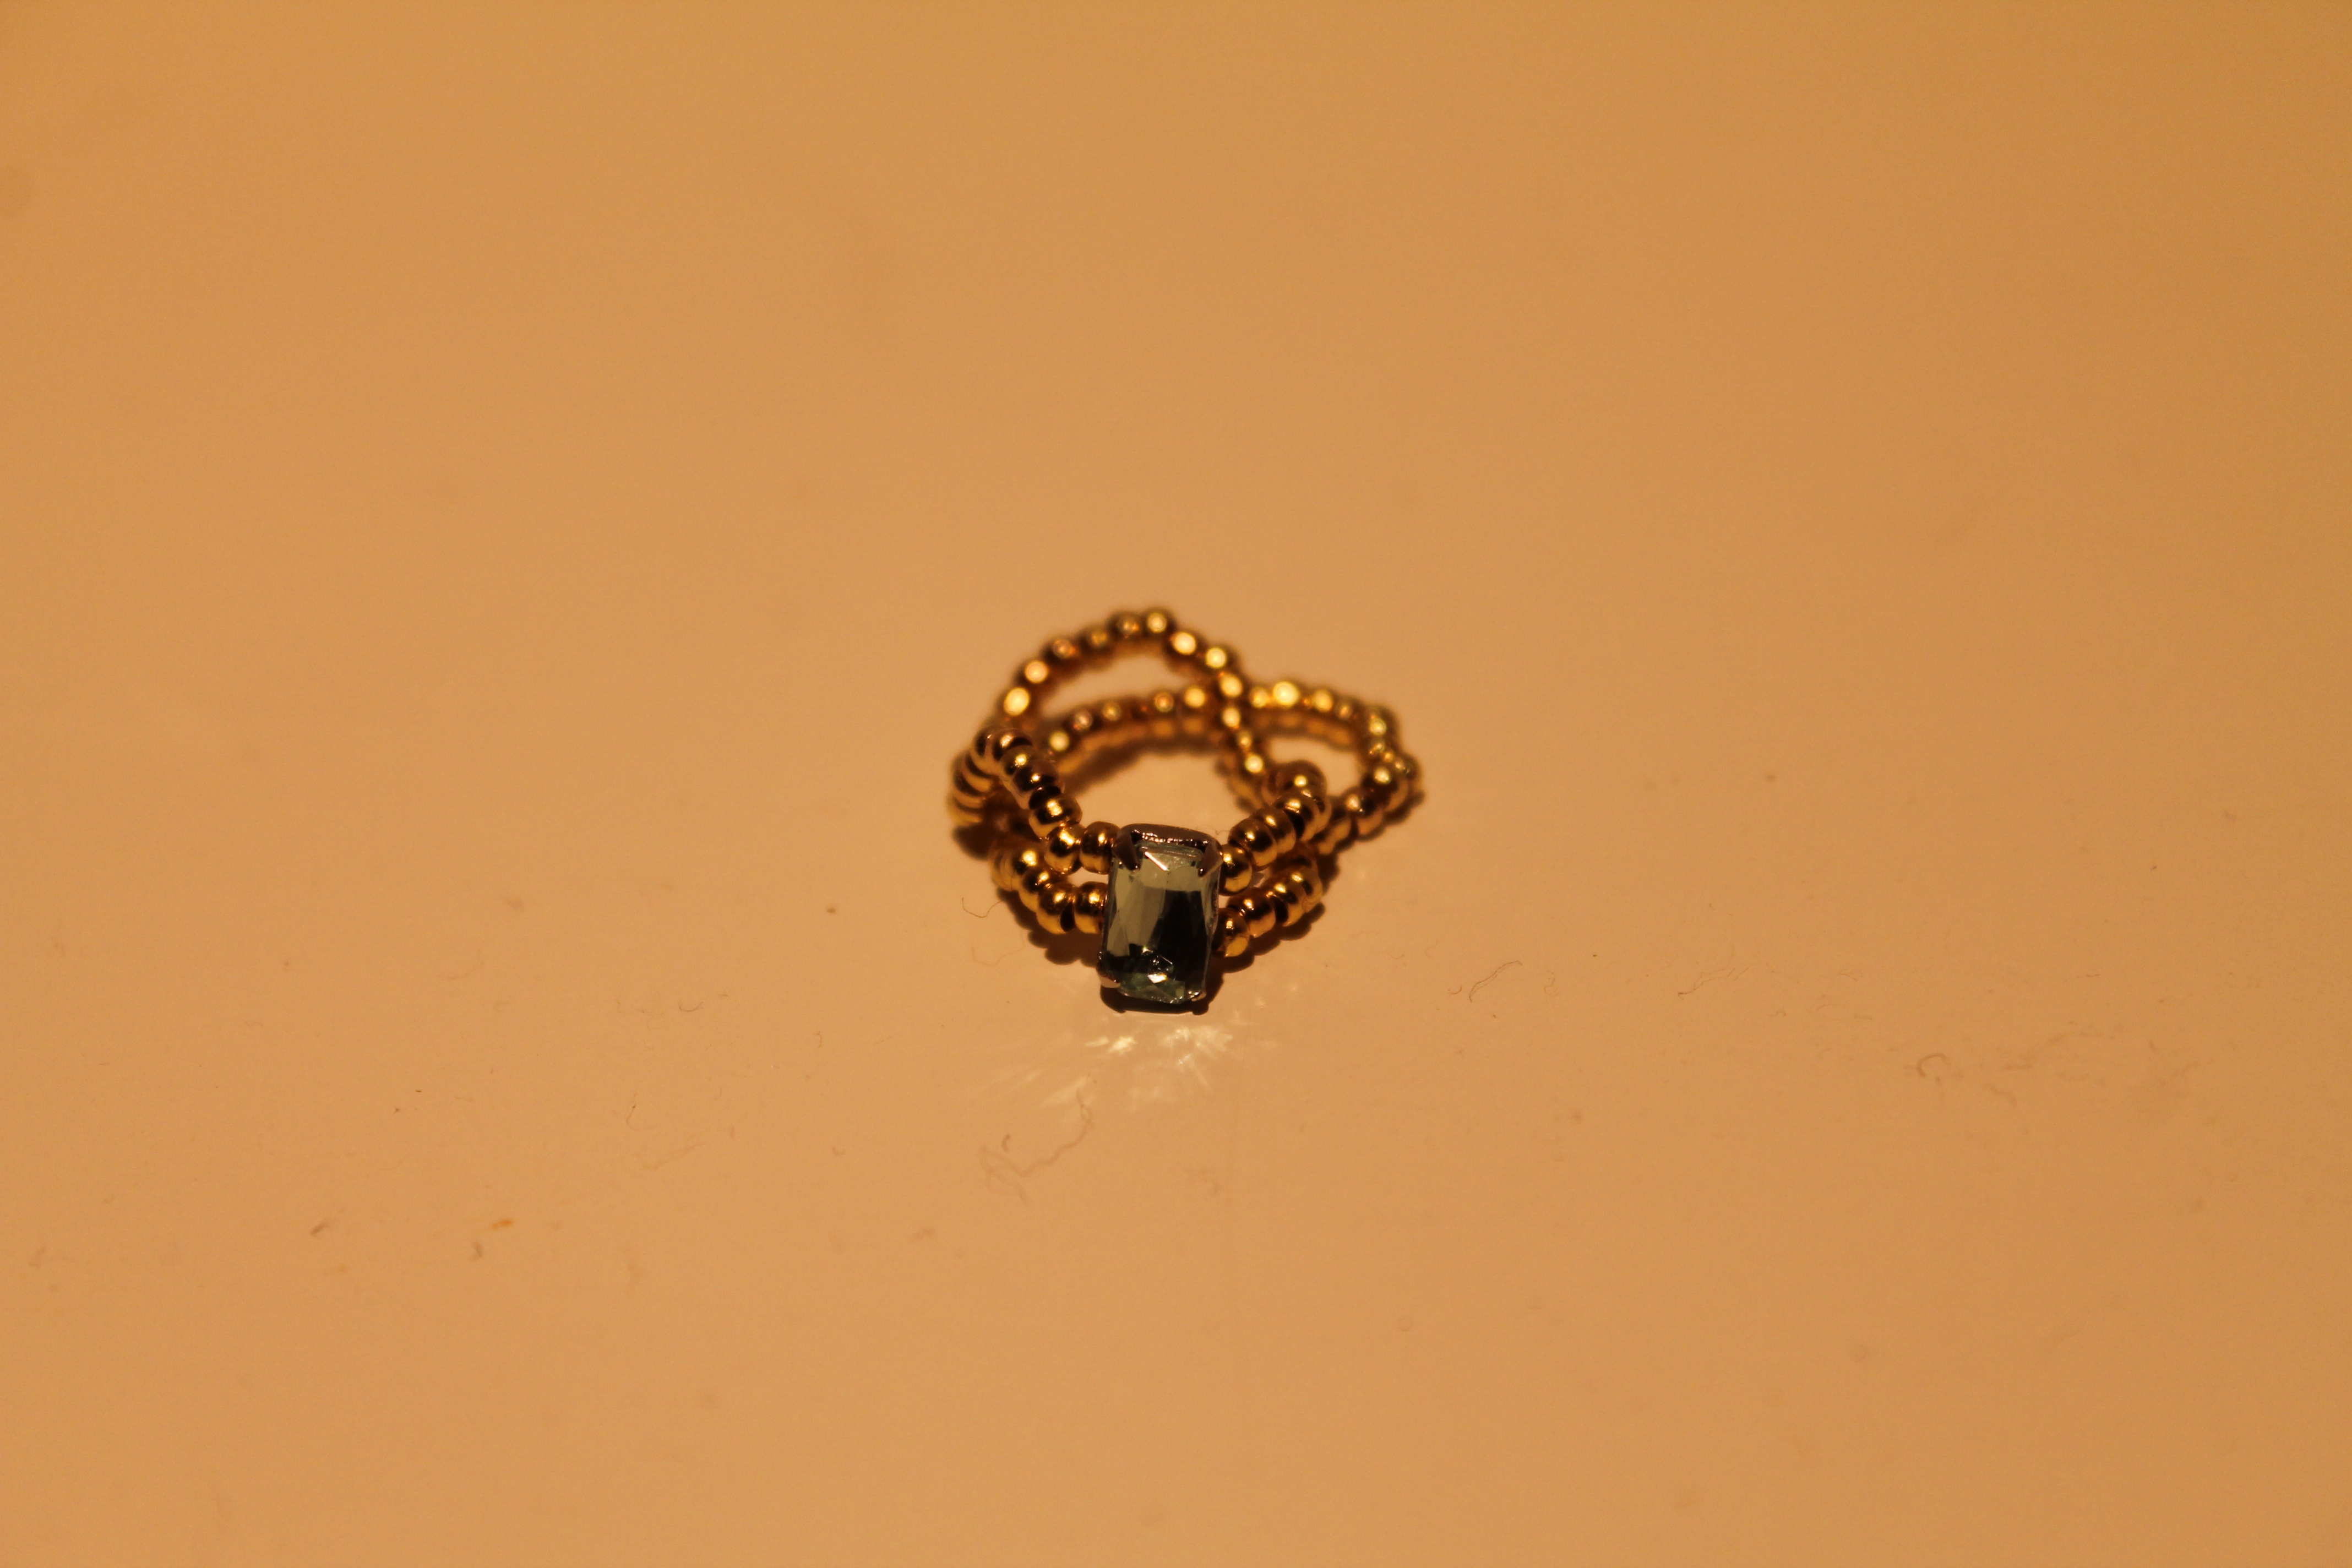
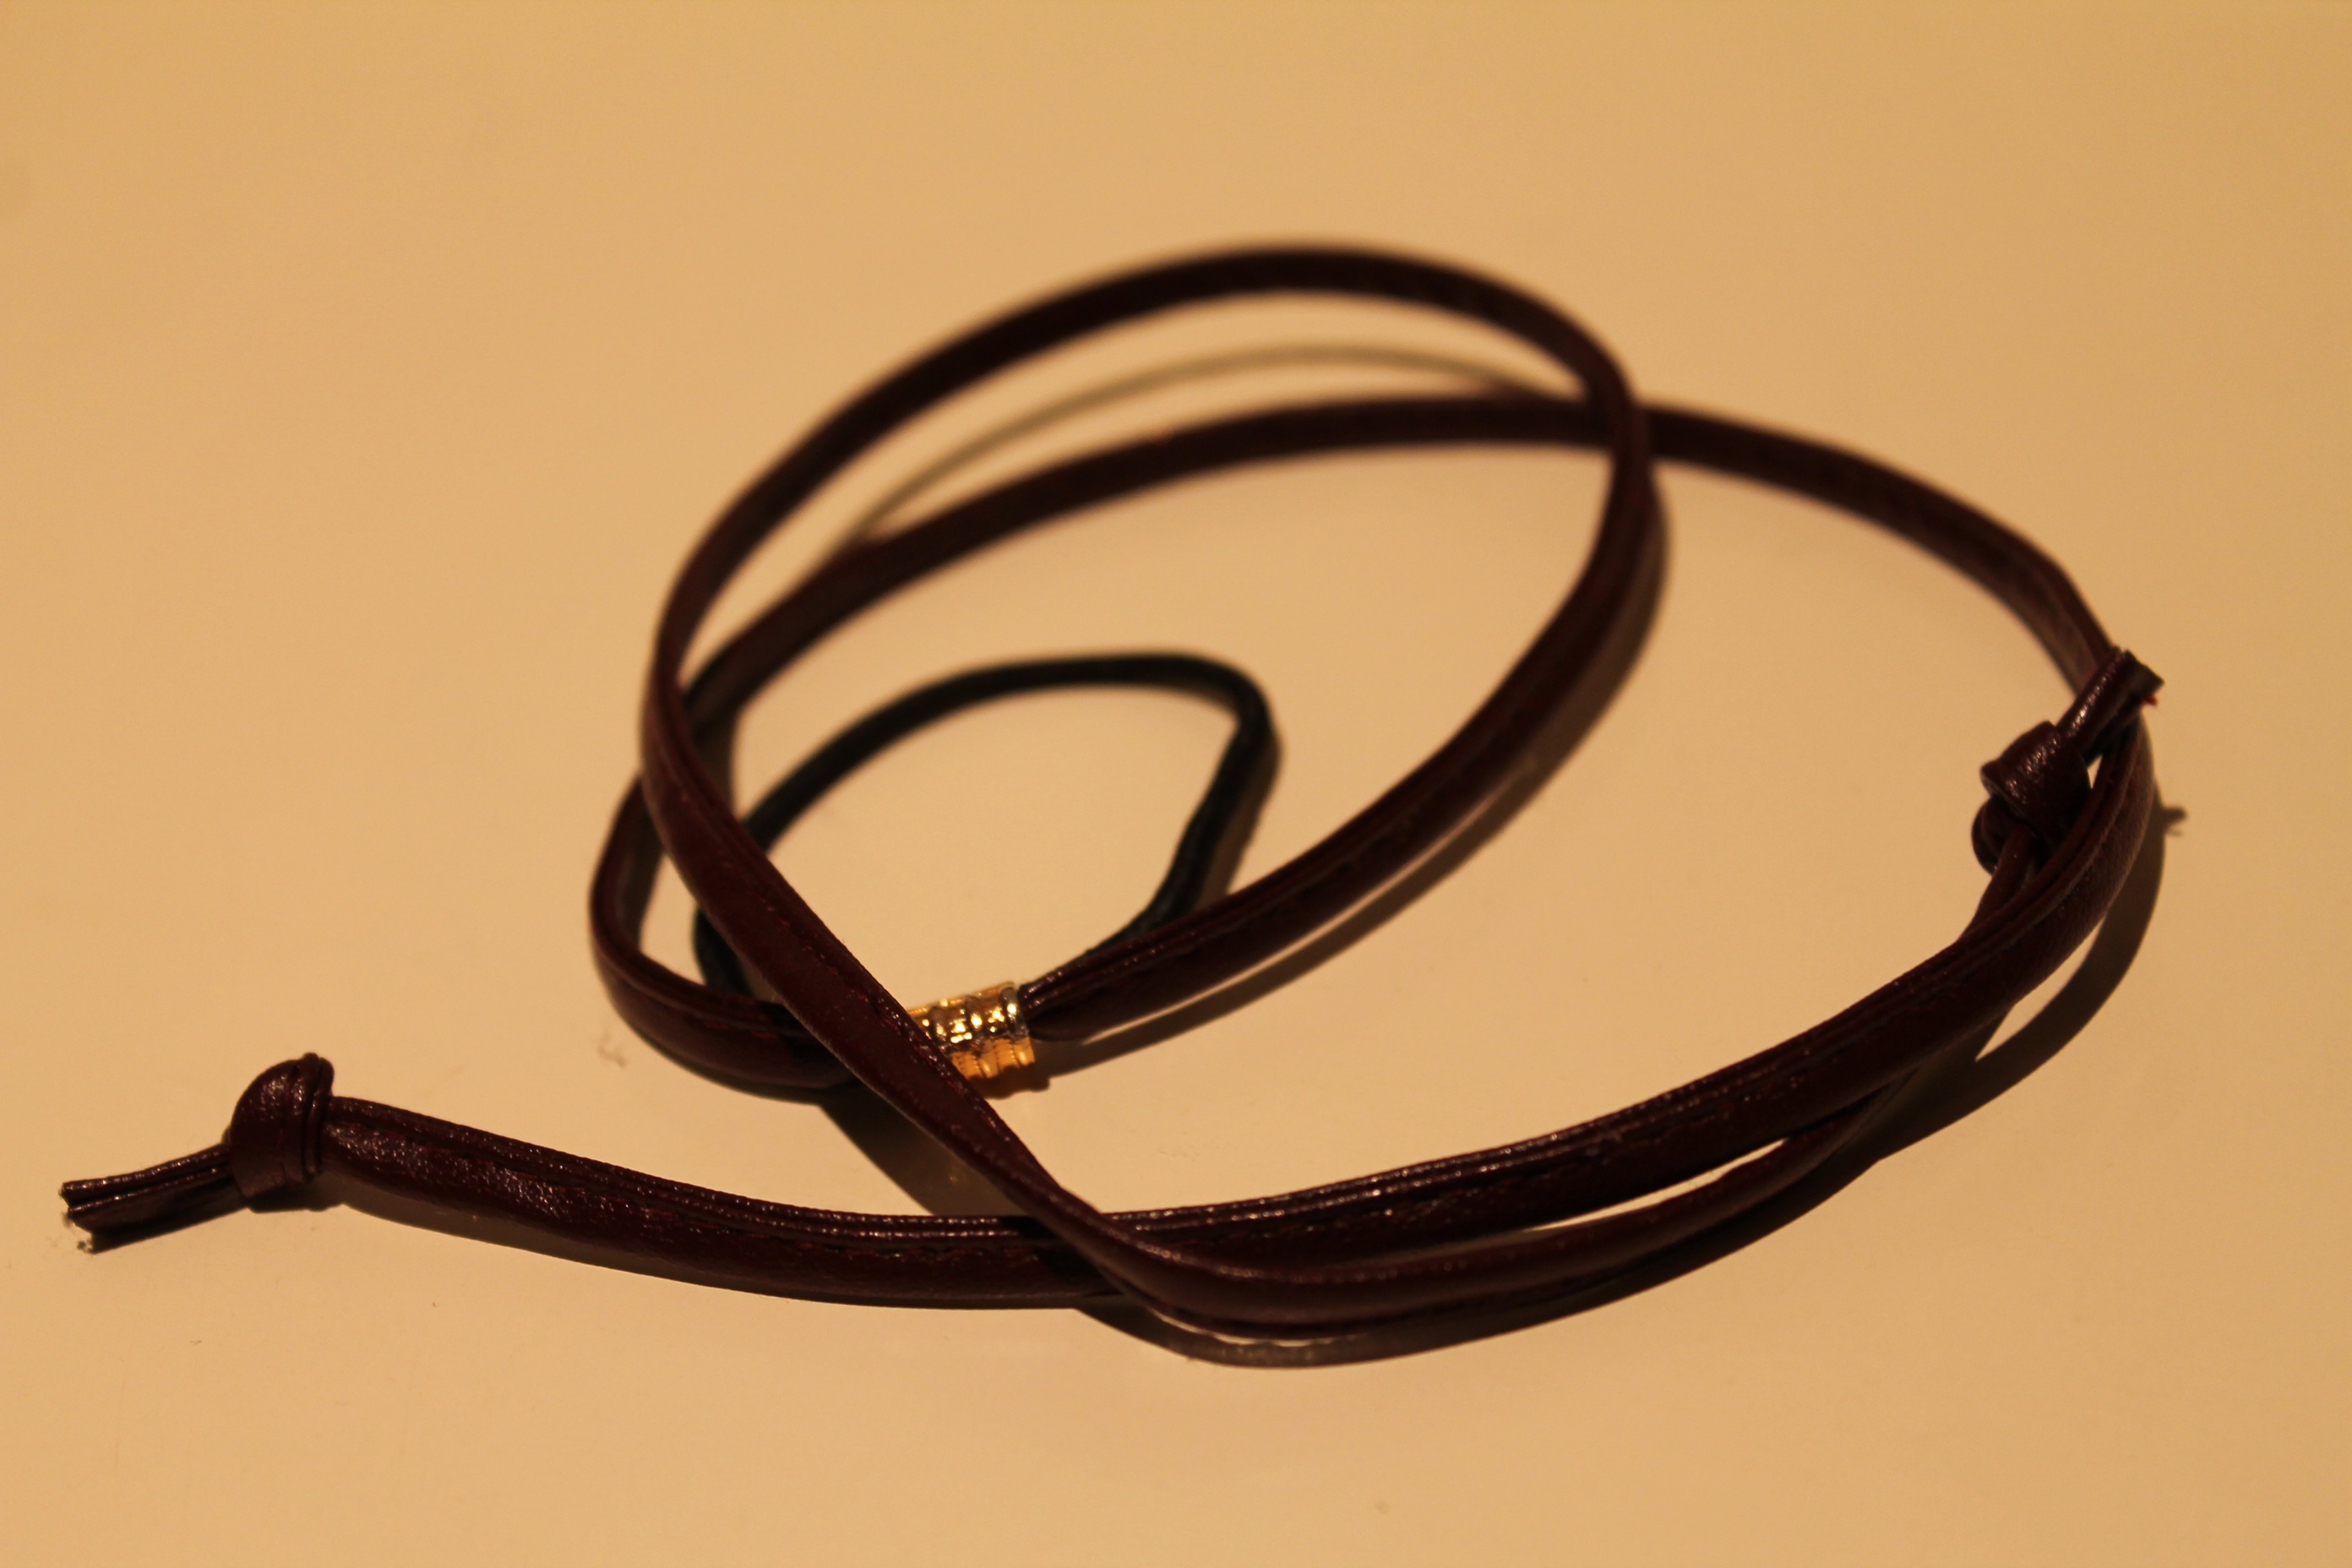
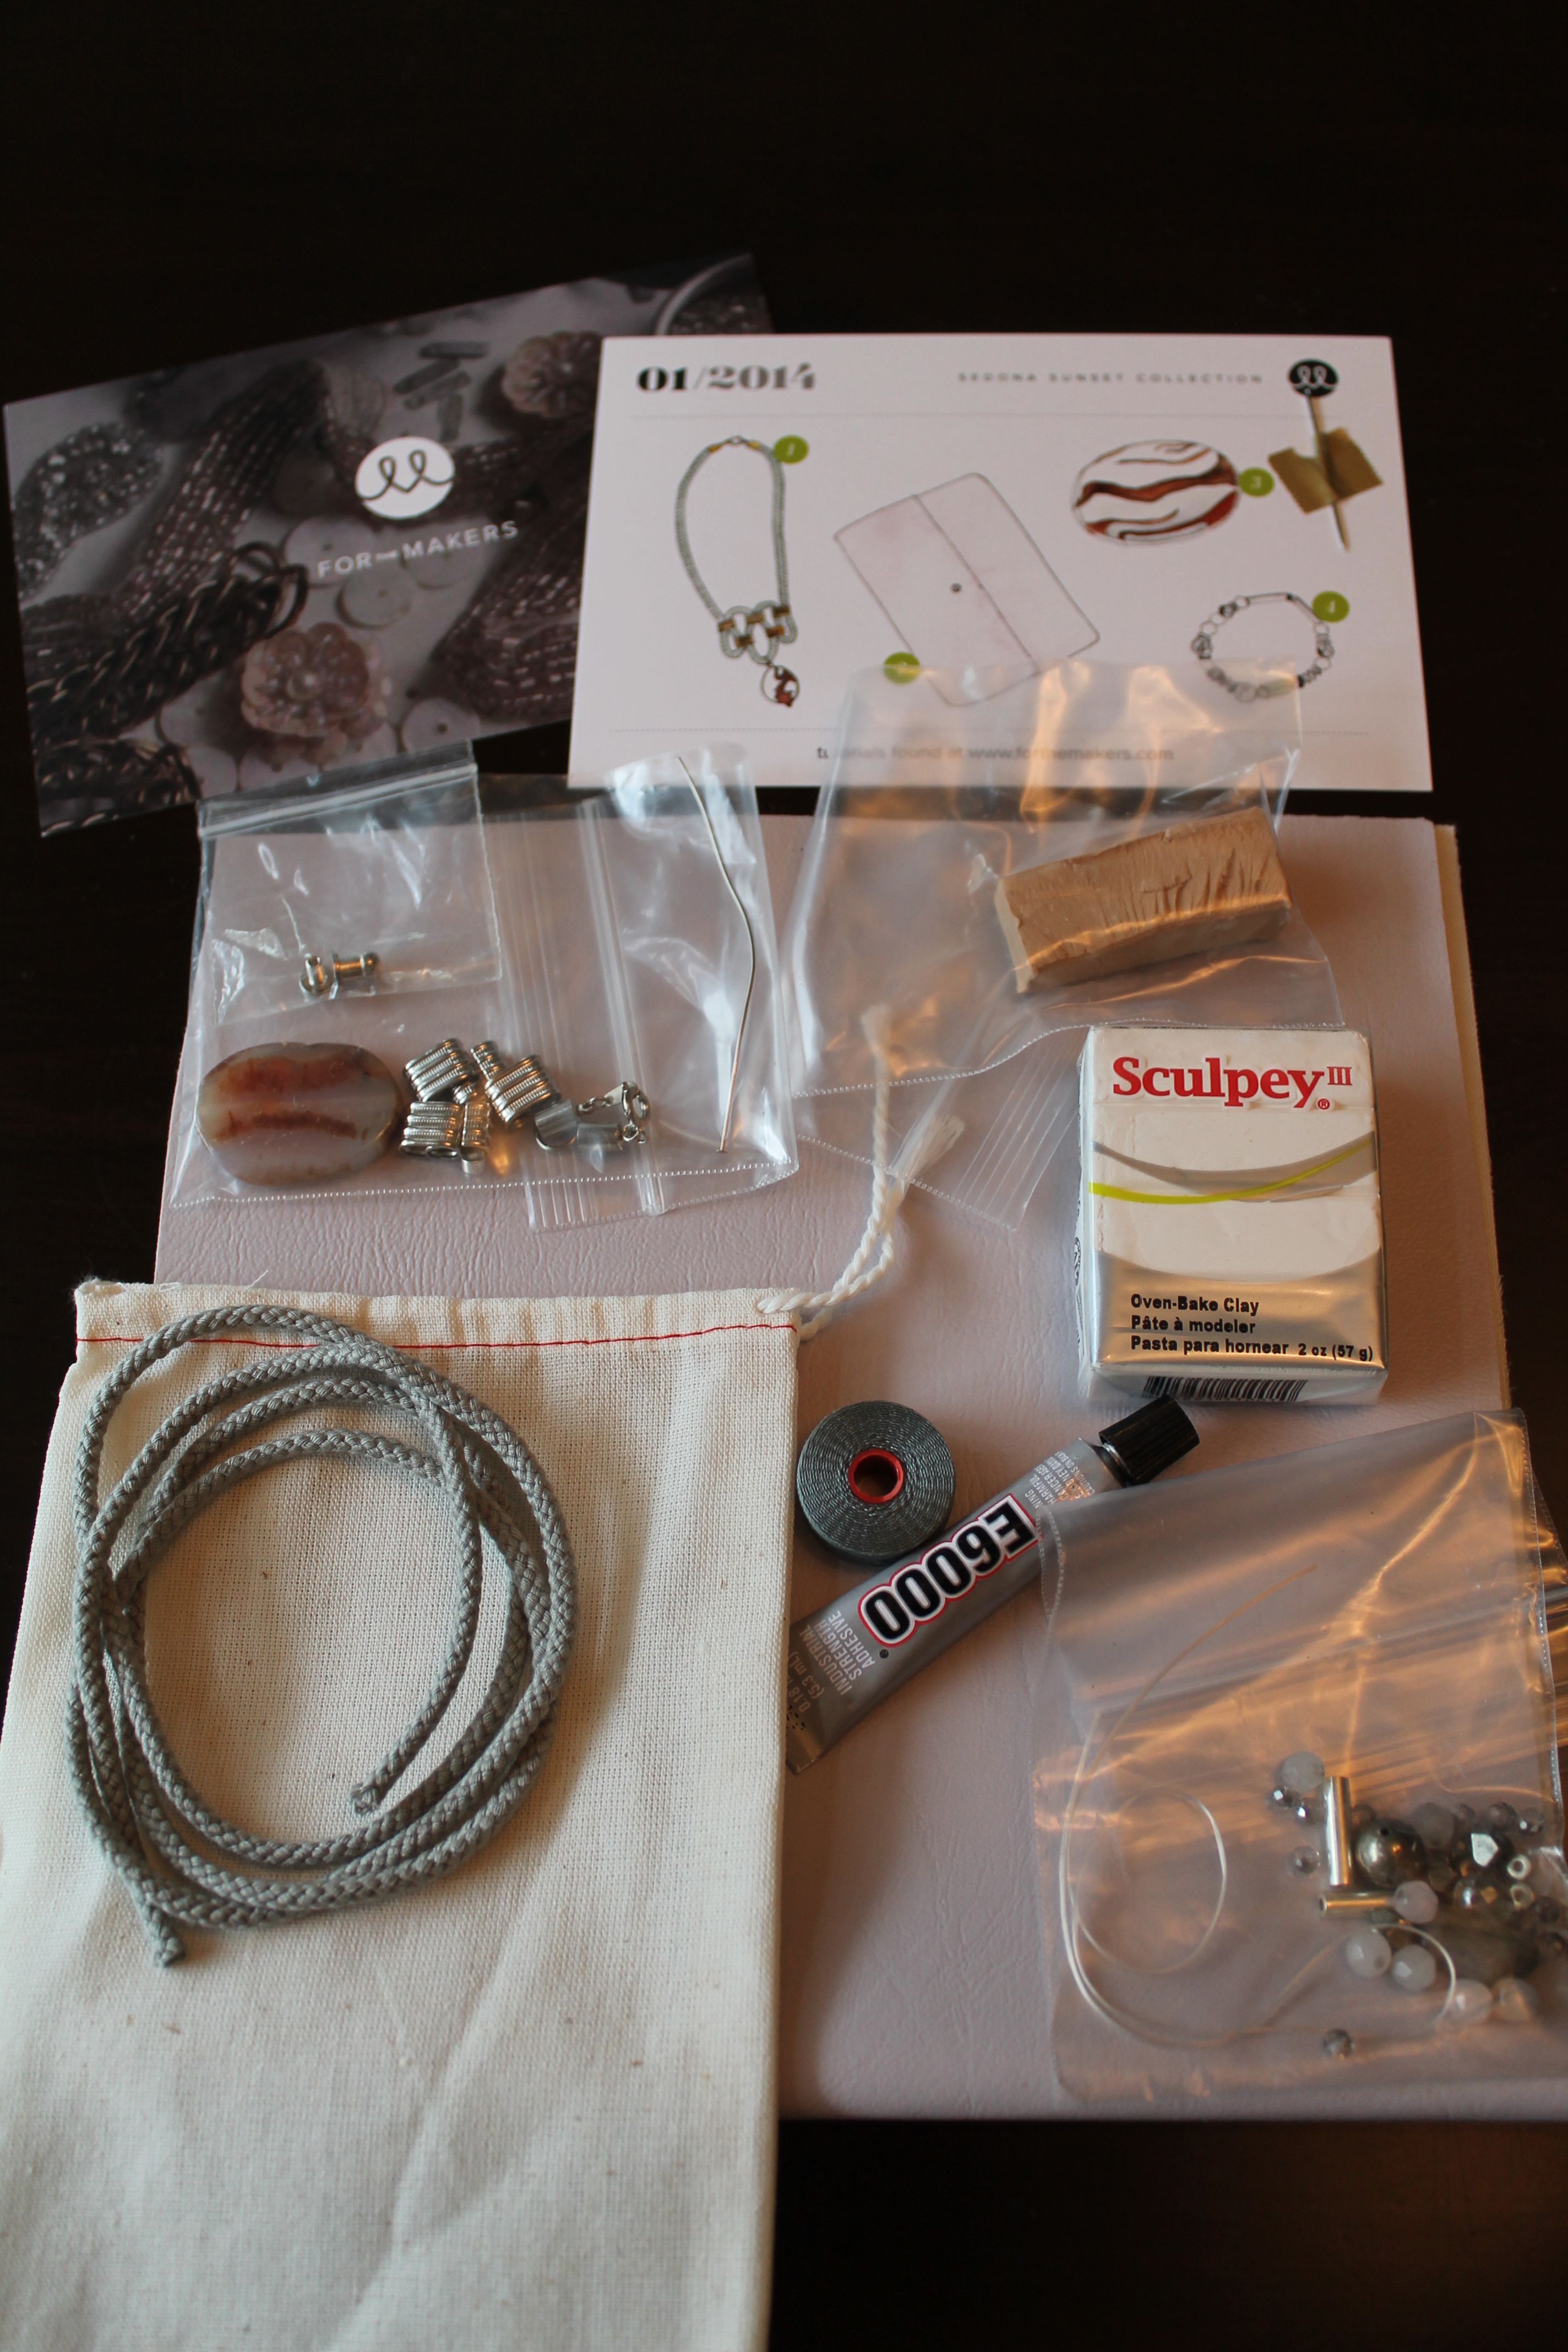
This month’s collection was called “Sedona Sunset” and consisted of a chunky necklace, a stretchy bracelet, a faux leather notebook cover, and a clay bowl. All of them were fun to make, and the degree of difficulty was pretty low compared to the necklace from last month with the super thick chain.
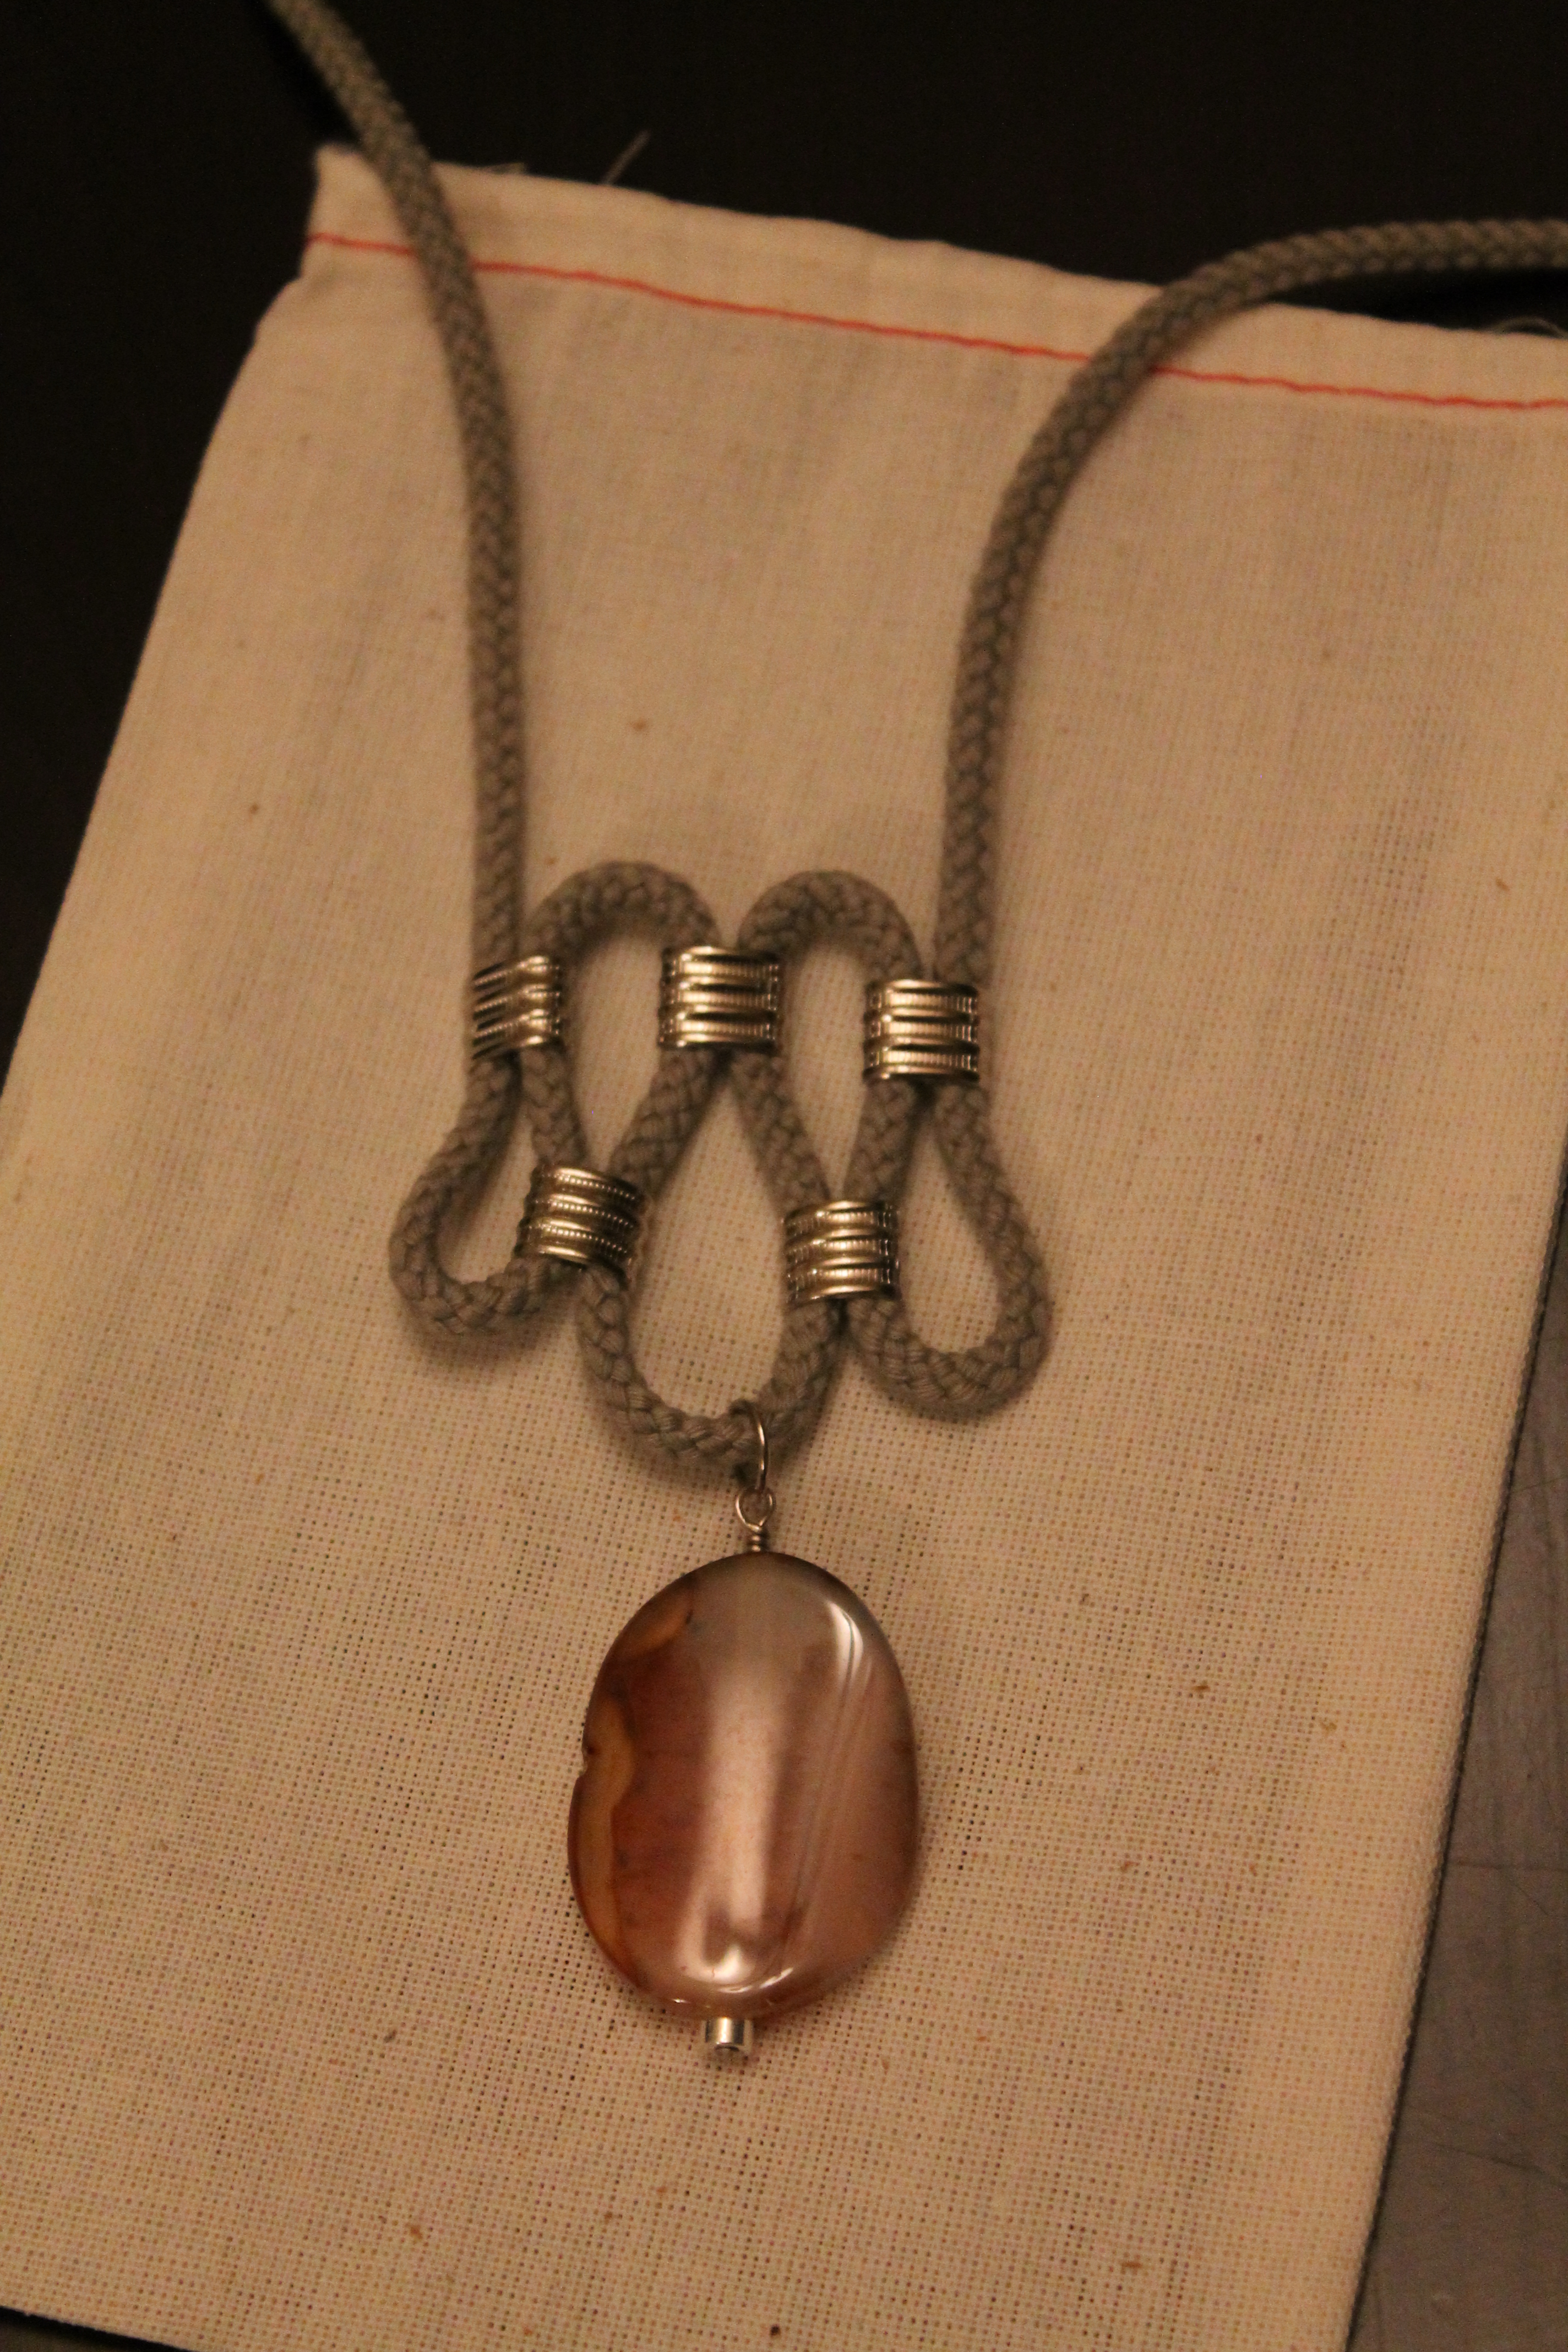
Here are the finished products:
Chunky Necklace
This one was fun to make, but the metal beads that hold the rope together were rather stubborn and again my jewelry pliers were too delicate to really close them so I borrowed a pair of heavier pliers from the toolbox in the garage.
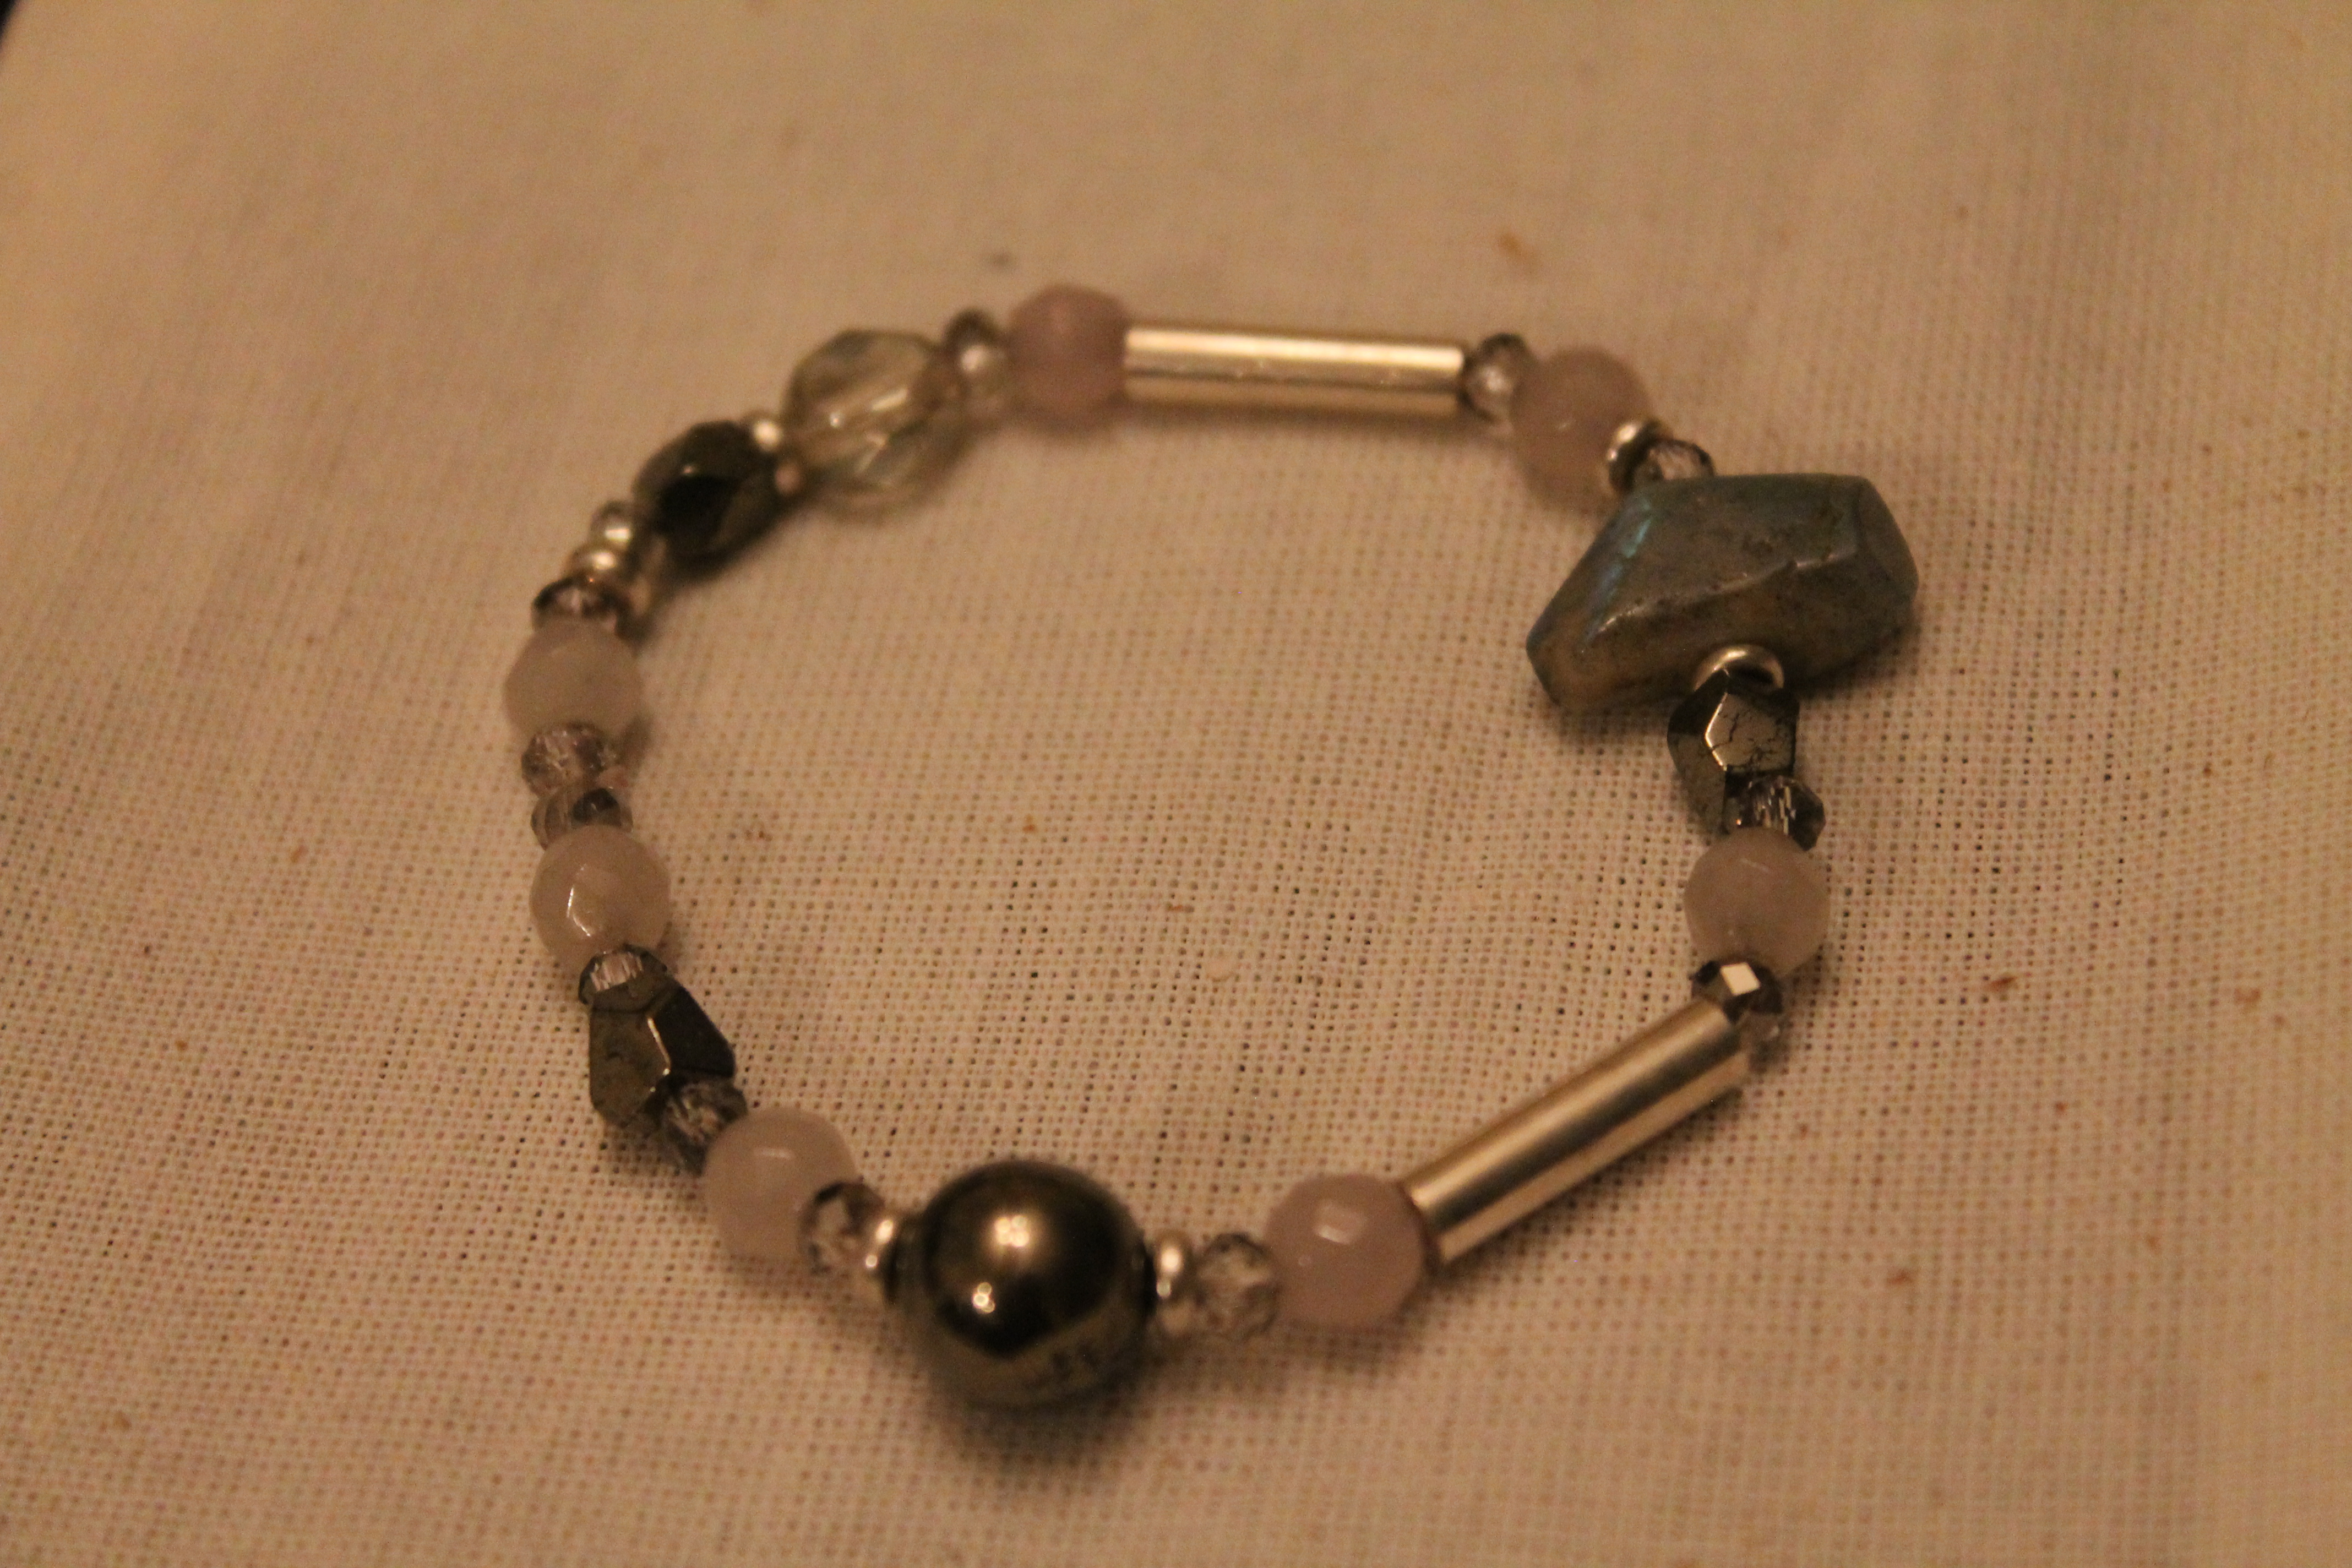
stretchy bracelet
This one was super easy but really cute. I will probably end up wearing it quite a bit.
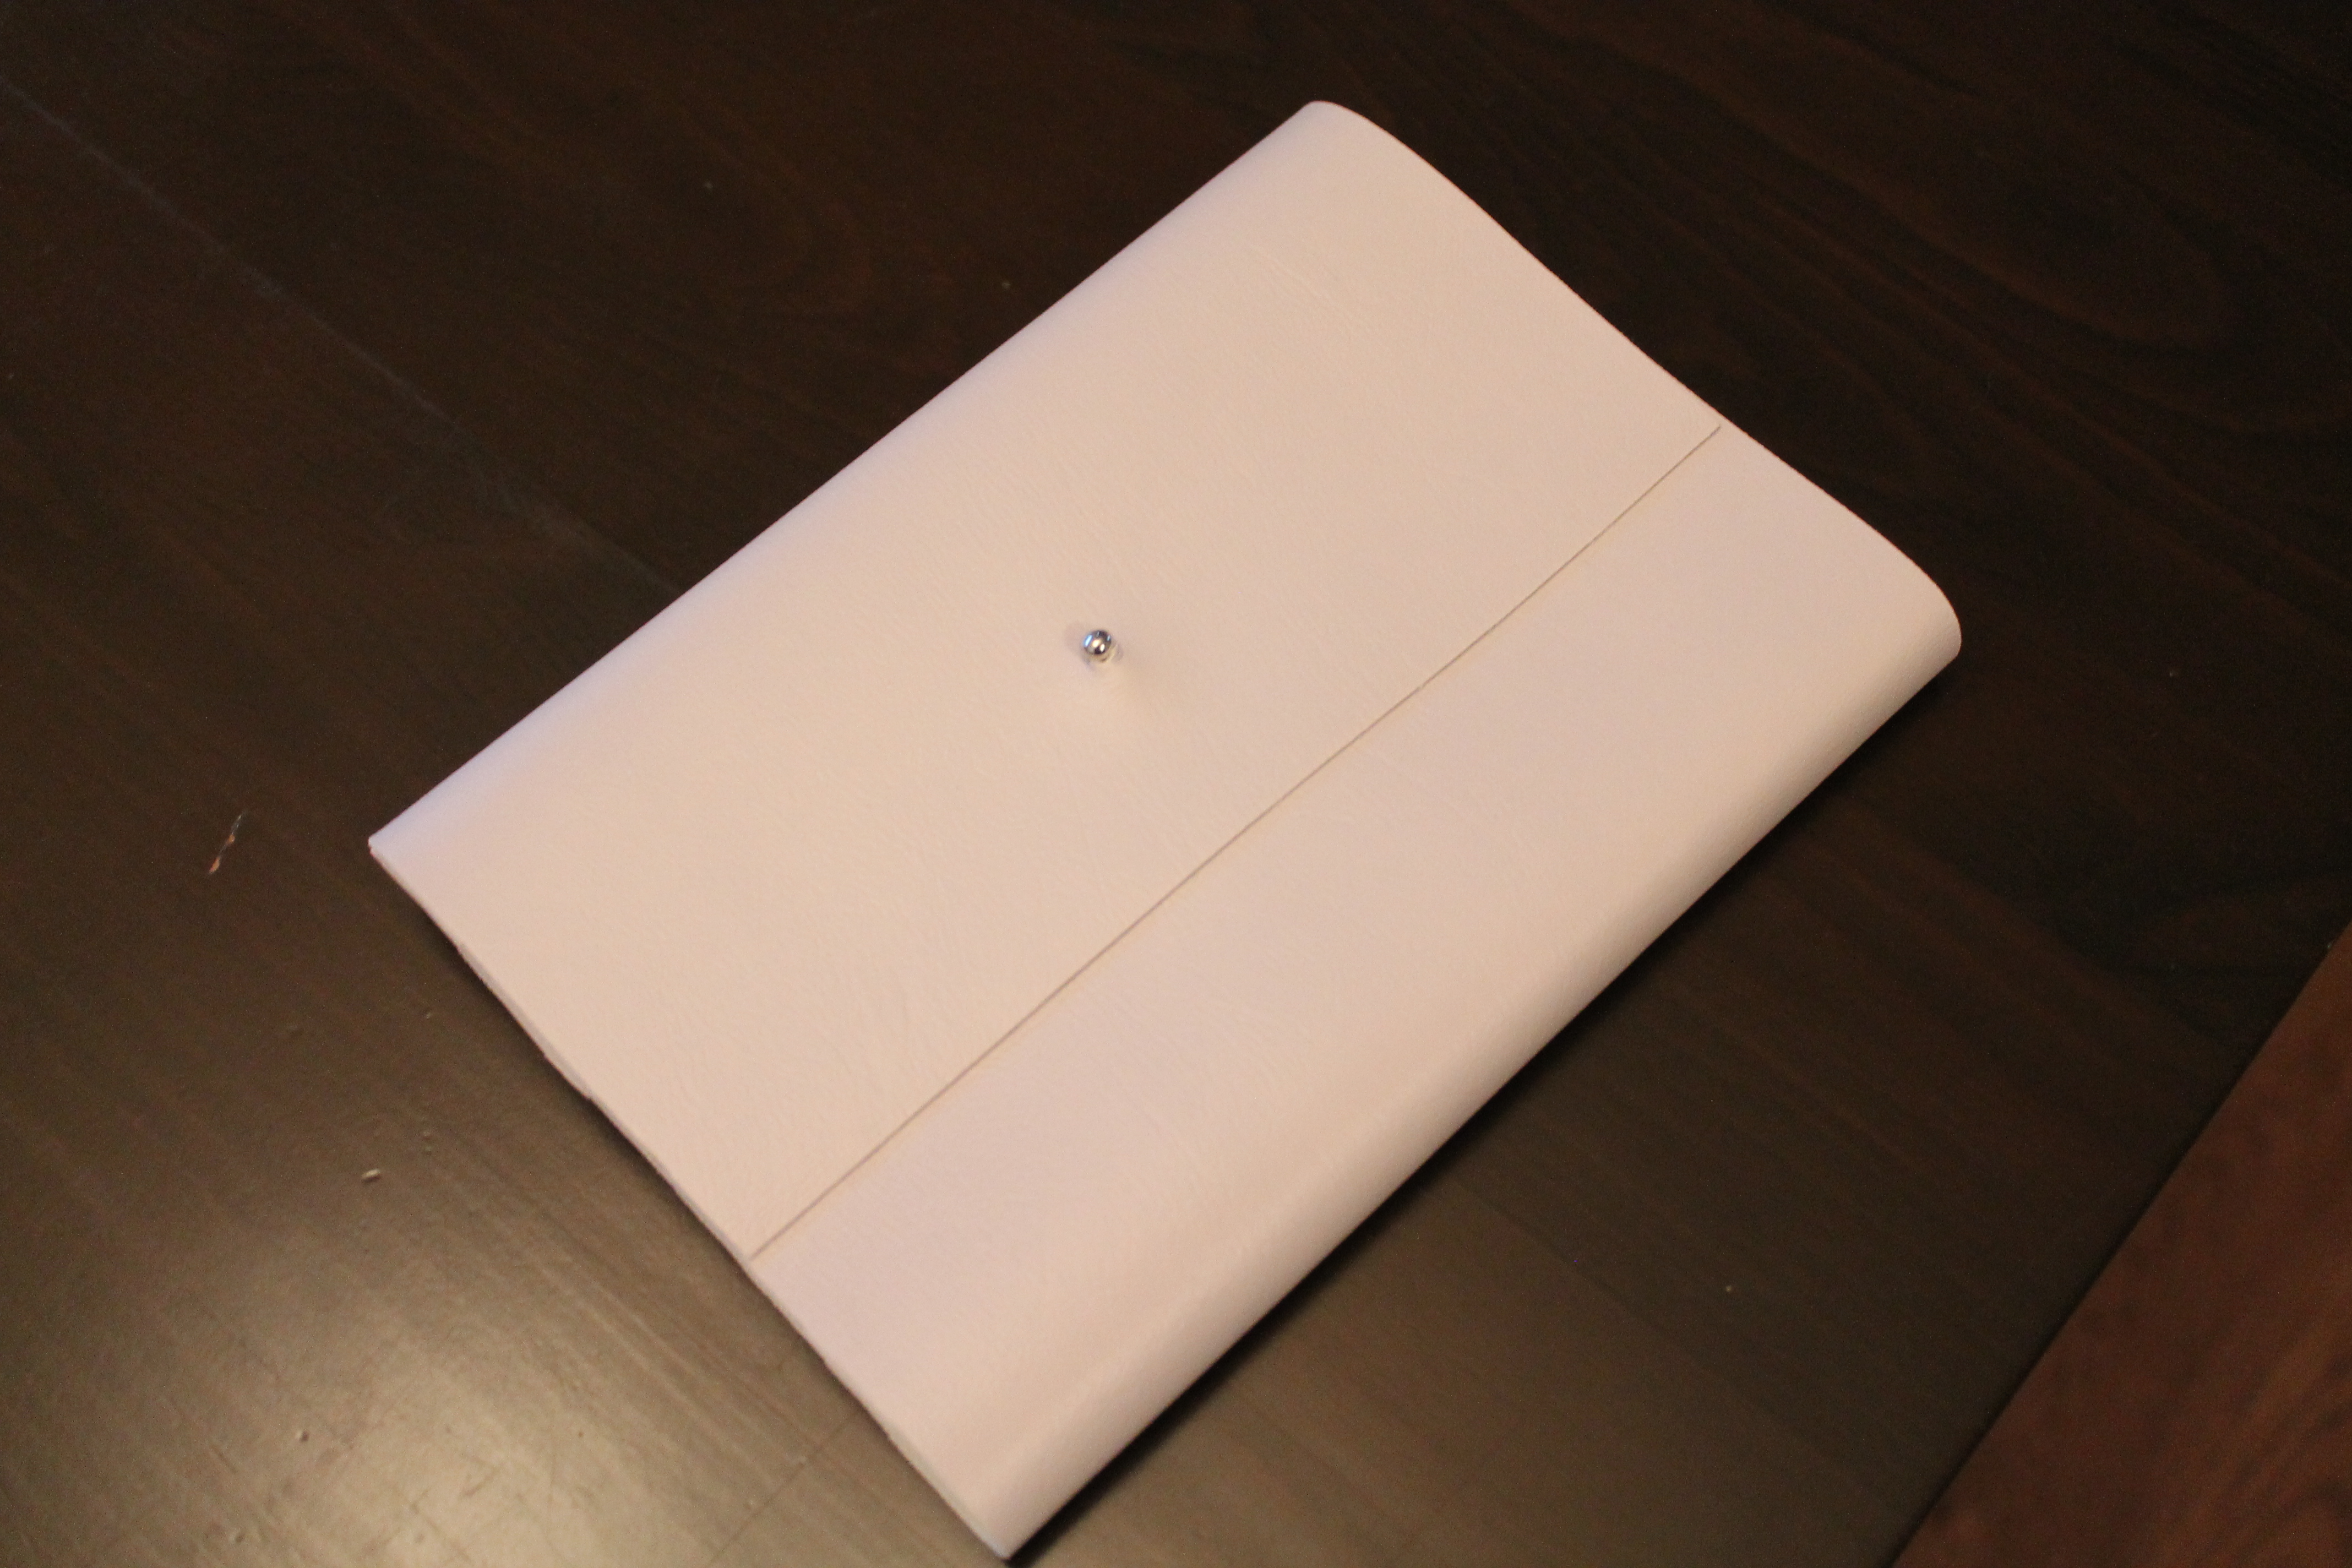
Notebook cover
It’s hard to tell from the pic, but it’s a lavender faux leather notebook cover. You sew the edge then attach the metal piece that holds it shut. Pretty straightforward but I had to cover a notebook that already had a cute cover because it was the only one I had that fit.
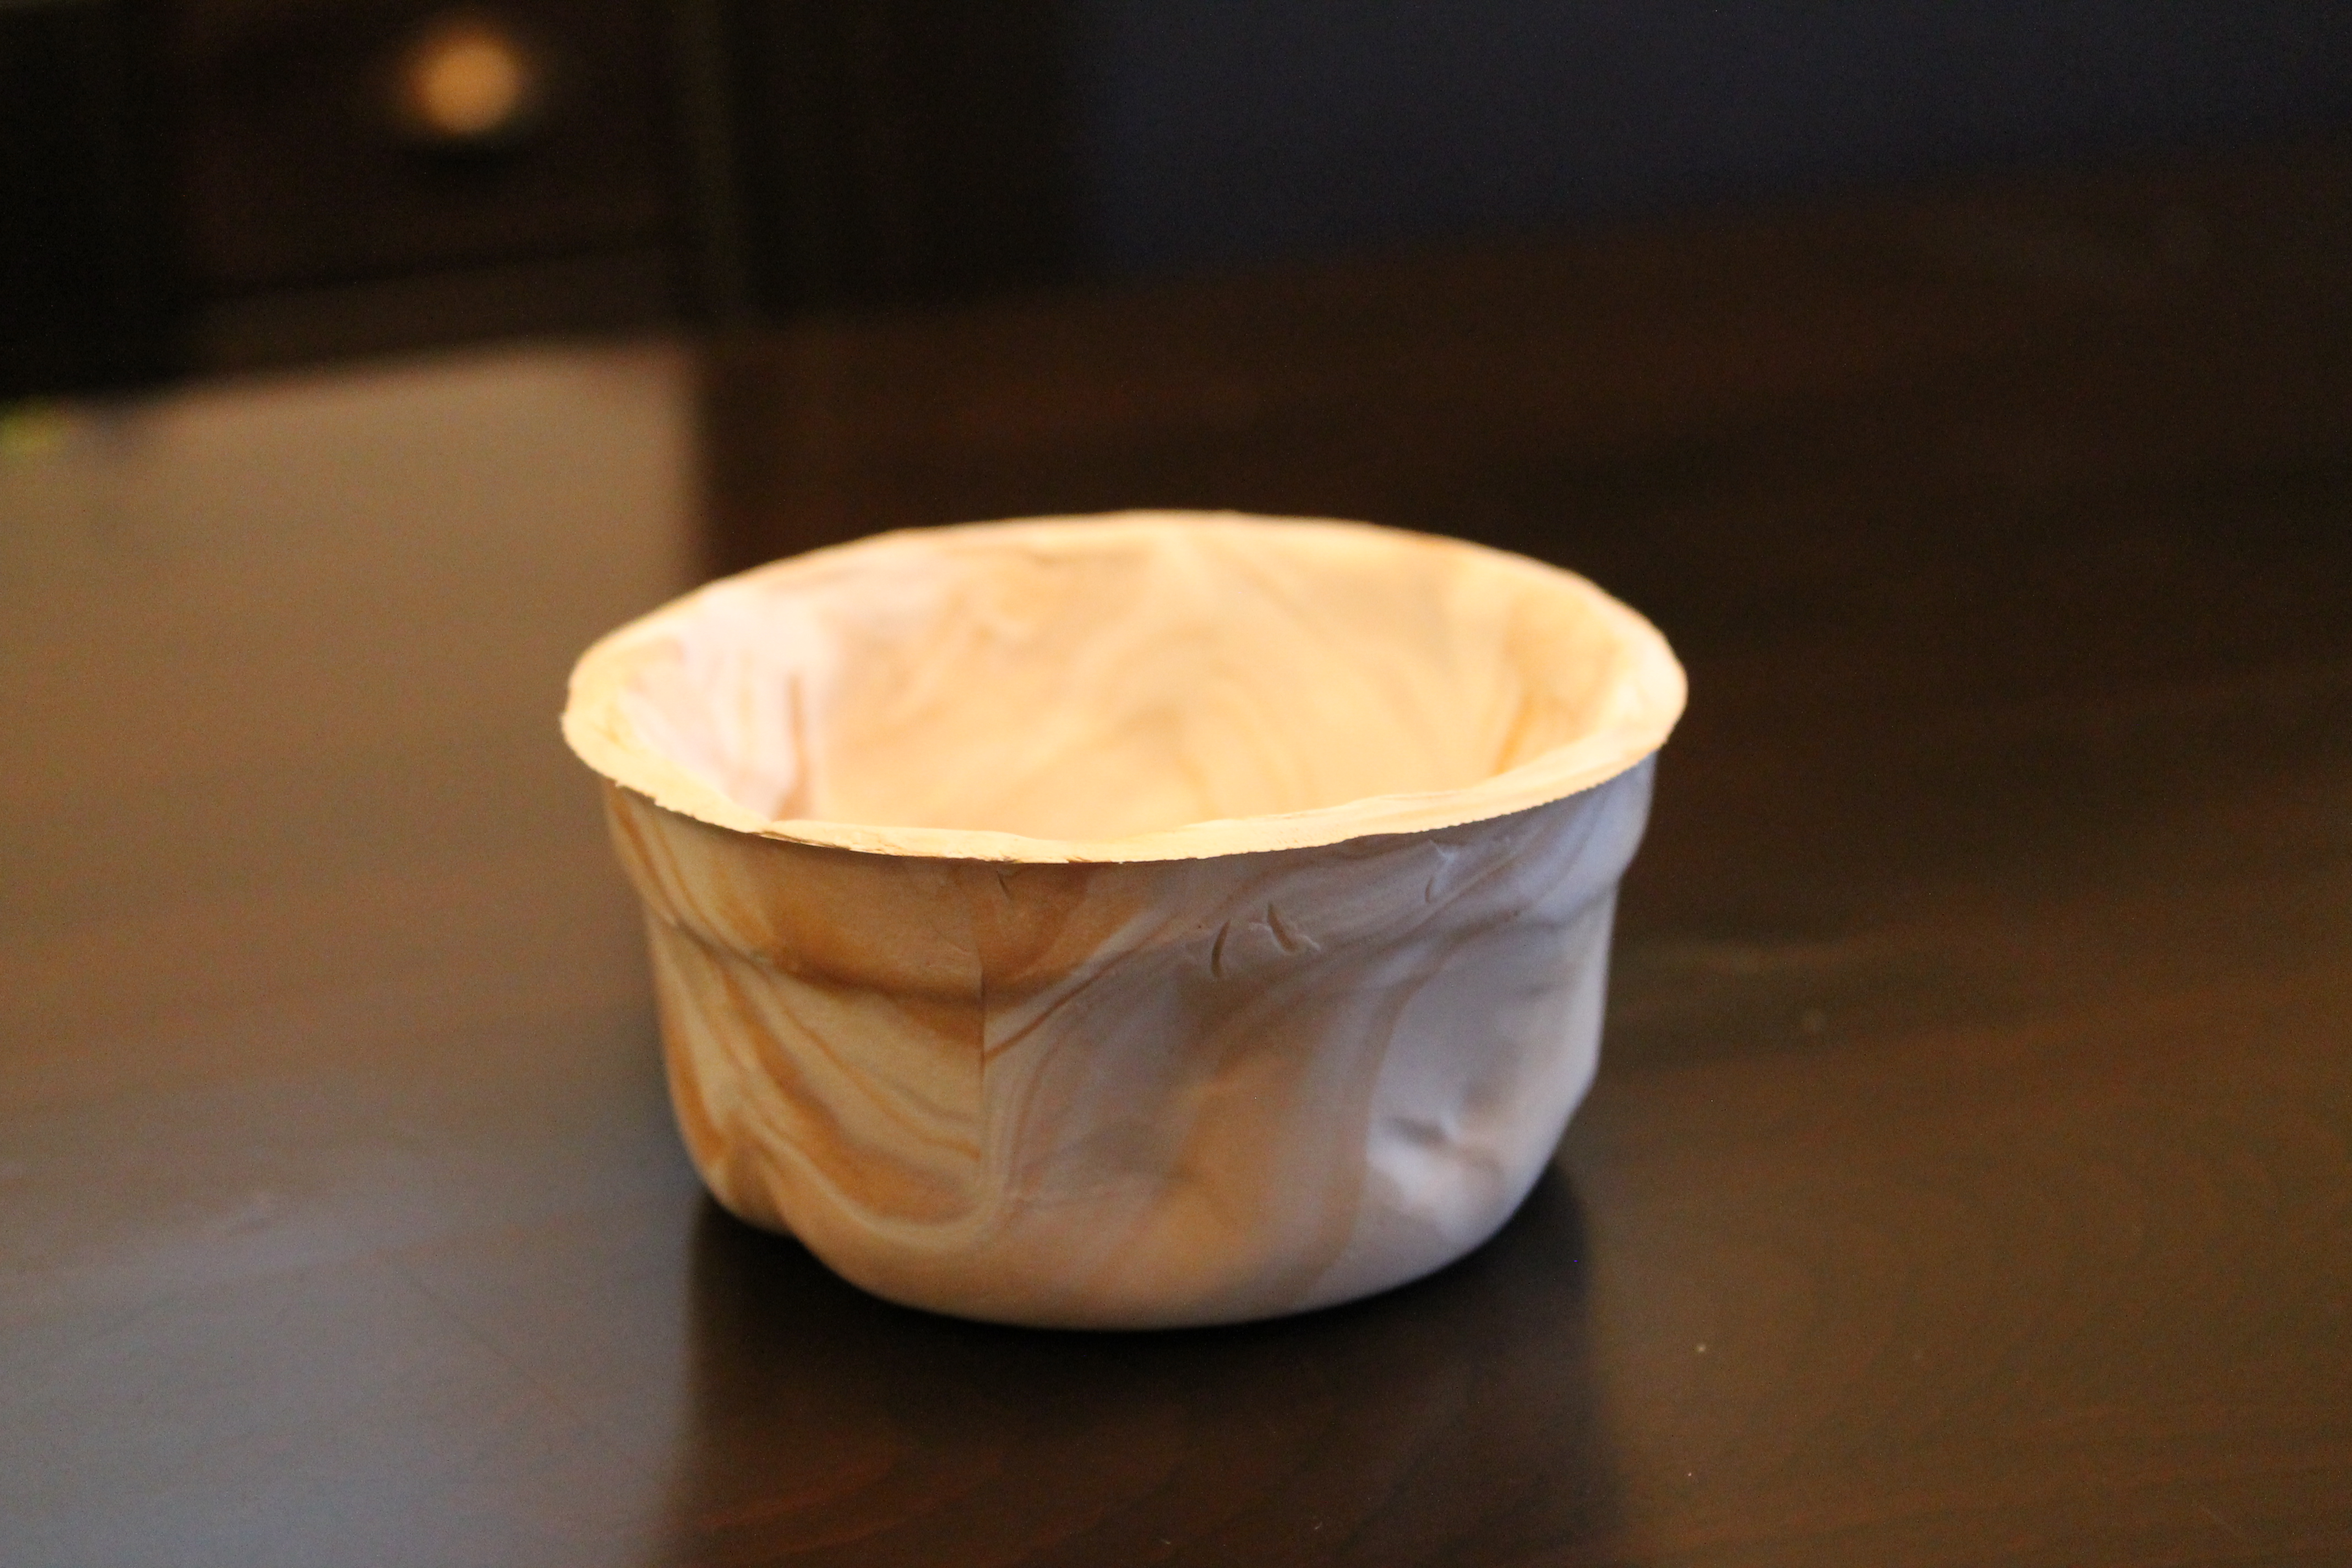
Clay bowl
For this one, you needed an oven safe bowl to shape the clay and bake it in the oven, but I wasn’t sure if any of my cereal bowls were oven safe so I found the only thing that was specifically labeled as oven safe, and it was a small ramekin used for fondue. The shape is a little weird, and the clay wasn’t quite as swirly as I had been hoping for, but it was a fun little project.
Overall, I think I liked the December kit best with all of the sparkle, but these were great projects for a slow Sunday afternoon. I really like this subscription service!